
HMDX Chill Rubber Base Replacement

Jourdan Holubasch and 2 other contributors
Last updated on Jul 20, 2016
Views: 481
View statistics:
- Past 24 Hours:
- 1
- Past 7 Days:
- 15
- Past 30 Days:
- 91
- All Time:
- 481
Comments: 1
1 comment on steps.
Completed: 0 1
No one has marked this guide "completed." Will you be the first?
1 person has marked this guide "completed." It's you — great job!
Favorites: 0 1
No one has favorited (and subscribed to) this guide. Will you be the first?
1 person has favorited (and subscribed to) this guide — and that's you!
Introduction
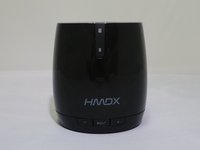
Go to step 1 ↓If there is broken piece of the HMDX Chill rubber base this can result in the speaker not standing properly and thus distorting the sound. This guide will show how to locate and replace the rubber base in order to assure the best sound quality possible from the HMDX Chill.
What you need
Tools


-
-
-
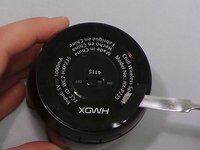
Insert a metal spudger under the rubber base.
-
Pry the rubber base off.
 Ask FixBot
-
-
-
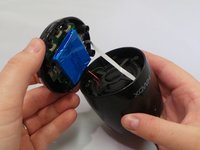
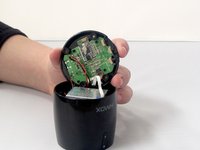
Use a Phillips #1 screwdriver to remove four 9 mm screws from the base of the device.
-
-
-





To reassemble your device, follow these instructions in reverse order.


