Free Shipping on Domestic Orders $75+

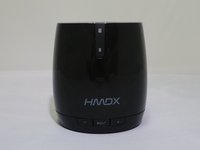
HMDX Chill Charging Port Replacement

What you need

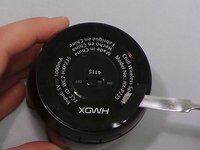
  1. HMDX Chill Charging Port Replacement, Remove Rubber Base: step 1, image 1 of 3 HMDX Chill Charging Port Replacement, Remove Rubber Base: step 1, image 2 of 3 HMDX Chill Charging Port Replacement, Remove Rubber Base: step 1, image 3 of 3
    • Insert a metal spudger under the rubber base.

    • Pry the rubber base off.

    Ask FixBot

    Add Comment

  2. HMDX Chill Charging Port Replacement: step 2, image 1 of 1
    • Use a Phillips #1 screwdriver to remove four 9 mm screws from the base of the device.

    Ask FixBot

    Add Comment

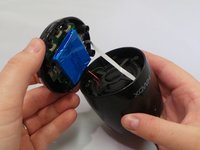
  3. HMDX Chill Charging Port Replacement: step 3, image 1 of 2 HMDX Chill Charging Port Replacement: step 3, image 2 of 2
    • Grip the base of the HMDX Chill.

    • Pull the base upwards.

    Ask FixBot

    Add Comment

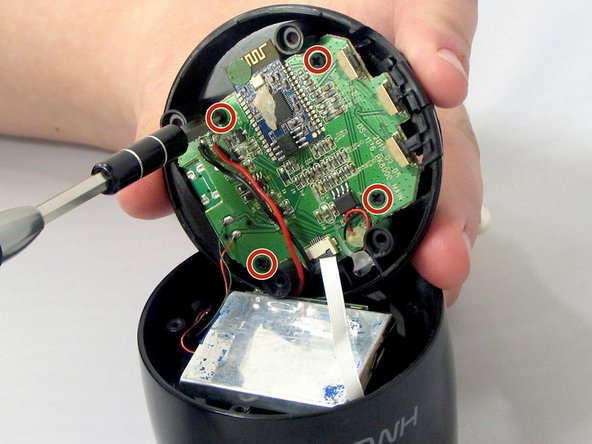
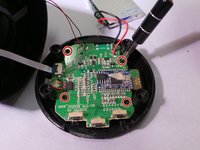
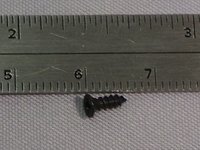
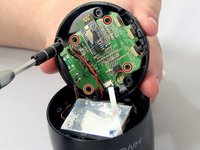
  4. HMDX Chill Charging Port Replacement, Motherboard: step 4, image 1 of 3 HMDX Chill Charging Port Replacement, Motherboard: step 4, image 2 of 3 HMDX Chill Charging Port Replacement, Motherboard: step 4, image 3 of 3
    • Use a Phillips #1 screwdriver to remove the four 6 mm screws that secure the motherboard to the base of the device.

    Ask FixBot

    Add Comment

  5. HMDX Chill Charging Port Replacement: step 5, image 1 of 1
    • Pull the motherboard away from the base gently.

    • Do not pull too hard on the motherboard. It is still attached to the base by wires.

    Ask FixBot

    Add Comment

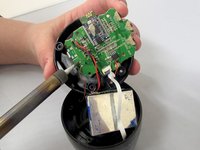
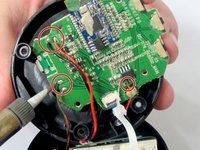
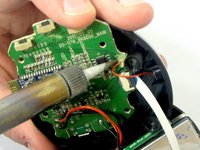
  6. HMDX Chill Charging Port Replacement: step 6, image 1 of 3 HMDX Chill Charging Port Replacement: step 6, image 2 of 3 HMDX Chill Charging Port Replacement: step 6, image 3 of 3
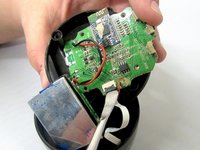
    • Use a soldering iron to desolder the wires connecting the motherboard to the case.

    Ask FixBot

    Add Comment

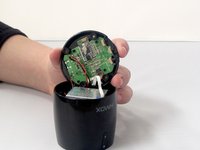
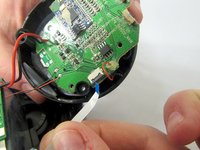
  7. HMDX Chill Charging Port Replacement: step 7, image 1 of 2 HMDX Chill Charging Port Replacement: step 7, image 2 of 2
    • Insert the spudger between the case and the wire and move the spudger upwards.

    • This will cause the case to prop open.

    • The wire behind the motherboard will now be visible. Pull this out from behind.

    Ask FixBot

    Add Comment

  8. HMDX Chill Charging Port Replacement: step 8, image 1 of 1
    • Use the soldering iron to desolder the wires connecting the motherboard to the base of the HMDX Chill.

    Ask FixBot

    Add Comment

  9. HMDX Chill Charging Port Replacement, Desolder the Charging Port: step 9, image 1 of 2 HMDX Chill Charging Port Replacement, Desolder the Charging Port: step 9, image 2 of 2
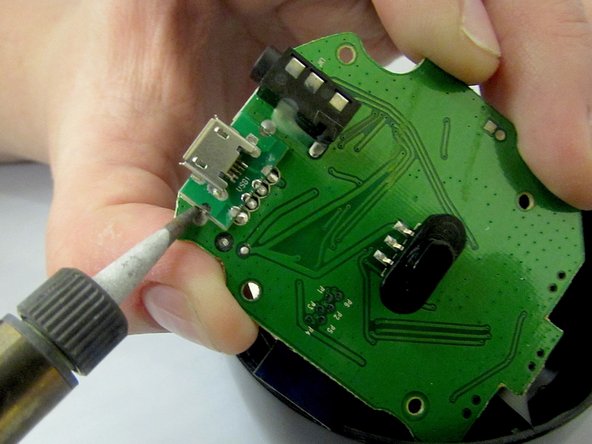
    • Using a soldering tool, desolder the charging port from the motherboard.

    Ask FixBot

    Add Comment

Conclusion

To reassemble your device, follow these instructions in reverse order.

Cancel: I did not complete this guide.

Jourdan Holubasch

Member since: 03/31/16

759 Reputation

7 Guides authored

Team

EWU-Giguere-S16S1G1 Member of EWU-Giguere-S16S1G1

Community

4 Members

7 Guides authored

1 Guide Comment

I have the charging port removed. Where do I find a replacement??

Aaron Hughes - Reply Share

Add Comment

View Statistics:

Past 24 Hours: 0

Past 7 Days: 6

Past 30 Days: 26

All Time: 753