
HMDX Chill Battery Replacement

Jourdan Holubasch and 8 other contributors
Last updated on Jan 16, 2025
Views: 1.3K
View statistics:
- Past 24 Hours:
- 1
- Past 7 Days:
- 17
- Past 30 Days:
- 103
- All Time:
- 1,328
Comments: 2
2 comments on steps.
Completed: 1 2
1 person has marked this guide "completed." Will you be next?
2 people have marked this guide "completed." Including you — great job!
Favorites: 0 1
No one has favorited (and subscribed to) this guide. Will you be the first?
1 person has favorited (and subscribed to) this guide — and that's you!
Better Introduction
Improve this guide by completing or revising its introduction.
Missing Details
Some of this guide's details are missing. Help users by adding tools, difficulty, or time.
Introduction
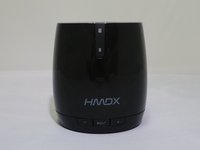
Go to step 1 ↓If the HMDX Chill begins to show issues with its ability to charge and the issue is not related to the charging port or charging cable it may be time to change the battery. This guide will show how to disassemble the device in order to locate and find the battery along with showing all of the attachments from the battery to the motherboard in order to properly replace the battery.
What you need
Tools


-
-
-
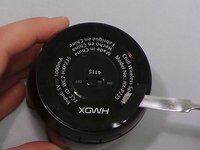
Insert a metal spudger under the rubber base.
-
Pry the rubber base off.
 Ask FixBot
-
-
-
Use a Phillips #1 screwdriver to remove four 9 mm screws from the base of the device.
-
-
-
-
-
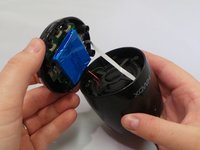
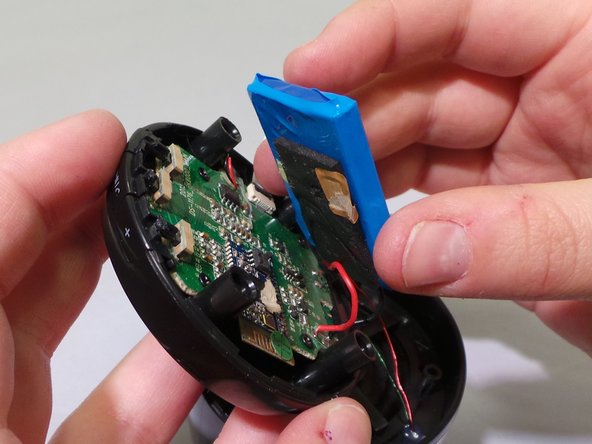
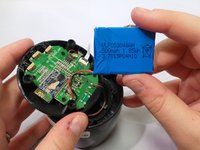
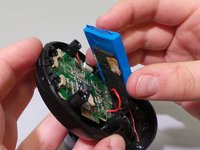
Once the base has been removed from the rest of the speaker locate the battery.
-
-
-
-
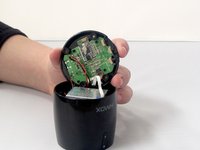
Locate the wires that attaches from the battery to the motherboard.
-
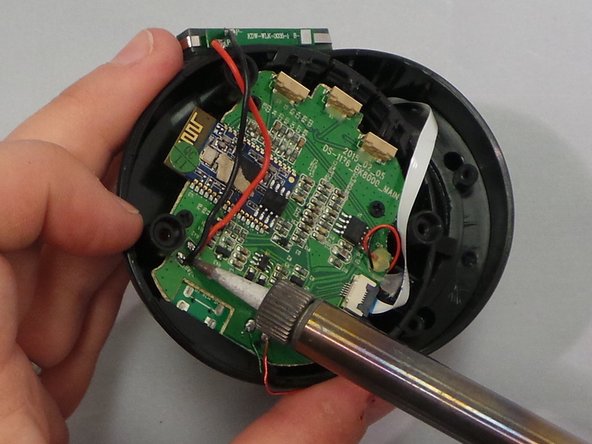
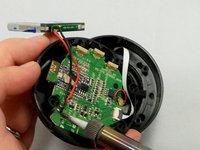
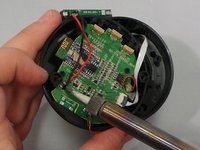
Using a soldering iron desolder the wires from the motherboard.
-
-







To reassemble your device, follow these instructions in reverse order.
Cancel: I did not complete this guide.
One other person completed this guide.


