Free Shipping on Domestic Orders $75+

HKC P776A Motherboard Replacement

What you need

    1. HKC P776A Motherboard Replacement, Separating Digitizer and Case: step 1, image 1 of 1
      • Insert the plastic opening tool between the digitizer and the case.

      • Place the spudger in the gap created by the plastic opening tool to assist in separation.

      Ask FixBot

      Add Comment

    2. HKC P776A Motherboard Replacement: step 2, image 1 of 2 HKC P776A Motherboard Replacement: step 2, image 2 of 2
      • Slide the spudger along the perimeter of the device to fully separate the two pieces.

      Ask FixBot

      Add Comment

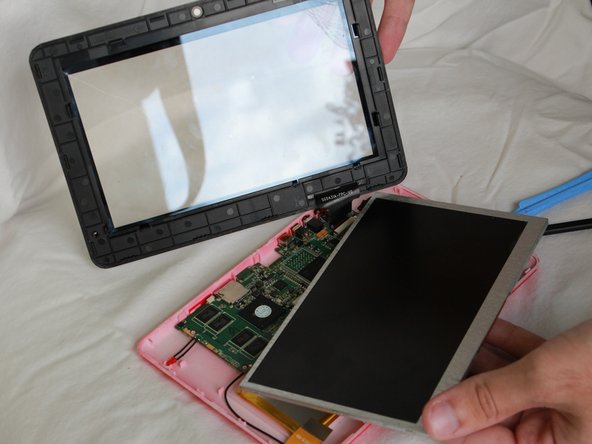
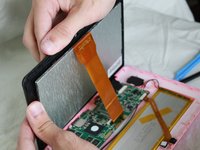
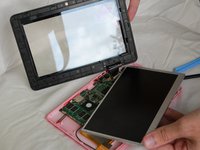
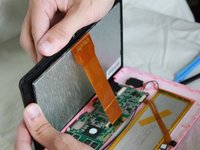
    1. HKC P776A Motherboard Replacement, Separating the Screen and Digitizer: step 3, image 1 of 2 HKC P776A Motherboard Replacement, Separating the Screen and Digitizer: step 3, image 2 of 2
      • Use your fingers to pop the screen out from the digitizer.

      Ask FixBot

      Add Comment

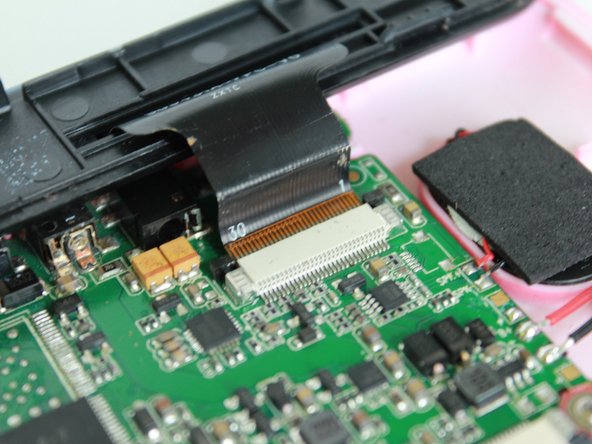
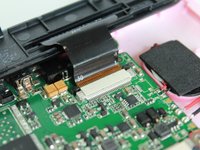
    2. HKC P776A Motherboard Replacement, Removing the Optical Cord from the Motherbaord: step 4, image 1 of 1
      • With the plastic opening tool, lift the black latch up.

      Ask FixBot

      Add Comment

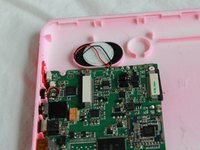
    3. HKC P776A Motherboard Replacement: step 5, image 1 of 1
      • Pull the optical cord out from the motherboard.

      Ask FixBot

      Add Comment

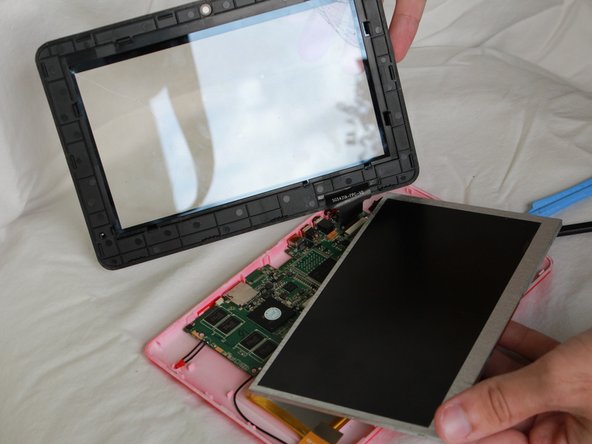
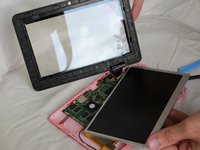
    1. HKC P776A Motherboard Replacement, Separating the Screen and the Digitizer: step 6, image 1 of 2 HKC P776A Motherboard Replacement, Separating the Screen and the Digitizer: step 6, image 2 of 2
      • Use your fingers to pop the screen out from the digitizer.

      Ask FixBot

      Add Comment

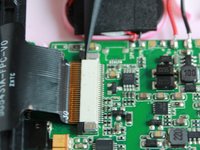
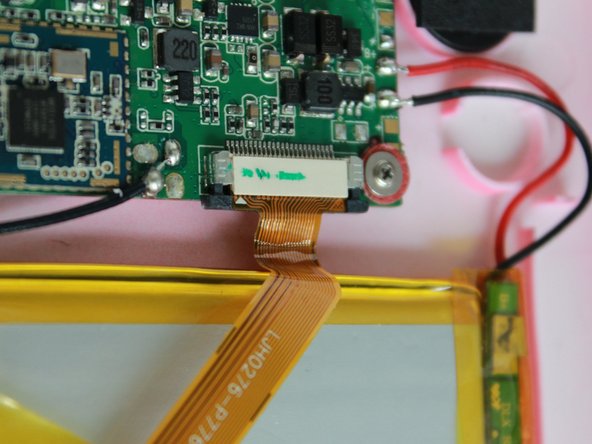
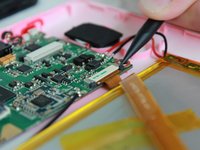
    2. HKC P776A Motherboard Replacement, Removing the Cable from the Motherboard: step 7, image 1 of 2 HKC P776A Motherboard Replacement, Removing the Cable from the Motherboard: step 7, image 2 of 2
      • Use the tip of the spudger to release the latches on the motherboard.

      Ask FixBot

      Add Comment

    3. HKC P776A Motherboard Replacement: step 8, image 1 of 1
      • Remove the cable from the motherboard.

      Ask FixBot

      Add Comment

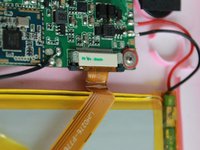
    1. HKC P776A Motherboard Replacement, Removing the Cable from the Moatherboard: step 9, image 1 of 2 HKC P776A Motherboard Replacement, Removing the Cable from the Moatherboard: step 9, image 2 of 2
      • Use the tip of the spudger to release the latches on the motherboard.

      Ask FixBot

      Add Comment

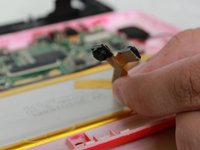
    2. HKC P776A Motherboard Replacement: step 10, image 1 of 2 HKC P776A Motherboard Replacement: step 10, image 2 of 2
      • Remove the camera from the device.

      Ask FixBot

      Add Comment

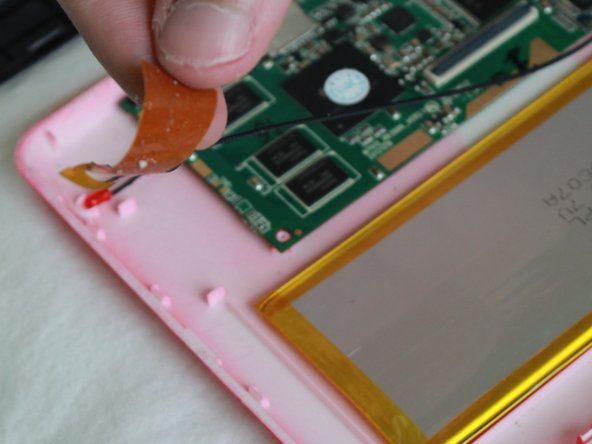
    1. HKC P776A Motherboard Replacement, Wifi Antenna: step 11, image 1 of 2 HKC P776A Motherboard Replacement, Wifi Antenna: step 11, image 2 of 2
      • Peel off the tape that is attaching the wifi antenna to the case.

      Ask FixBot

      Add Comment

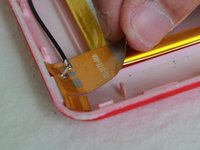
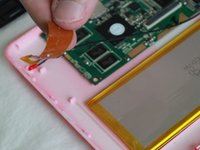
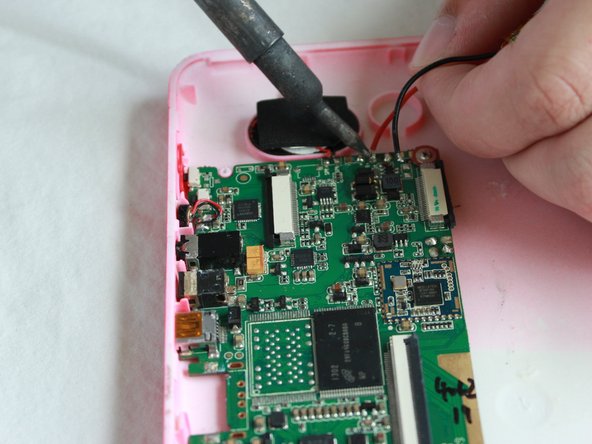
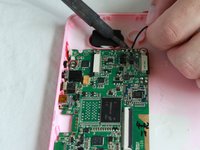
    2. HKC P776A Motherboard Replacement: step 12, image 1 of 1
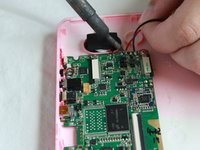
      • Using the soldering iron, heat up the solder that is attaching the antenna to the motheboard.

      • The heat from the soldering iron may cause personal injury or damage the internal components of the tablet.

      Ask FixBot

      Add Comment

    3. HKC P776A Motherboard Replacement: step 13, image 1 of 1
      Tool used on this step:
      Desoldering Pump
      $3.99
      Buy
      • Suck up the leftover solder using the desoldering pump.

      • Remove the wifi antenna from the motherboard.

      Ask FixBot

      Add Comment

    1. HKC P776A Motherboard Replacement, Battery: step 14, image 1 of 1
      • Insert the plastic opening tool between the battery and case.

      • Apply leverage to break the glue that is attaching the battery to the case.

      Ask FixBot

      Add Comment

    2. HKC P776A Motherboard Replacement: step 15, image 1 of 1
      • Continue breaking the glue along the perimeter of the battery until the battery can be removed.

      • Breaking all the glue between the battery and case may take a long time.

      Ask FixBot

      Add Comment

    3. HKC P776A Motherboard Replacement: step 16, image 1 of 2 HKC P776A Motherboard Replacement: step 16, image 2 of 2
      • Using the soldering iron, heat up the solder that is attaching the battery to the motheboard.

      • The heat from the soldering iron may cause personal injury or damage the internal components of the tablet.

      Ask FixBot

      Add Comment

    4. HKC P776A Motherboard Replacement: step 17, image 1 of 1
      • Suck up the leftover solder using the desoldering pump.

      • Remove the battery from the motherboard.

      Ask FixBot

      Add Comment

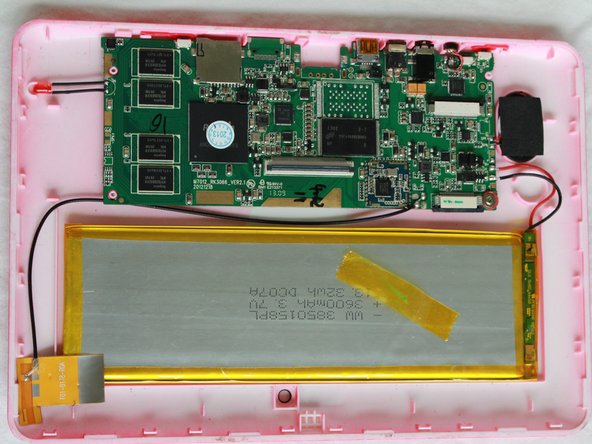
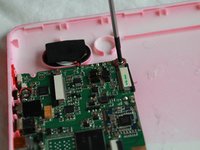
    1. HKC P776A Motherboard Replacement, Motherboard: step 18, image 1 of 3 HKC P776A Motherboard Replacement, Motherboard: step 18, image 2 of 3 HKC P776A Motherboard Replacement, Motherboard: step 18, image 3 of 3
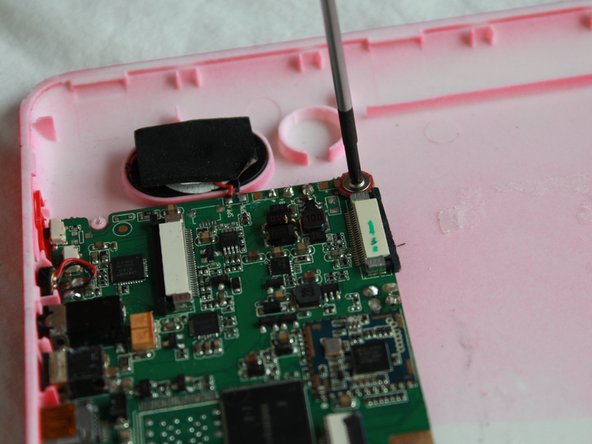
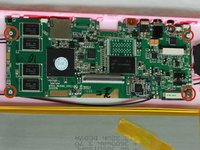
      • Using the screwdriver, remove the four 4mm by 1.5mm screws that are attaching the motherboard to the case.

      Ask FixBot

      Add Comment

    2. HKC P776A Motherboard Replacement: step 19, image 1 of 2 HKC P776A Motherboard Replacement: step 19, image 2 of 2
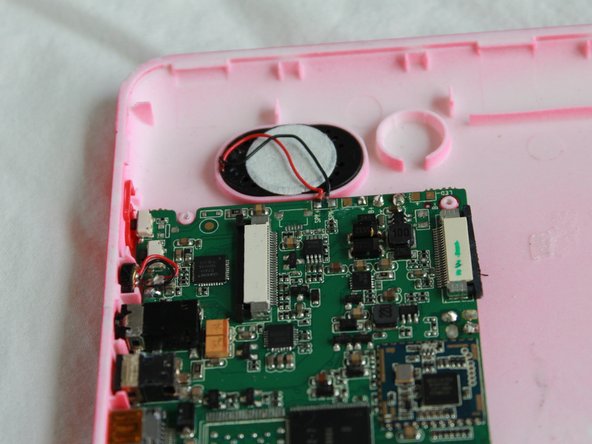
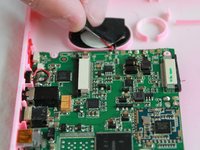
      • Remove the black material that is covering the speaker.

      Ask FixBot

      Add Comment

    3. HKC P776A Motherboard Replacement: step 20, image 1 of 1
      • Insert the spudger into the speaker slot on the back of the case.

      Ask FixBot

      Add Comment

    4. HKC P776A Motherboard Replacement: step 21, image 1 of 1
      • Push the speaker out of the case with the spudger.

      Ask FixBot

      Add Comment

    5. HKC P776A Motherboard Replacement: step 22, image 1 of 1
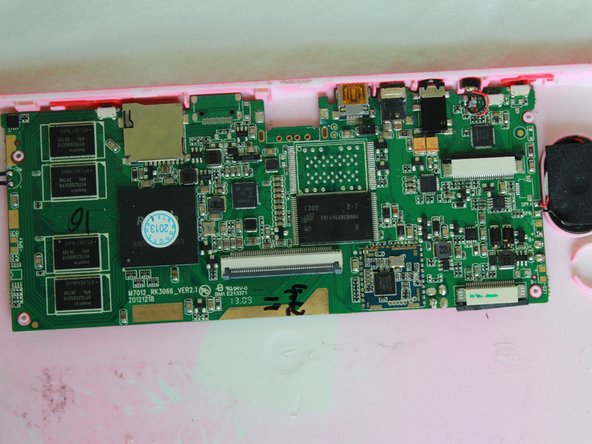
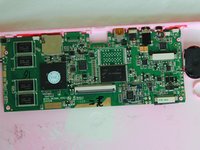
      • Remove the motherboard from the case.

      Ask FixBot

      Add Comment

Conclusion

To reassemble your device, follow these instructions in reverse order.

Cancel: I did not complete this guide.

Ryan Gornati

Member since: 01/22/15

409 Reputation

4 Guides authored

Team

USF Tampa, Team 7-6, Remmell Winter 2015 Member of USF Tampa, Team 7-6, Remmell Winter 2015

USFT-REMMELL-W15S7G6

3 Members

84 Guides authored

0 Guide Comments

Add Comment

View Statistics:

Past 24 Hours: 1

Past 7 Days: 4

Past 30 Days: 22

All Time: 477