
Greist Buttonholer Button Template Replacement

Michael Sykes and one other contributor
Last updated on Jan 11, 2015
Views: 843
View statistics:
- Past 24 Hours:
- 3
- Past 7 Days:
- 16
- Past 30 Days:
- 103
- All Time:
- 843
Comments: 1
1 guide comment.
Go to guide commentsCompleted: 1 2
1 person has marked this guide "completed." Will you be next?
2 people have marked this guide "completed." Including you — great job!
Favorites: 0 1
No one has favorited (and subscribed to) this guide. Will you be the first?
1 person has favorited (and subscribed to) this guide — and that's you!
Introduction
Go to step 1 ↓Depending on the size of the buttons that you will be using, you may need to replace the template already in The Buttonholer.
-
-
-
Turn the adjusting knob to the right until the cloth clamp is extended as far as it can go.
 Ask FixBot
-
-
-
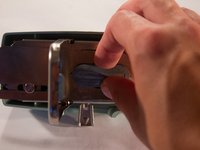
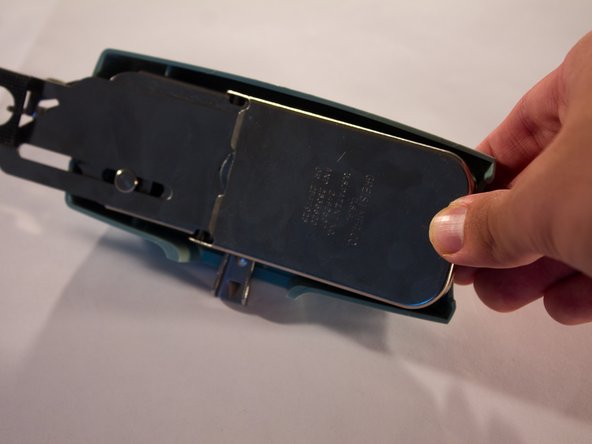
Located on the bottom, pull the lip of the retainer plate away from The Buttonholer, and then open the plate.
-
-
-
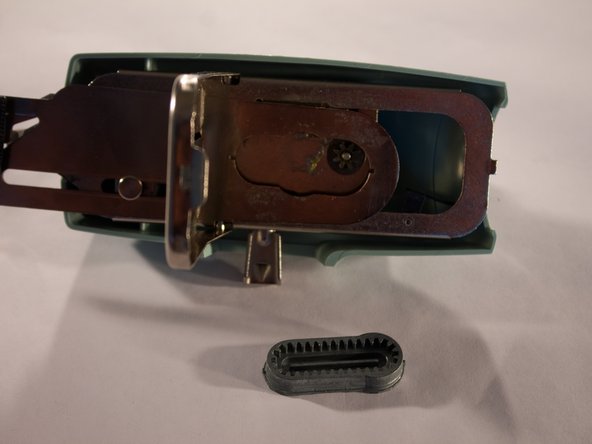
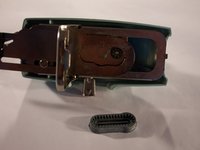
Since the clamp is extended as far as it can go, the template should come out easily.
-
-
-
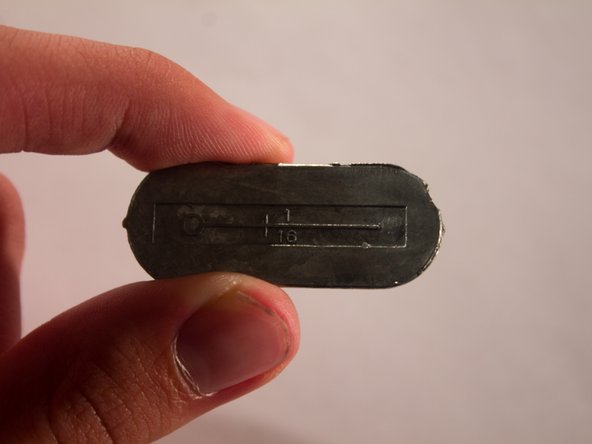
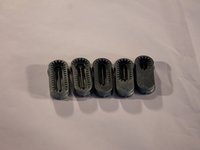
4 additional templates are included with The Buttonholer. Each template creates a different size button hole.
-
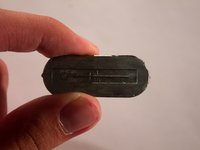
If you are unsure which template is right for your project, check the back of each template for the diameter of the holes that they make.
-
-
-
-
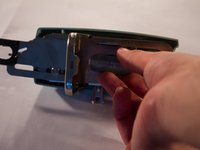
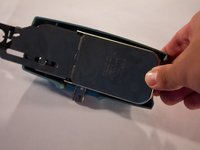
Place the template into The Buttonholer, and then close the retainer plate.
-
-




To reassemble your device, follow these instructions in reverse order.
Cancel: I did not complete this guide.
One other person completed this guide.

Team

USF Tampa, Team 3-6, Brown Fall 2014 Member of USF Tampa, Team 3-6, Brown Fall 2014
USFT-BROWN-F14S3G6
5 Members
60 Guides authored
