
Graco Secure Coverage LED Nursery Unit Replacement

Bryson Wolff and 2 other contributors
Last updated on Dec 7, 2015
Views: 545
View statistics:
- Past 24 Hours:
- 3
- Past 7 Days:
- 15
- Past 30 Days:
- 90
- All Time:
- 545
Comments: 0
No one has left comments on this guide. Will you be first?
Go to guide commentsCompleted: 0 1
No one has marked this guide "completed." Will you be the first?
1 person has marked this guide "completed." It's you — great job!
Favorites: 0 1
No one has favorited (and subscribed to) this guide. Will you be the first?
1 person has favorited (and subscribed to) this guide — and that's you!
Markup Mishap
This guide needs better markups. Help out by correcting or making some markup annotations.
Introduction
Go to step 1 ↓Use this guide to replace the LED on your Graco Secure Coverage Digital Baby Monitor for nursery unit.
The LED replacement includes the LED and battery replacement.
What you need
Tools


-
-
-
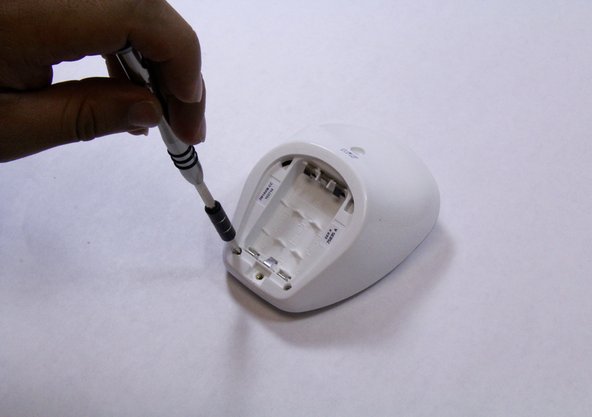
Remove the 9mm screw from the battery cover of the nursery unit using a Phillips #1 tip screwdriver.
 Ask FixBot
-
-
-
Using the plastic opening tool, pry and remove the battery cover carefully.
-
Remove the batteries using plastic opening tool.
-
Replace the batteries.
-
-
-
-
-
Remove the two 9mm Phillips #1 screws from the rare case of the device.
-
Place the screws in a secure place.
-
-
-
Hold the bottom of the device with one hand and pull down to separate the front and rare cases.
-
While holding the device with one hand, use plastic opening tool to pry the edges of the front case away from the back case.
-
-
-
-
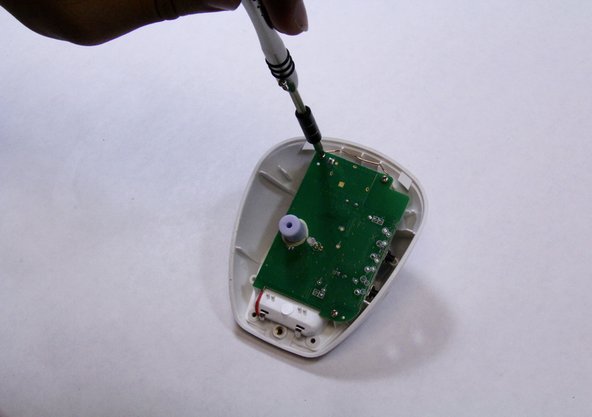
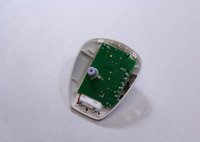
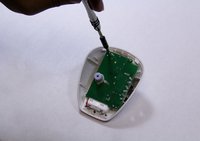
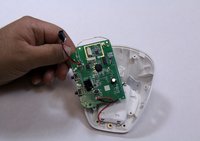
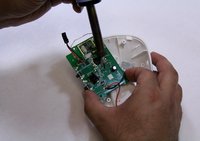
Remove all three 7mm Phillips #1 screws from the mother board.
-
Place the screws in secure place.
-
-
-
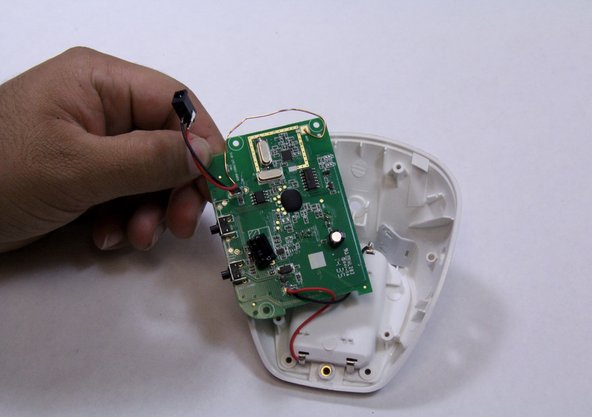
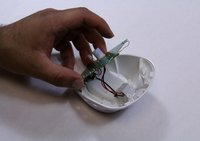
Flip over the motherboard to look at the LED pins that are connected to it.
-
Solder off the LED pin from the motherboard.
-
Replace the LED.
-
-






To reassemble your device, follow these instructions in reverse order.

Team

USF Tampa, Team 6-5, Remmell Fall 2015 Member of USF Tampa, Team 6-5, Remmell Fall 2015
USFT-REMMELL-F15S6G5
4 Members
96 Guides authored
