Introduction
The Grace Digital MONDO is a fairly easy device to deconstruct. The replacement of a display glass includes mainly removing screws, so, as long as you're content on the whole "lefty loosey, righty tighty" phrase, you should be well off for this guide.
What you need
-
-
-
Remove (2) screws (14 mm) with a PH1 screwdriver on the device.
-
There is one screw on the back left, and another just below it on the bottom of the device.
 Ask FixBot
-
-
-
Use a plastic spudger to remove the front preset selection buttons.
-
Gently reach underneath and pull off the mesh speaker cover. It only clips in so don't worry about breaking anything.
-
-
-
Remove (4) screws (14 mm) with a PH1 screwdriver on the front panel by the speaker.
-
-
-
-
Move the metal spudger around the front panel to remove any adhesive attaching the front panel to the device.
-
Pull apart the front panel from the device with help from the metal spudger.
-
-
-
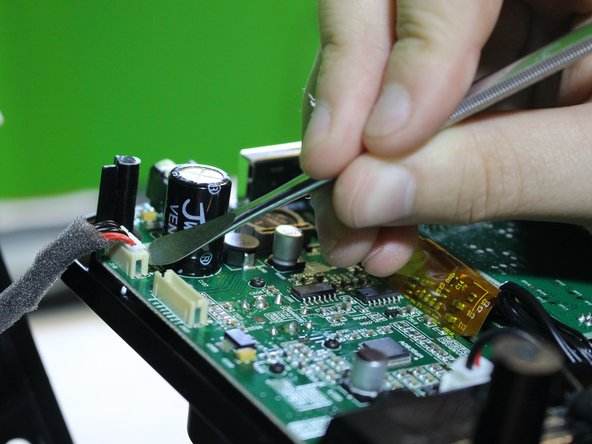
Detach a pin connector at the top of the device using a metal spudger to open up the inner components.
-
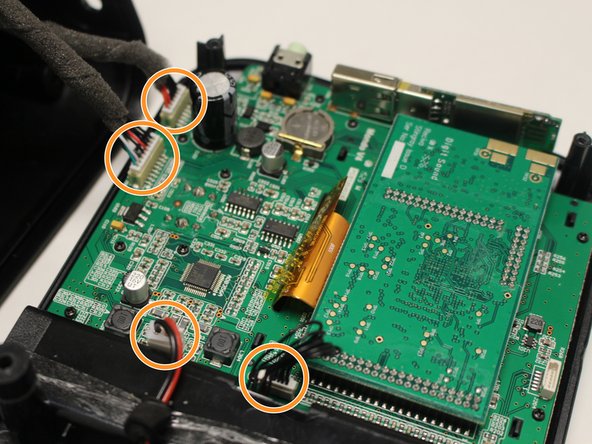
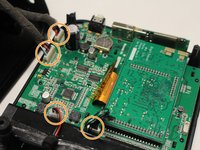
Detach (4) pin connectors inside using a metal spudger to separate the front panel from the rest of the device.
-
-
-
-
-
Remove (10) screws (7 mm) with a PH1 screwdriver on the motherboard.
-
-
-
Separate the display and motherboard from the front panel of the device.
-
Remove the display glass.
-
-




To reassemble your device, follow these instructions in reverse order.
Cancel: I did not complete this guide.
4 other people completed this guide.

Team

USF Tampa, Team 6-3, Eyestone Spring 2016 Member of USF Tampa, Team 6-3, Eyestone Spring 2016
USFT-EYESTONE-S16S6G3
4 Members
96 Guides authored
5 Guide Comments
Has anyone had to replace the digital volume control? Mine is intermittent. PCB solder joints all look good. I guess I will have to un-solder it to hopefully find a part number.
Has anyone had to replace the rotary encoder volume control? Mine is intermittent. PCB solder joints all look good. I guess I will have to un-solder it to hopefully find a part number.
EDIT: No markings on it, but one on Ebay seems close enough to try. The shaft looks a little longer than the original. http://www.ebay.com/itm/2PCS-Rotary-enco...
Mine just stopped working (not turning on.) Wall plug/charger light lights up. Anyone else have this issue? Any solutions to fix it?
