
Gourmia GMF600 Capacitor Assembly Replacement

ayla bailey and one other contributor
Last updated on Jan 9, 2026
Views: 314
View statistics:
- Past 24 Hours:
- 1
- Past 7 Days:
- 16
- Past 30 Days:
- 73
- All Time:
- 314
Comments: 0
No one has left comments on this guide. Will you be first?
Go to guide commentsCompleted: 0 1
No one has marked this guide "completed." Will you be the first?
1 person has marked this guide "completed." It's you — great job!
Favorites: 0 1
No one has favorited (and subscribed to) this guide. Will you be the first?
1 person has favorited (and subscribed to) this guide — and that's you!
Needs Better Images
Better photos will improve this guide. Help out by taking, editing, or uploading new ones!
Needs More Images
A few more images would make this guide's procedures crystal clear.
Missing Steps
Oops! This guide is currently missing one or more important steps.
Introduction
Go to step 1 ↓Use this guide to replace the capacitor assembly in your Gourmia GMF600. This guide covers replacement of the entire capacitor assembly and does not include individual capacitor replacement. This guide has important background information about capacitors.
While this repair is fairly straightforward, take care when working near electrical components. Disconnect connectors gently to avoid damaging cables or causing a short circuit.
Caution: Capacitors can store a hazardous electrical charge even after the appliance has been unplugged. Avoid touching exposed terminals and handle the assembly with extreme caution. Wear safety gloves and glasses if possible. Use a resistor to discharge any residual power from the capacitors. This article provides basic information about capacitors.
Before you begin, unplug the refrigerator from the wall outlet.
Optional: To reduce the risk of electrostatic discharge (ESD), work on a nonconductive surface and ground yourself before handling internal components.
What you need
Tools


-
-
-
Orient the device so the back is facing you.
-
Use a Phillips #1 screwdriver to remove the six screws securing the back panel to the device.
 Ask FixBot
-
-
-
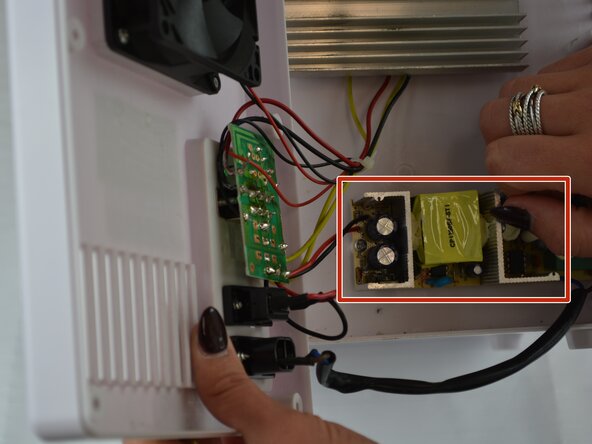
Carefully lift the back panel off the refrigerator to reveal the capacitor assembly.
-
-
-
Carefully disconnect each cable connecting the capacitor assembly to the main board.
-
Disconnect the black wire and then the red wire.
-
-
-
-
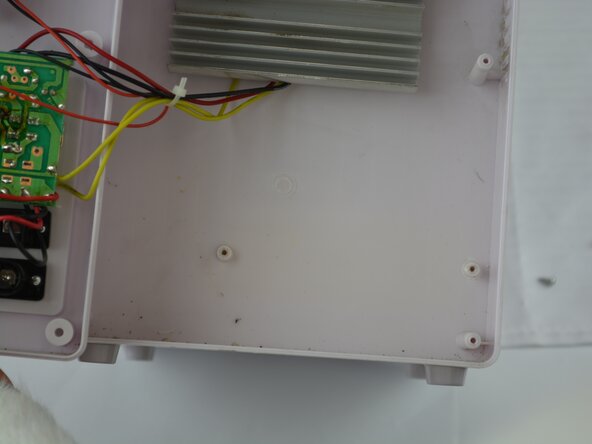
Use a Phillips #1 screwdriver to remove the two screws securing the capacitor assembly to the device.
-
Gently lift it from the device.
-
-






To reassemble your device, follow these instructions in reverse order. Take your e-waste to an R2 or e-Stewards certified recycler.
Team

Texas Tech, Team 41-2, Allen Fall 2025 Member of Texas Tech, Team 41-2, Allen Fall 2025
TTU-ALLEN-F25S41G2
2 Members
48 Guides authored
