
Google Pixelbook Go Motherboard Replacement

Hayden McGrory and 2 other contributors
Last updated on May 7, 2024
Views: 1.8K
View statistics:
- Past 24 Hours:
- 2
- Past 7 Days:
- 14
- Past 30 Days:
- 86
- All Time:
- 1,763
Comments: 2
2 comments on steps.
Completed: 2 3
2 people have marked this guide "completed." Will you be next?
3 people have marked this guide "completed." Including you — great job!
Favorites: 0 1
No one has favorited (and subscribed to) this guide. Will you be the first?
1 person has favorited (and subscribed to) this guide — and that's you!
Introduction
Go to step 1 ↓This guide aims to help users learn how to remove the motherboard of the Google Pixelbook Go in order to fix a faulty motherboard, RAM, storage, and/or processor.
The motherboard distributes electricity and facilitates communication to and from the central processing unit, random access memory, and any other component of the computer's hardware. If your device starts to boot but then shuts down, this could be a sign of a failing motherboard.
Keep in mind that you should never work on any electrical device that is plugged into a power outlet, and make sure that the power is fully turned off before you start. Once you are ready to begin, follow these steps in order to successfully complete your replacement.
What you need
Tools


-
-
-
Flip the device so that the back is facing up.
-
Peel the rubber stoppers off the top and bottom of the device.
 Ask FixBot
-
-
-
Remove ten 3 mm screws from around the edge of the back panel using a T5 Torx screwdriver.
-
-
-
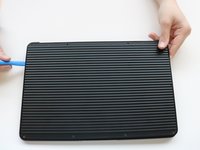
Use an iFixit opening tool to pry up the back panel cover.
-
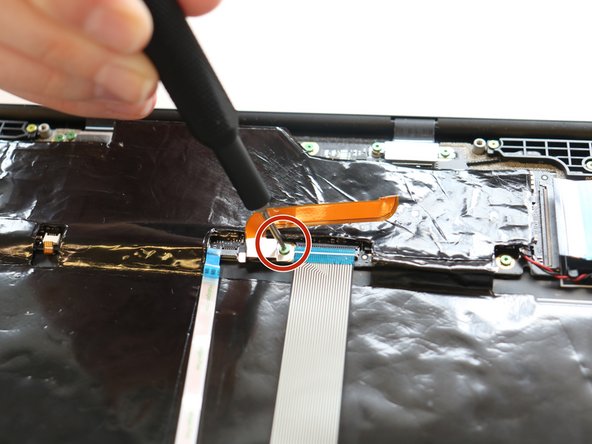
Remove the single 2 mm screw using a Torx T3 screwdriver.
-
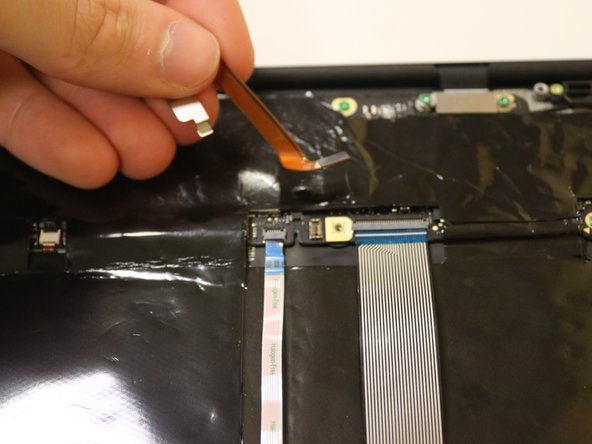
Disconnect the orange cable from the base of the device.
-
-
-
-
-
If they didn't fall off already, remove the small, metal casings at the top of your Pixelbook Go.
-
-
Tool used on this step:Tweezers$4.99
-
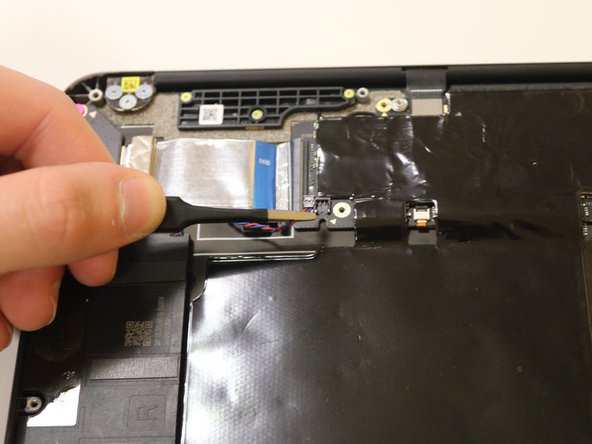
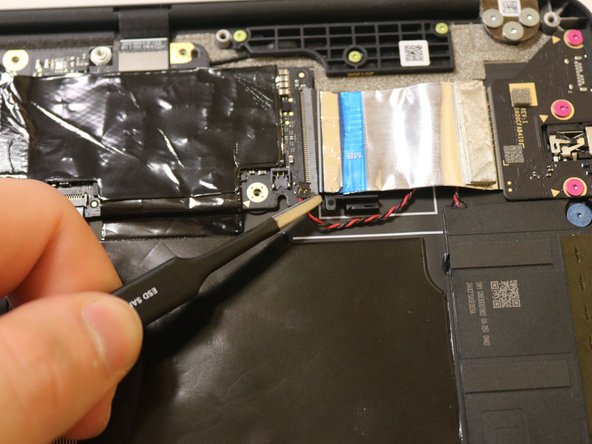
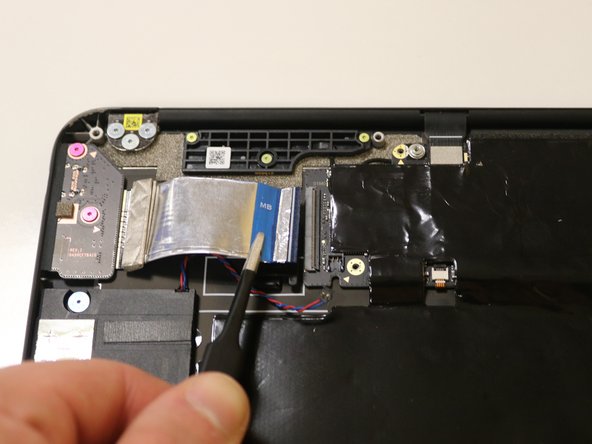
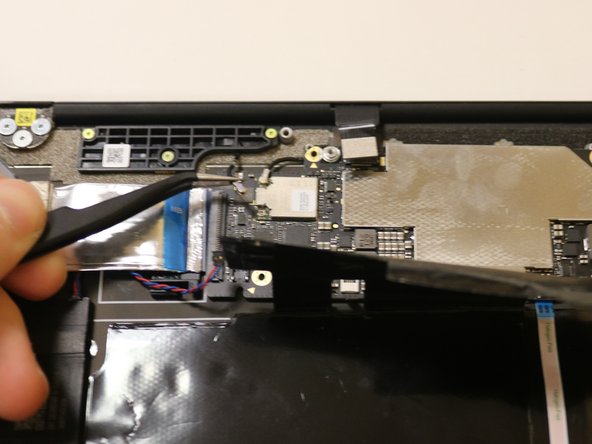
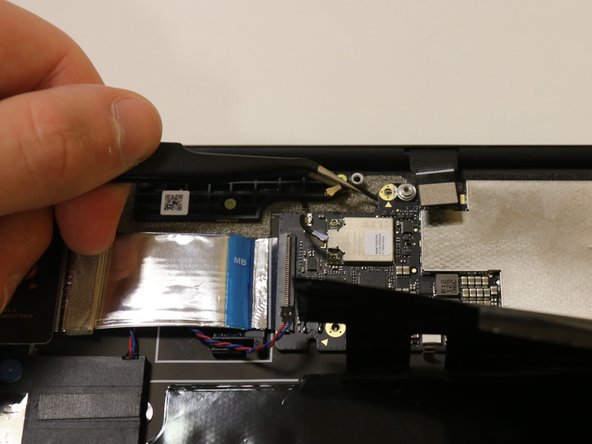
Disconnect the blue and red wiring cable using the needle nose tweezers. Grab as close to the connection as you can, and tug in an upwards motion.
-
Do this to both sides.
-
-
-
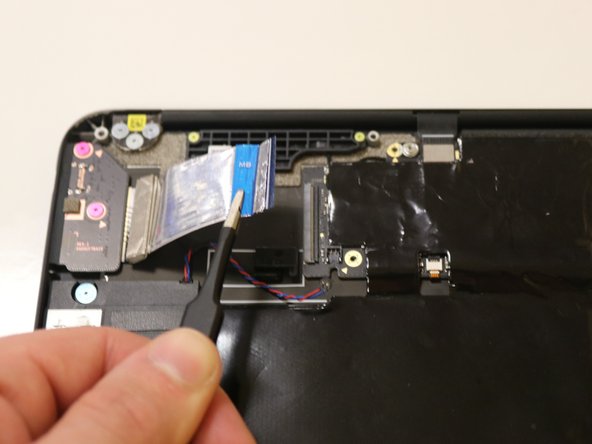
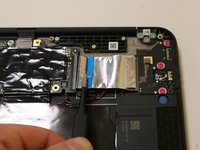
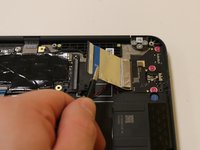
Detach the left-hand side, wide ribbon by pulling away from the connection itself. Grab as close as you can to the connection using your spudger.
-
-
-
Similarly, detach the right-hand side, flat ribbon by pulling away from the connection.
-
-
-
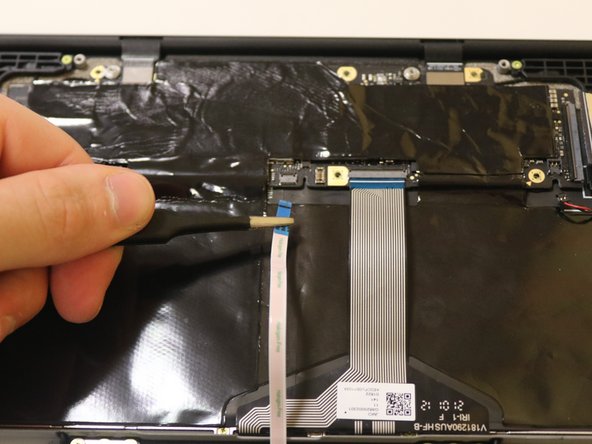
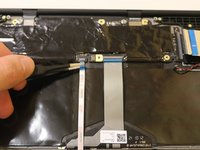
Detach the thin, flat cable in the middle using your spudger or by gently pulling with your hand near the connection itself.
-
-
-
Detach the wider, middle cable using the same steps as before. Pull away from the connection, grabbing as close to the connection as you can.
-
-
-
-
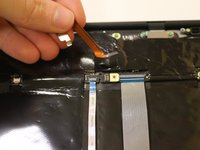
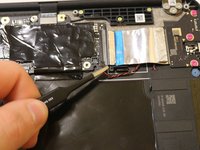
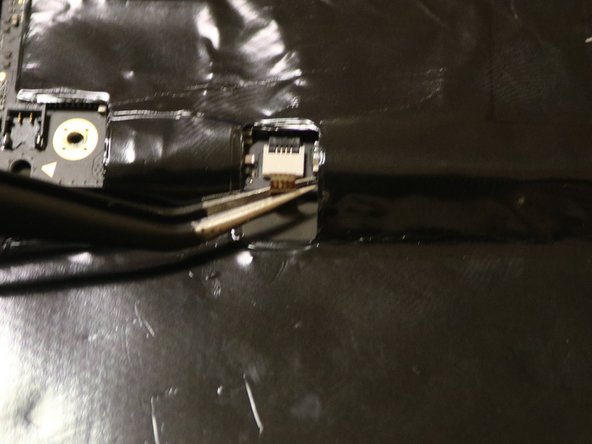
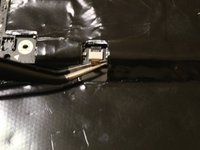
Detach the small, copper colored cable from the motherboard. Since this cable is so small, it will require needle-nose tweezers.
-
-
-
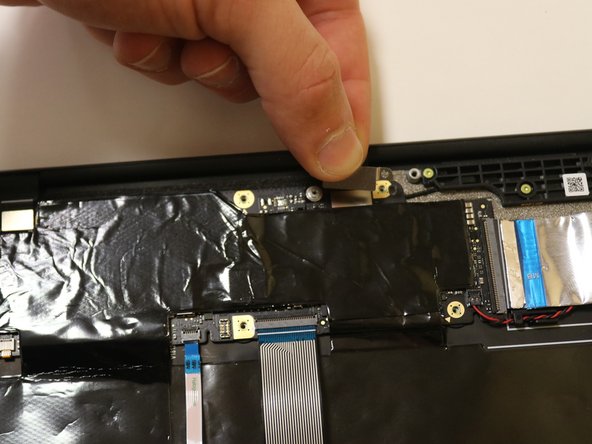
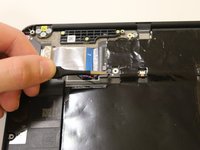
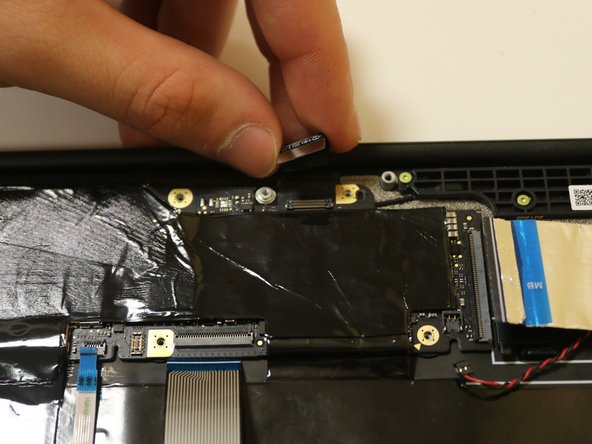
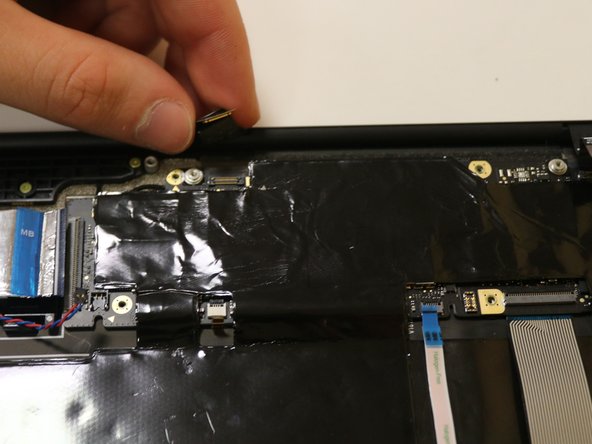
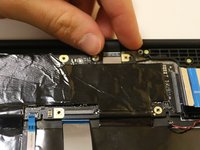
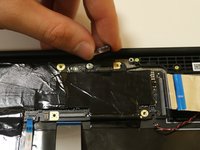
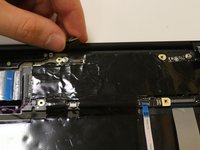
By hand, disconnect the top two clips gently. Although you want to detach these clips from the motherboard, these clips will remain attached on the reverse end to the base.
-
-
-
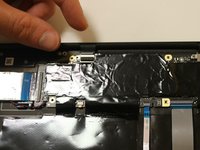
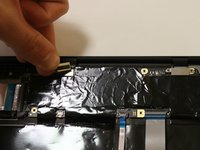
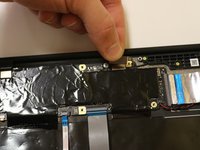
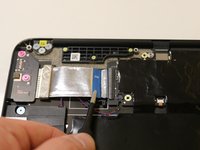
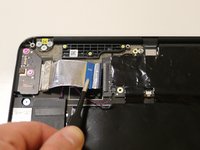
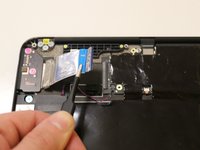
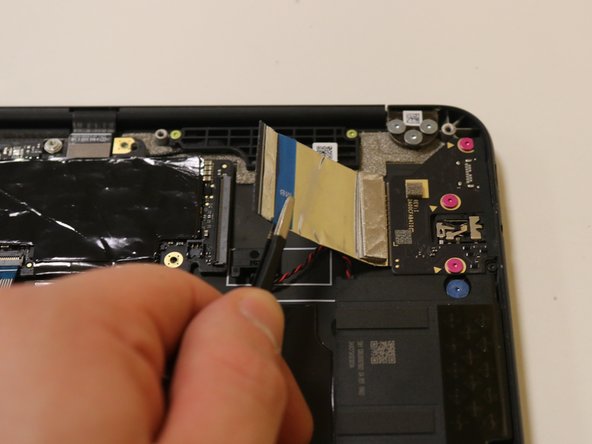
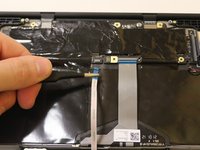
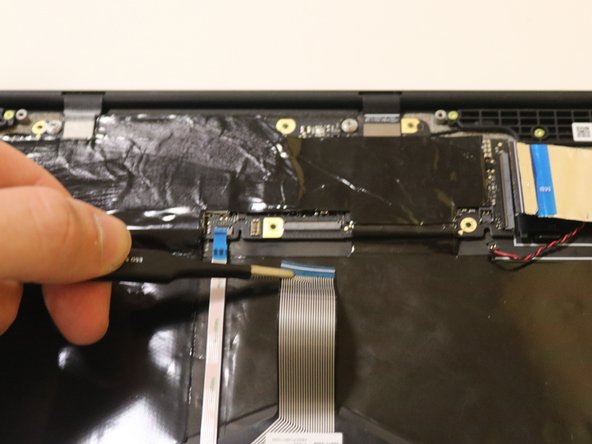
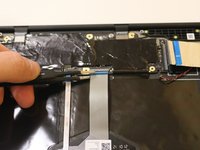
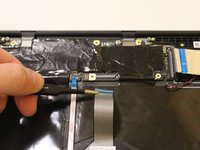
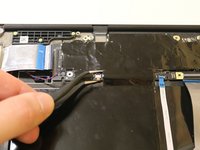
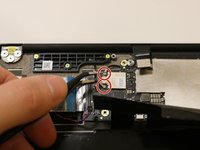
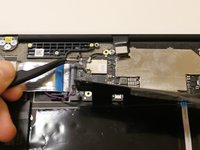
Detach the final two clips attached to the motherboard using the needle nose tweezers, located at the top left of the motherboard.
-













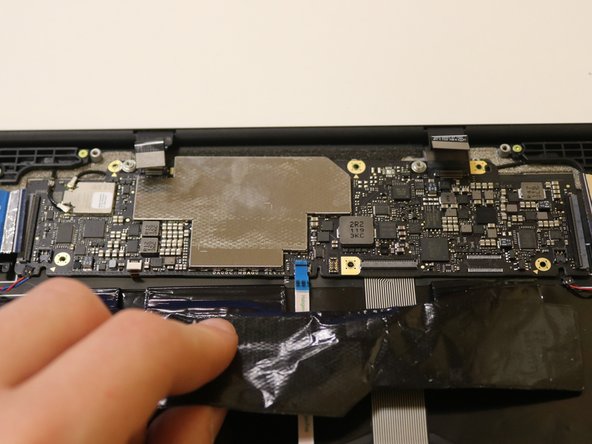
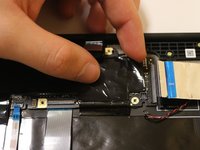
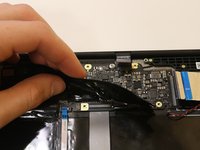
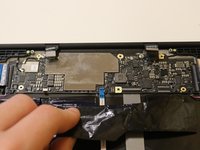

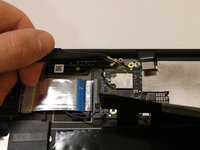

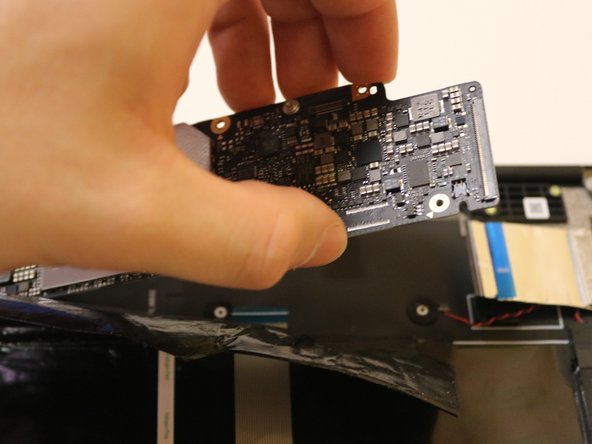
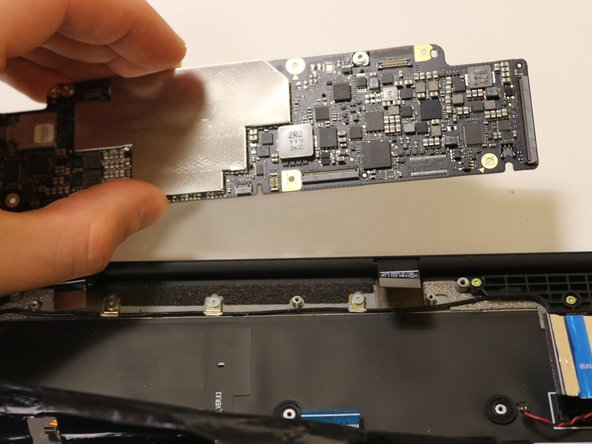
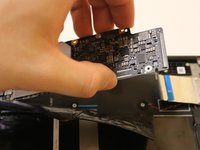
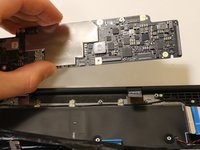
To reassemble your device, follow these instructions in reverse order.
Cancel: I did not complete this guide.
2 other people completed this guide.
Team

University of Delaware, Team 11-1, McGuire Spring 2023 Member of University of Delaware, Team 11-1, McGuire Spring 2023
UD-MCGUIRE-S23S11G1
5 Members
48 Guides authored
