Free Shipping on Domestic Orders $75+

Google Pixelbook Display Replacement

What you need

  1. Google Pixelbook Display Replacement, Battery (Back Panel): step 1, image 1 of 3 Google Pixelbook Display Replacement, Battery (Back Panel): step 1, image 2 of 3 Google Pixelbook Display Replacement, Battery (Back Panel): step 1, image 3 of 3
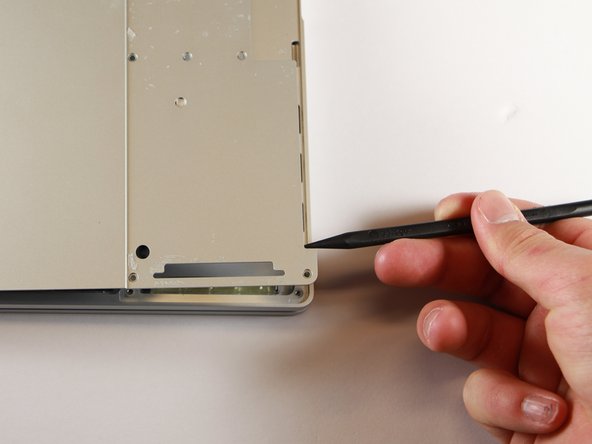
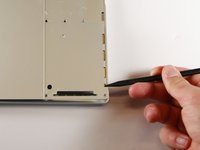
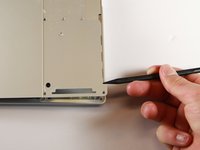
    • Use the iFixit opening tools or a metal spudger to pry the rubber covers off the back of your Pixelbook.

    • Peel the linings off completely until the back of the Pixelbook looks bare.

    Ask FixBot

    Add Comment

  2. Google Pixelbook Display Replacement: step 2, image 1 of 2 Google Pixelbook Display Replacement: step 2, image 2 of 2
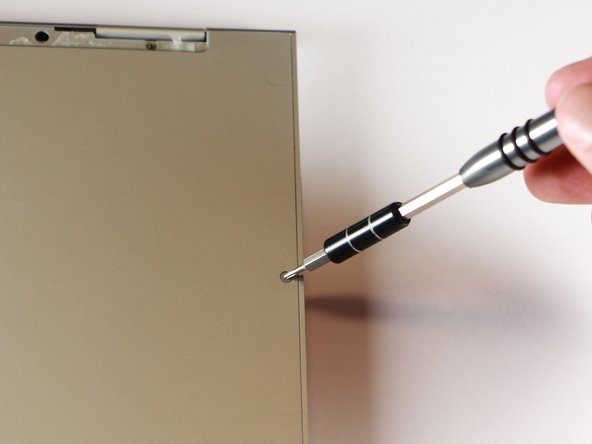
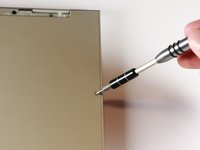
    • Remove the two yellow 2.0mm screws by using a T3 Torx screwdriver.

    Ask FixBot

    Add Comment

  3. Google Pixelbook Display Replacement: step 3, image 1 of 3 Google Pixelbook Display Replacement: step 3, image 2 of 3 Google Pixelbook Display Replacement: step 3, image 3 of 3
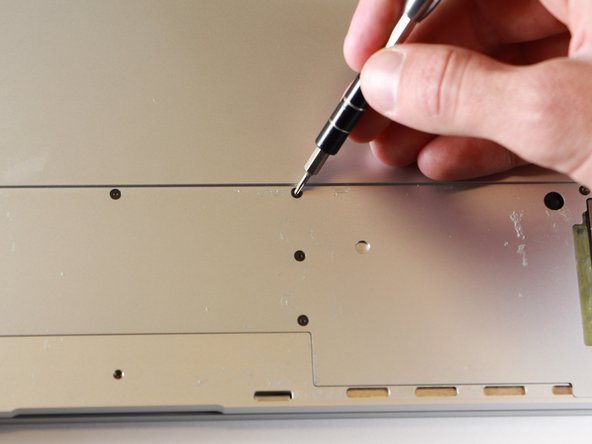
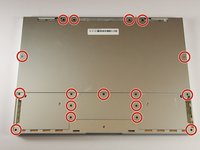
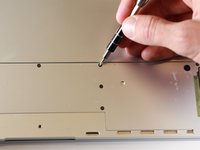
    • Remove the seventeen 3.0mm T5 Torx screws from the bottom panel.

    Ask FixBot

    Add Comment

  4. Google Pixelbook Display Replacement: step 4, image 1 of 3 Google Pixelbook Display Replacement: step 4, image 2 of 3 Google Pixelbook Display Replacement: step 4, image 3 of 3
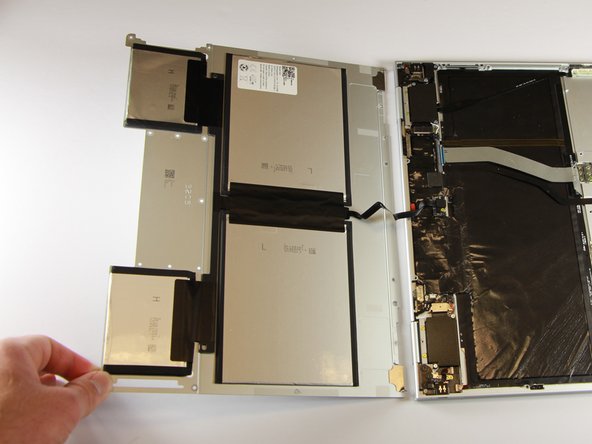
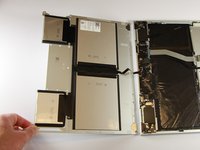
    • Use the nylon spudger to pry the edge of the Pixelbook up until you can grab the edge with your fingers.

    • Open the back panel completely and lay it flat so you see the whole inside of the computer.

    Ask FixBot

    Add Comment

  5. Google Pixelbook Display Replacement: step 5, image 1 of 2 Google Pixelbook Display Replacement: step 5, image 2 of 2
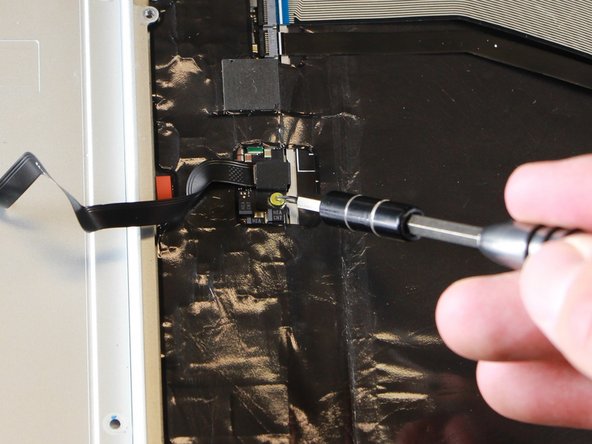
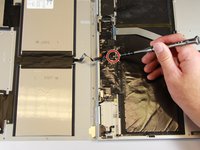
    • Remove the yellow 2.0mm screw from the middle of the panel by using the T3 Torx screwdriver to turn the screw counterclockwise.

    Ask FixBot

    Add Comment

  6. Google Pixelbook Display Replacement: step 6, image 1 of 2 Google Pixelbook Display Replacement: step 6, image 2 of 2
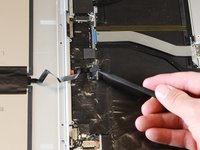
    • Remove the small, black casing by using the spudger to lift it up from its place.

    Ask FixBot

    Add Comment

  7. Google Pixelbook Display Replacement: step 7, image 1 of 1
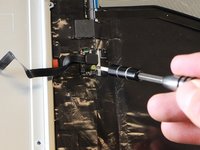
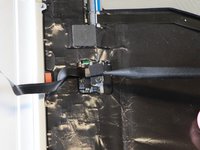
    • Disconnect the flat, black cord from the main component by using a spudger to push it out of the slot, or by using your hand to carefully pull it out.

    • Your back panel is now free from the main component.

    Ask FixBot

    Add Comment

  8. Google Pixelbook Display Replacement, Display Board: step 8, image 1 of 1
    • Use an iSclack, or suction cup, to lift up the corner of the display from the case.

    Ask FixBot

    Add Comment

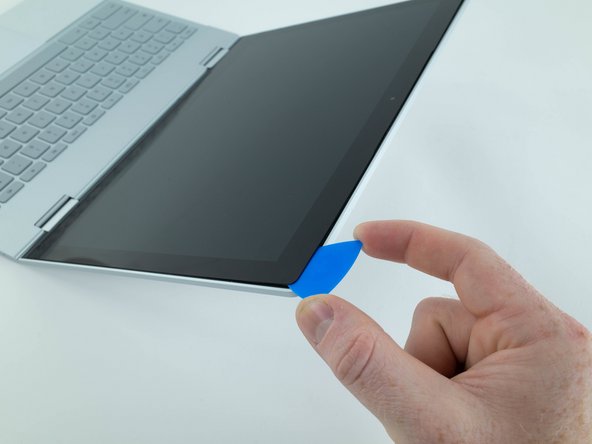
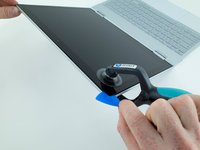
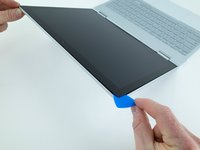
  9. Google Pixelbook Display Replacement: step 9, image 1 of 3 Google Pixelbook Display Replacement: step 9, image 2 of 3 Google Pixelbook Display Replacement: step 9, image 3 of 3
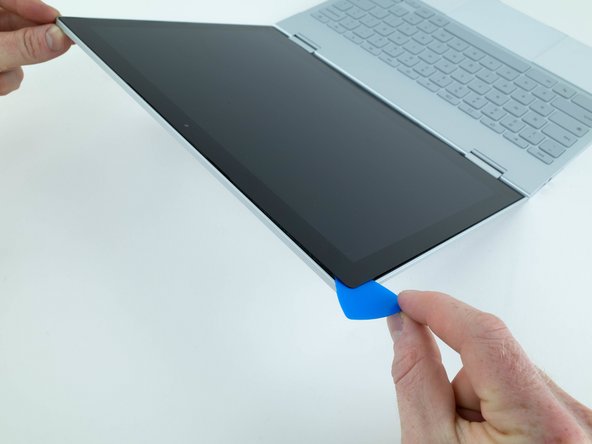
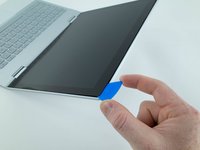
    • Insert an opening pick into the gap between the display and case.

    • Repeat this procedure on other side.

    Ask FixBot

    Add Comment

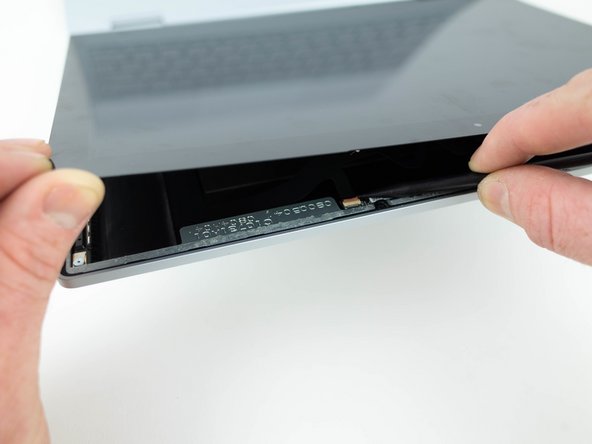
  10. Google Pixelbook Display Replacement: step 10, image 1 of 1
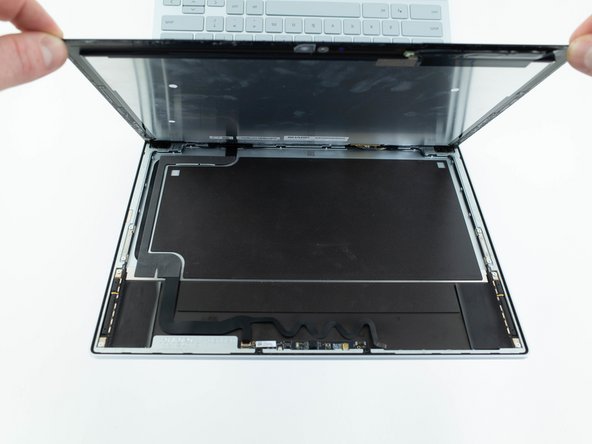
    • Using an opening pick, slowly pry up on the display until it separates.

    • Don't completely remove the display as ribbon cables connect it to the case.

    Ask FixBot

    Add Comment

  11. Google Pixelbook Display Replacement: step 11, image 1 of 3 Google Pixelbook Display Replacement: step 11, image 2 of 3 Google Pixelbook Display Replacement: step 11, image 3 of 3
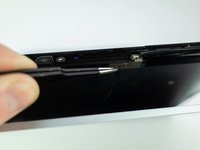
    • Use the pointed end of spudger to flip up the small locking flap on the ZIF connector.

    • Remove the display ribbon cable from the socket.

    Ask FixBot

    Add Comment

  12. Google Pixelbook Display Replacement: step 12, image 1 of 3 Google Pixelbook Display Replacement: step 12, image 2 of 3 Google Pixelbook Display Replacement: step 12, image 3 of 3
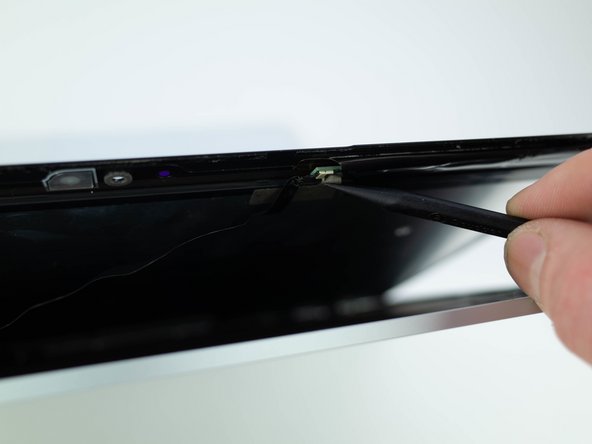
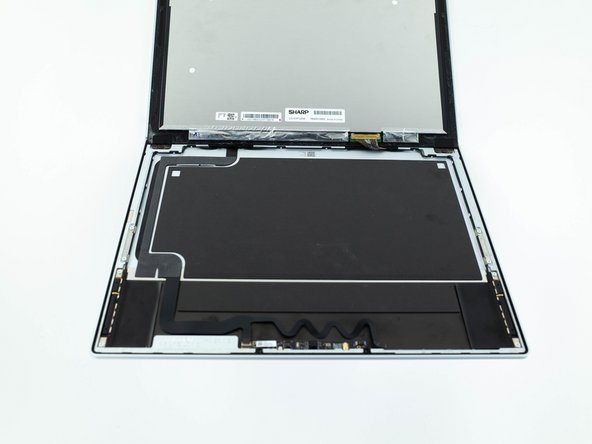
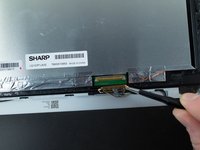
    • Use the pointed end of a spudger to flip up the small locking flap on the ZIF connector.

    • Remove the display ribbon cable from the socket.

    Ask FixBot

    Add Comment

  13. Google Pixelbook Display Replacement: step 13, image 1 of 3 Google Pixelbook Display Replacement: step 13, image 2 of 3 Google Pixelbook Display Replacement: step 13, image 3 of 3
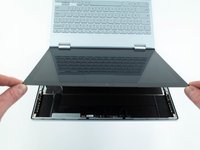
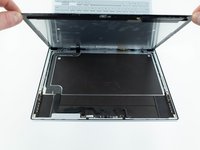
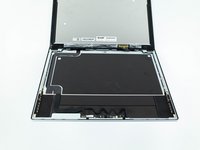
    • Flip the display over and lay it flat on the keyboard.

    Ask FixBot

    Add Comment

  14. Google Pixelbook Display Replacement: step 14, image 1 of 3 Google Pixelbook Display Replacement: step 14, image 2 of 3 Google Pixelbook Display Replacement: step 14, image 3 of 3
    Tool used on this step:
    Tweezers
    $4.99
    Buy
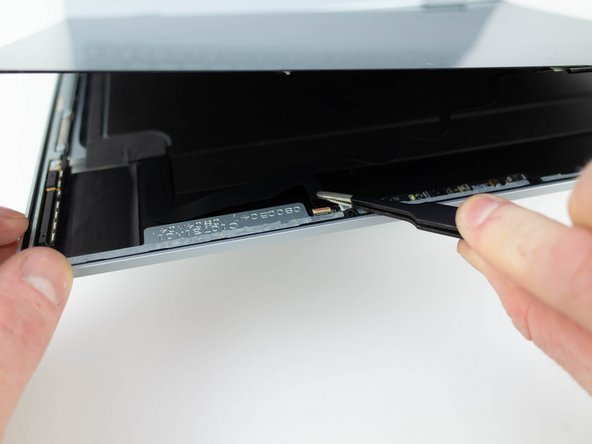
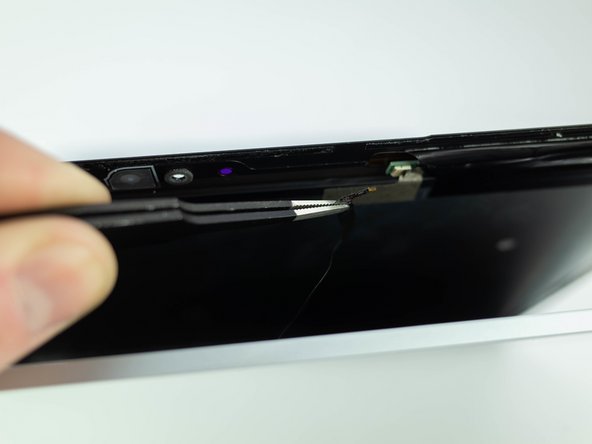
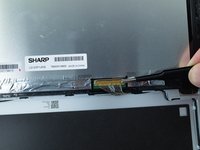
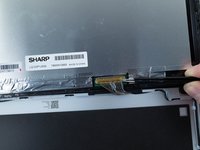
    • Use a pair of tweezers to grab the clip on the display connector and swing it over to the other side of the socket.

    • Pull on the clip to disconnect the display.

    • Remove the display.

    Ask FixBot

    Add Comment

Conclusion

To reassemble your device, follow these instructions in reverse order.

Cancel: I did not complete this guide.

12 other people completed this guide.

Blake Klein

Member since: 01/29/17

74,997 Reputation

50 Guides authored

9 Guide Comments

Where would you find a replacement display?

Carlos Garcia - Reply Share
Any idea on where to get a display replacement for the Pixelbook?

Nicolas - Reply Share

Is it necessary to remove the back in order to remove the screen? I cant see any connection between the two?

Thanks

Stevie B - Reply Share

You remove the back to disconnect the battery.

Sergio B - Reply Share

any idea how to remove the glass shade on the back panel?

jon - Reply Share

Add Comment

View Statistics:

Past 24 Hours: 7

Past 7 Days: 21

Past 30 Days: 106

All Time: 13,558