Free Shipping on Domestic Orders $75+

Google Pixel Watch 4 Battery Replacement

Views: 6.3K

View statistics:

Past 24 Hours:
15
Past 7 Days:
89
Past 30 Days:
381
All Time:
6,293
Comments: 7

6 comments on steps, 1 guide comment.

Go to guide comments
Completed: 2

2 people have marked this guide "completed." Will you be next?

Favorites: 0

No one has favorited (and subscribed to) this guide. Will you be the first?

Time Required: 20 - 30 minutes
Difficulty: Moderate
Featured Guide

This guide has been found to be exceptionally cool by the iFixit staff.

Google Pixel Watch 4 Battery Replacement

Introduction

Go to step 1 ↓

This repair guide was authored by the iFixit staff and hasn’t been endorsed by Google. Learn more about our repair guides here.

Use this guide to replace a dead or worn-out battery in your Google Pixel Watch 4.

Your watch's battery has a limited lifespan. If your watch doesn't hold a charge or dies unexpectedly, it might be time to replace the battery.

This guide was written using a 41 mm LTE model Pixel Watch 4. While some photos may contain slight visual discrepancies, procedures for all 41 mm and 45 mm models are functionally the same.

What you need

Fix Kits

These kits contain all the parts and tools needed to complete this guide.

Parts

Tools

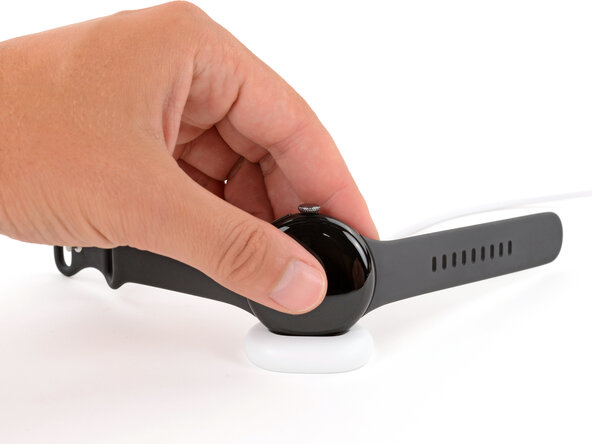
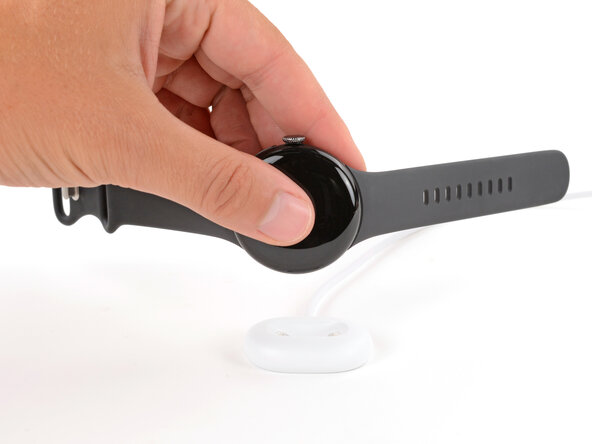
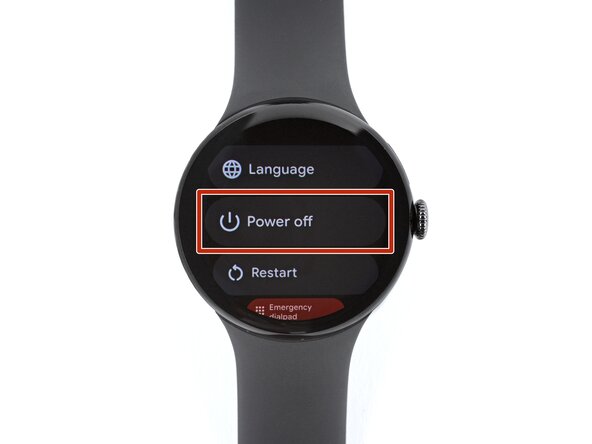
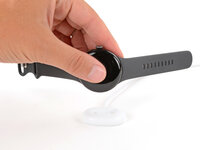
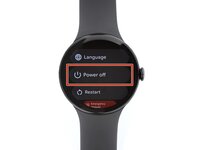
    1. Google Pixel Watch 4 Battery Replacement, Prepare your watch for disassembly: step 1, image 1 of 3 Google Pixel Watch 4 Battery Replacement, Prepare your watch for disassembly: step 1, image 2 of 3 Google Pixel Watch 4 Battery Replacement, Prepare your watch for disassembly: step 1, image 3 of 3
      • Before starting your repair:

      • Remove your watch from the charger.

      • Press and hold the crown button, then tap Power off to shut down your watch.

      Ask FixBot

      Add Comment

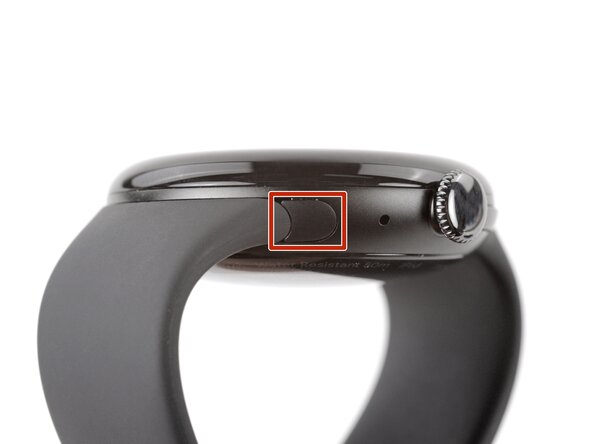
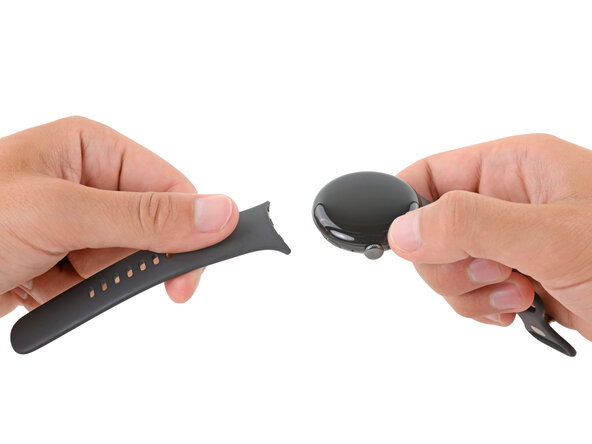
    2. Google Pixel Watch 4 Battery Replacement, Remove the watch bands: step 2, image 1 of 3 Google Pixel Watch 4 Battery Replacement, Remove the watch bands: step 2, image 2 of 3 Google Pixel Watch 4 Battery Replacement, Remove the watch bands: step 2, image 3 of 3
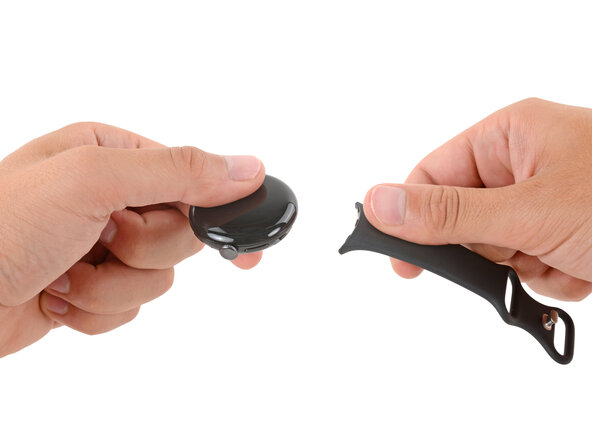
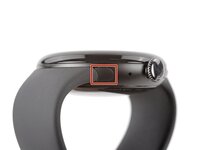
      • Remove each watch band by depressing the release button and sliding the band out of its groove.

      Ask FixBot

      Add Comment

    3. Google Pixel Watch 4 Battery Replacement: step 3, image 1 of 1
      • Throughout the rest of your repair, consider placing your watch on something soft like a clean cloth to help stabilize it and prevent scratches to the front glass.

      Ask FixBot

      Add Comment

    4. Google Pixel Watch 4 Battery Replacement, Remove the back sensor glass screws: step 4, image 1 of 3 Google Pixel Watch 4 Battery Replacement, Remove the back sensor glass screws: step 4, image 2 of 3 Google Pixel Watch 4 Battery Replacement, Remove the back sensor glass screws: step 4, image 3 of 3
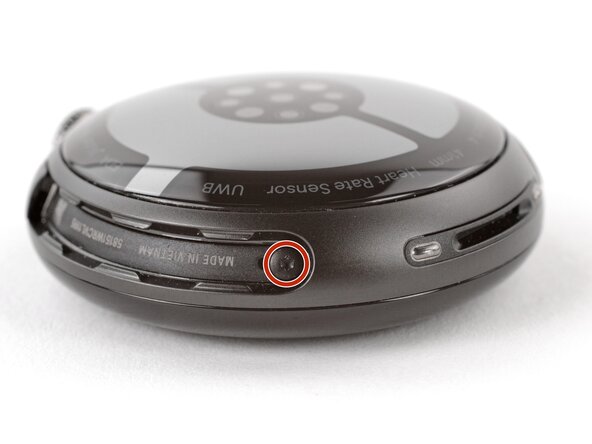
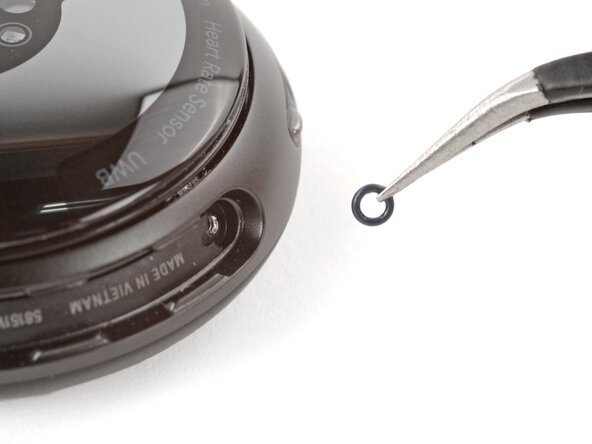
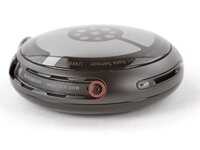
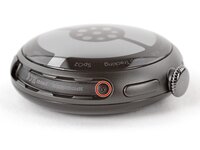
      • Use a Torx Plus 2IP screwdriver to remove the 3.0 mm‑long screw from both watch band grooves (two screws total).

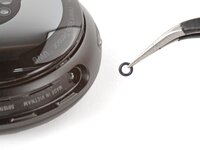
      • Both screws have a tiny O‑ring. If they don't lift away with the screw, use a pair of tweezers to carefully remove them from the band groove and set them aside. These O-rings are required to maintain waterproofing.

      • Handle these O-rings carefully. Avoid pinching or slicing them with your tool.

      • During reassembly:

      • Make sure the O‑rings are on the screws before installing them.

      • Push down firmly on the back glass while installing the screws to make sure the glass gets properly seated.

      • If there's a gap between the back glass and frame, remove the screws and reinstall them.

      Ask FixBot

      Add Comment

    5. Google Pixel Watch 4 Battery Replacement, Separate the back sensor glass: step 5, image 1 of 2 Google Pixel Watch 4 Battery Replacement, Separate the back sensor glass: step 5, image 2 of 2
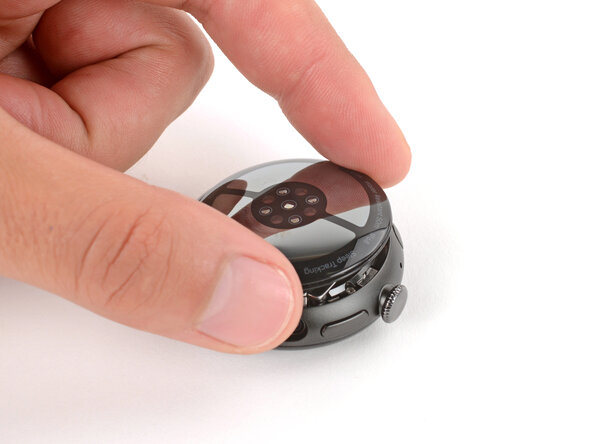
      • Insert the point of a spudger (or a clean fingernail) into the seam between the back sensor glass and frame and pry up until the cover detaches.

      Ask FixBot

      Add Comment

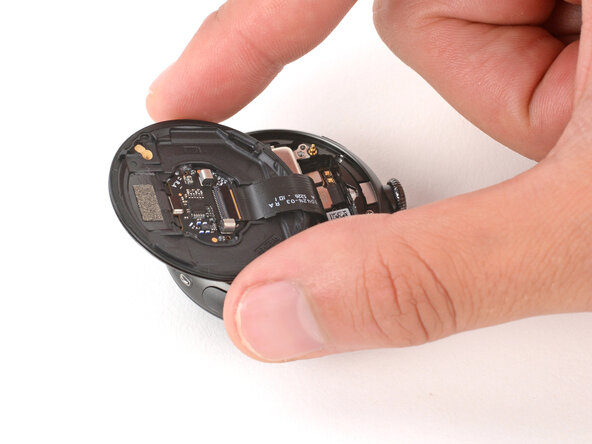
    6. Google Pixel Watch 4 Battery Replacement, Reposition the back sensor glass: step 6, image 1 of 3 Google Pixel Watch 4 Battery Replacement, Reposition the back sensor glass: step 6, image 2 of 3 Google Pixel Watch 4 Battery Replacement, Reposition the back sensor glass: step 6, image 3 of 3
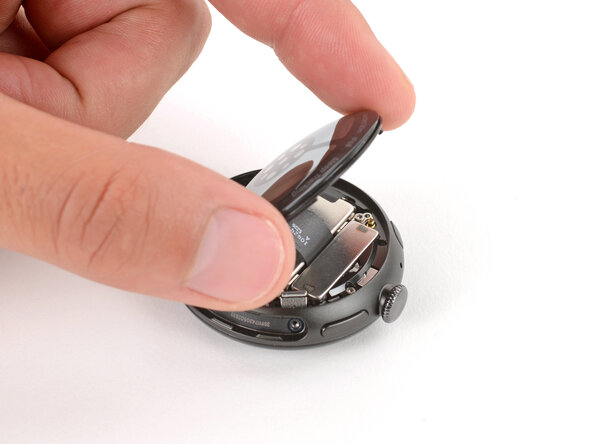
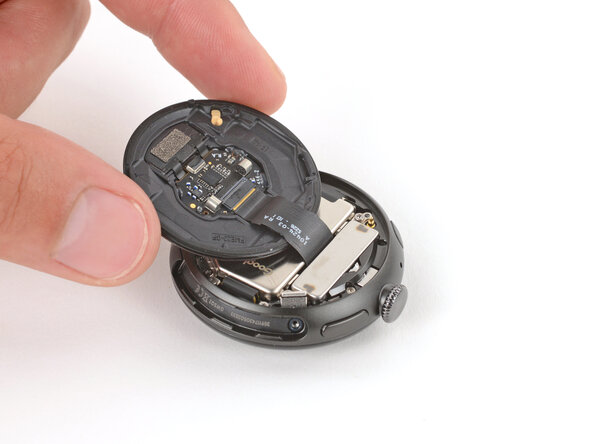
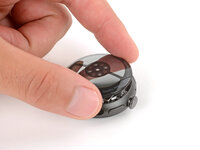
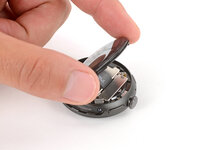
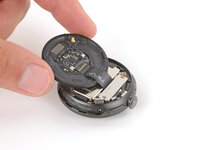
      • Gently lift the back glass and flip it over the side of the watch opposite the crown.

      • Be careful not to strain the cable connecting the back sensor glass.

      Ask FixBot

      Add Comment

    1. Google Pixel Watch 4 Battery Replacement, Remove the vibration motor screws: step 7, image 1 of 2 Google Pixel Watch 4 Battery Replacement, Remove the vibration motor screws: step 7, image 2 of 2
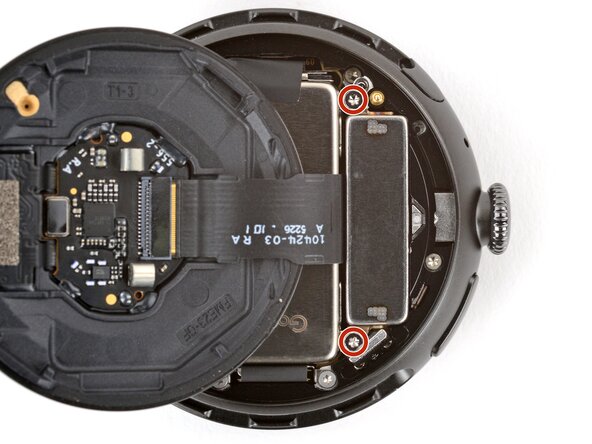
      • Optionally, you can disconnect the back glass to give you more room to work—though you can complete the repair just fine with it still connected.

      • Use a Torx Plus 2IP screwdriver to remove the two 2.2 mm‑long screws securing the vibration motor.

      Ask FixBot

      Add Comment

    2. Google Pixel Watch 4 Battery Replacement, Remove the vibration motor: step 8, image 1 of 2 Google Pixel Watch 4 Battery Replacement, Remove the vibration motor: step 8, image 2 of 2
      Ask FixBot

      Add Comment

    1. Google Pixel Watch 4 Battery Replacement, Reposition the back sensor glass: step 9, image 1 of 3 Google Pixel Watch 4 Battery Replacement, Reposition the back sensor glass: step 9, image 2 of 3 Google Pixel Watch 4 Battery Replacement, Reposition the back sensor glass: step 9, image 3 of 3
      • Gently flip the back sensor glass over the crown-side of the watch.

      Ask FixBot

      Add Comment

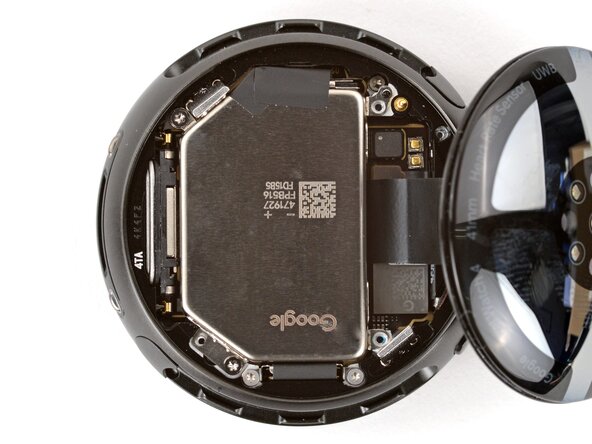
    2. Google Pixel Watch 4 Battery Replacement, Disconnect the battery: step 10, image 1 of 2 Google Pixel Watch 4 Battery Replacement, Disconnect the battery: step 10, image 2 of 2
      • Use the point of a spudger to pry up and disconnect the battery press connector.

      • During reassembly, use the point of a spudger to press down and reconnect the press connector.

      • This can be tricky, and may take a few tries.

      • If you're having trouble, loosen the two battery screws and reposition the connector. Once connected, re-tighten the battery screws.

      Ask FixBot

      Add Comment

    3. Google Pixel Watch 4 Battery Replacement, Remove the battery screws: step 11, image 1 of 2 Google Pixel Watch 4 Battery Replacement, Remove the battery screws: step 11, image 2 of 2
      • Use a Torx Plus 2IP screwdriver to remove the two 2.2 mm‑long screws securing the battery.

      Ask FixBot

      Add Comment

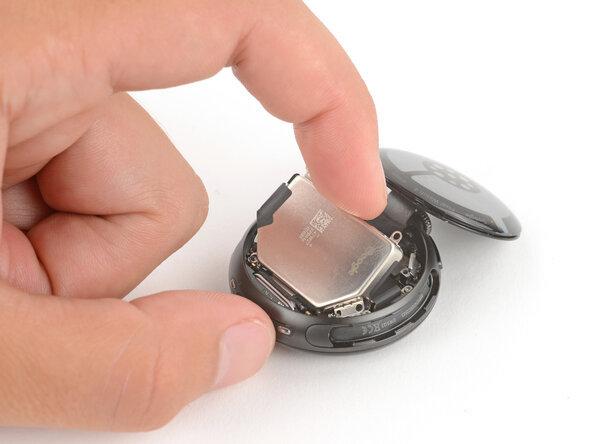
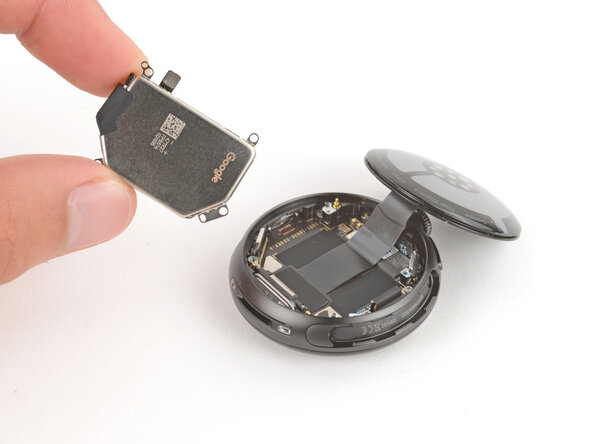
    4. Google Pixel Watch 4 Battery Replacement, Remove the battery: step 12, image 1 of 3 Google Pixel Watch 4 Battery Replacement, Remove the battery: step 12, image 2 of 3 Google Pixel Watch 4 Battery Replacement, Remove the battery: step 12, image 3 of 3
      • Remove the battery.

      Ask FixBot

      Add Comment

Conclusion

To reassemble your device, follow these instructions in reverse order.

For optimal performance, calibrate your newly installed battery after completing this guide.

Take your e-waste to an R2 or e-Stewards certified recycler.

Repair didn’t go as planned? Try some basic troubleshooting, or ask our Answers community for help.

Cancel: I did not complete this guide.

2 other people completed this guide.

Spencer Day

Member since: 09/14/22

207,239 Reputation

1,266 Guides authored

1 Guide Comment

No adhesive needed? This feels very refreshing, good job google!

Victor Coulon - Reply Share
Add Comment

View Statistics:

Past 24 Hours: 15

Past 7 Days: 89

Past 30 Days: 381

All Time: 6,293