
Google Pixel Buds 2a Bottom Shell Replacement

Spencer Day and one other contributor
Last updated on Oct 28, 2025
Views: 461
View statistics:
- Past 24 Hours:
- 5
- Past 7 Days:
- 13
- Past 30 Days:
- 88
- All Time:
- 461
Comments: 0
No one has left comments on this guide. Will you be first?
Go to guide commentsCompleted: 0 1
No one has marked this guide "completed." Will you be the first?
1 person has marked this guide "completed." It's you — great job!
Favorites: 0 1
No one has favorited (and subscribed to) this guide. Will you be the first?
1 person has favorited (and subscribed to) this guide — and that's you!
Introduction
Go to step 1 ↓This repair guide was authored by the iFixit staff and hasn’t been endorsed by Google. Learn more about our repair guides here.
Follow this guide to replace the bottom shell on the charging case for your Google Pixel Buds 2a headphones.
What you need
Tools


-
-
-
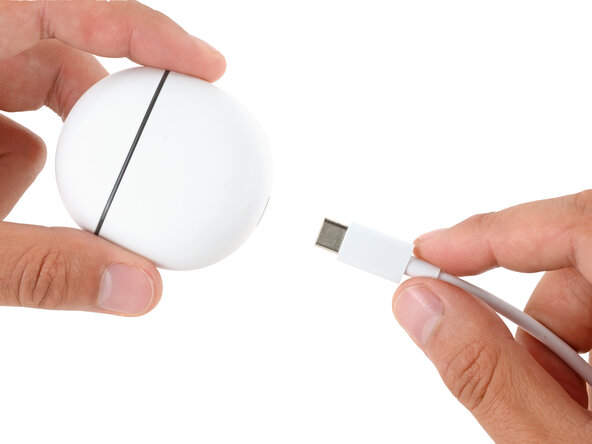
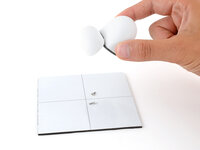
Before starting your repair, unplug your charging case.
 Ask FixBot
-
-
-
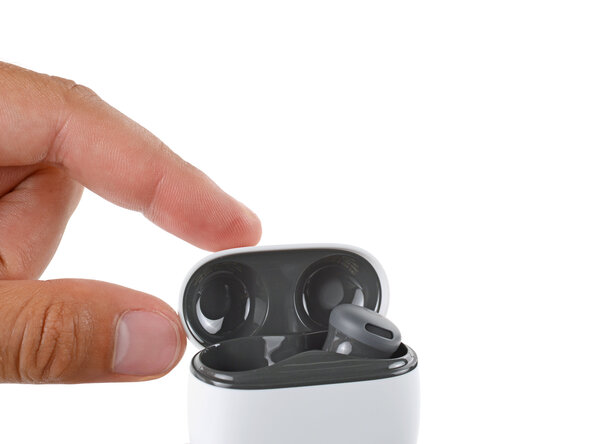
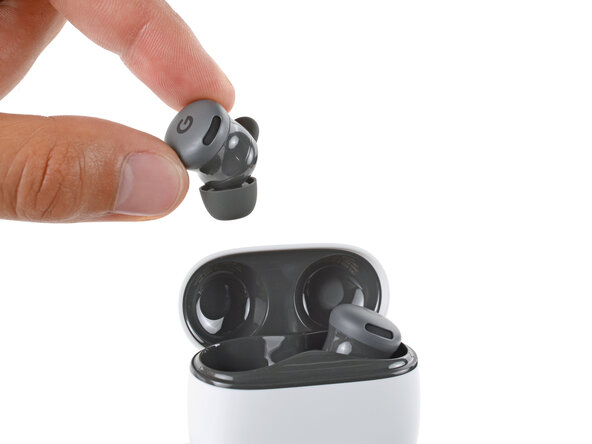
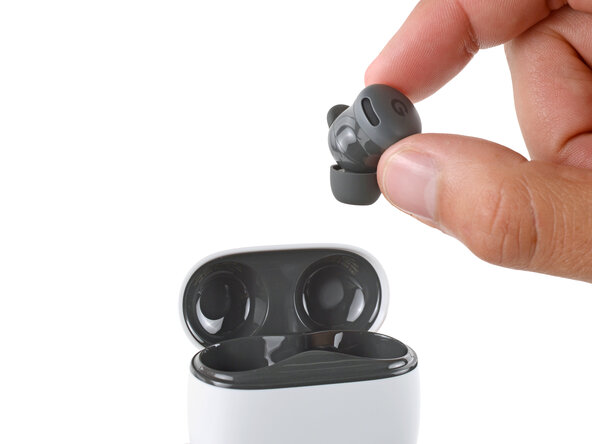
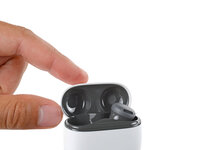
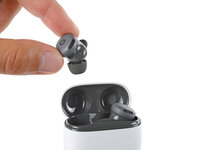
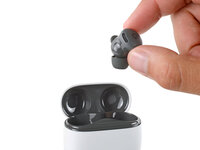
Open the case lid, remove the Pixel Buds, and set them aside.
-
-
-
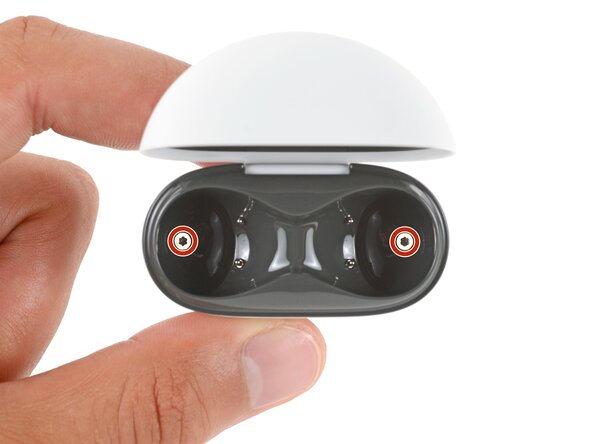
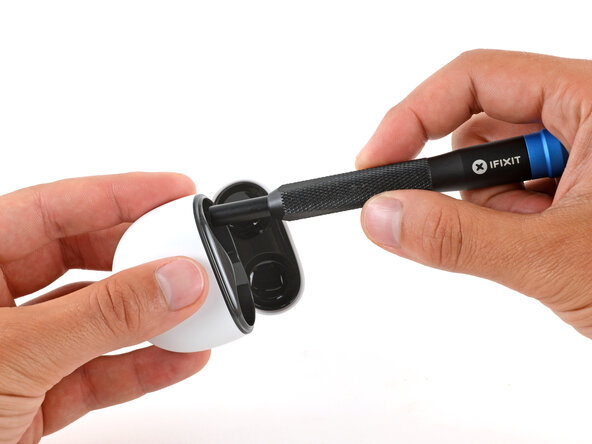
Use a T5 Torx screwdriver to remove the two 6.2 mm‑long screws from the ear bud recesses.
-
-
-
-
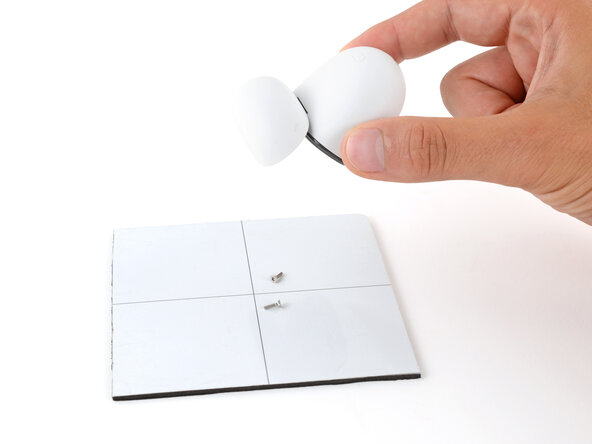
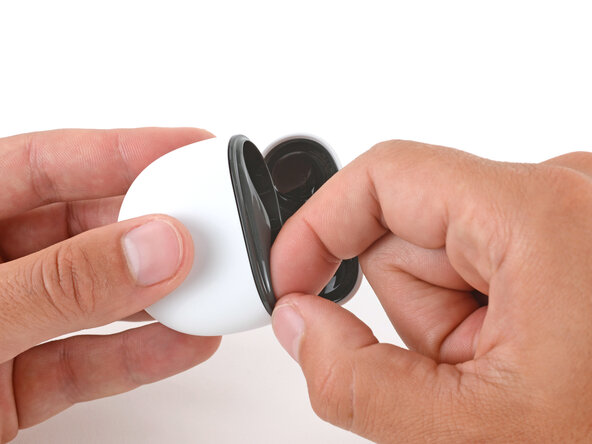
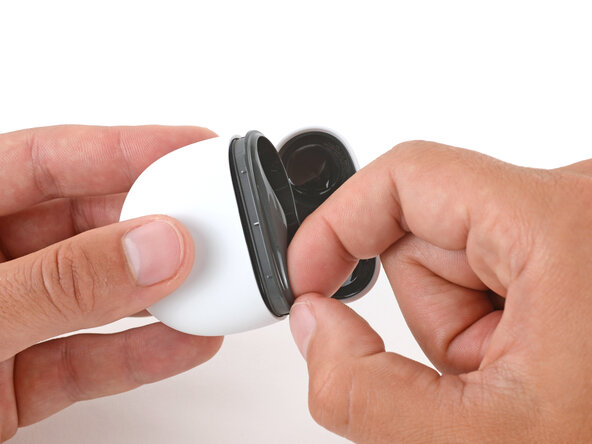
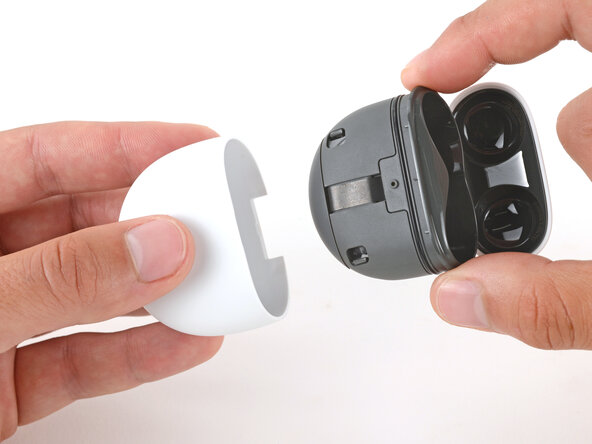
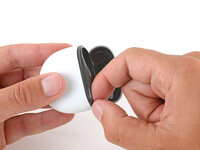
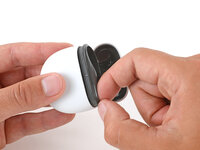
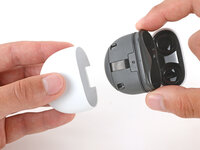
Slide the main body of the charging case completely out of the bottom shell, inserting a fingernail in the seam near the top of the case to create an initial gap.
-
-
To reassemble your device, follow these instructions in reverse order.
Take your e-waste to an R2 or e-Stewards certified recycler.
Repair didn’t go as planned? Try some basic troubleshooting, or ask our Answers community for help.

