Free Shipping on Domestic Orders $75+

Google Pixel 9 Motherboard Replacement

What you need

    1. Google Pixel 9 Motherboard Replacement, Prepare your Pixel for disassembly: step 1, image 1 of 3 Google Pixel 9 Motherboard Replacement, Prepare your Pixel for disassembly: step 1, image 2 of 3 Google Pixel 9 Motherboard Replacement, Prepare your Pixel for disassembly: step 1, image 3 of 3
      • Let your Pixel's battery drain below 25% before starting this repair. A charged lithium‑ion battery may catch fire if damaged.

      • Unplug all cables from your phone.

      • Completely power off your phone.

      • Press the power and volume up buttons at the same time to bring up the shutdown menu.

      Ask FixBot

      Add Comment

    1. Google Pixel 9 Motherboard Replacement, Adhesive information: step 2, image 1 of 3 Google Pixel 9 Motherboard Replacement, Adhesive information: step 2, image 2 of 3 Google Pixel 9 Motherboard Replacement, Adhesive information: step 2, image 3 of 3
      • Adhesive secures the perimeter of the back glass to the frame.

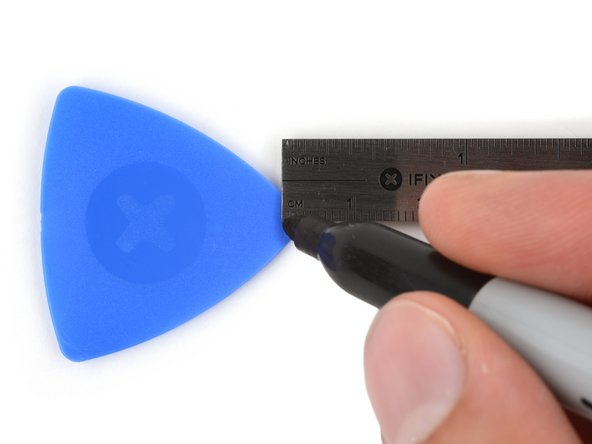
      • When separating the adhesive, don't insert your tool more than 3 mm under the back glass to avoid damaging the internal components.

      • To help, measure and mark 3 mm from the tip of an opening pick with a permanent marker.

      • If your screen or back glass is badly cracked, a suction cup may not perfectly adhere.

      • Lay overlapping strips of packing tape over the glass to protect yourself and make disassembly easier. Ensure there's a smooth area near the bottom edge that's large and smooth enough for a suction cup to stick to.

      Ask FixBot

      Add Comment

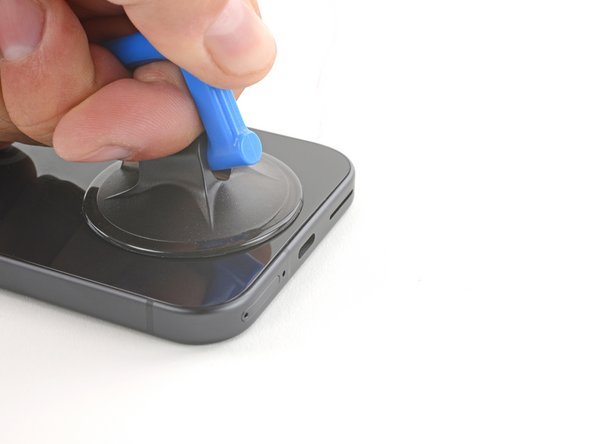
    2. Google Pixel 9 Motherboard Replacement, Apply a suction handle: step 3, image 1 of 2 Google Pixel 9 Motherboard Replacement, Apply a suction handle: step 3, image 2 of 2
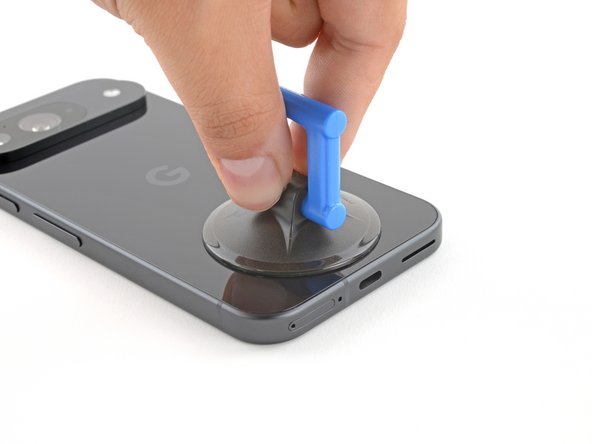
      • Place a suction handle at the bottom edge of the back glass, as close to the edge as possible.

      • Push down to attach the suction cup.

      Ask FixBot

      Add Comment

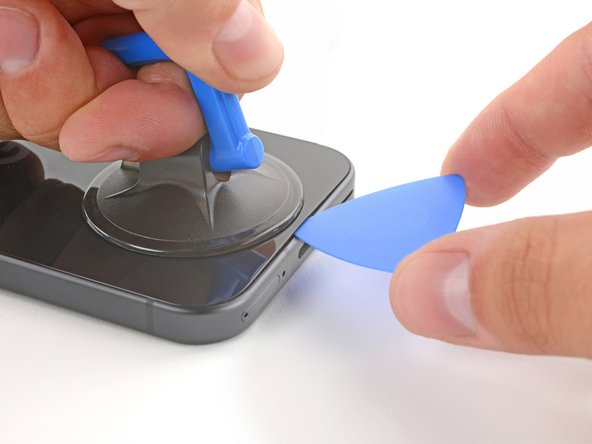
    3. Google Pixel 9 Motherboard Replacement, Insert an opening pick: step 4, image 1 of 3 Google Pixel 9 Motherboard Replacement, Insert an opening pick: step 4, image 2 of 3 Google Pixel 9 Motherboard Replacement, Insert an opening pick: step 4, image 3 of 3
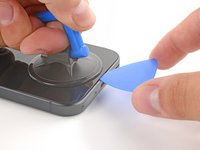
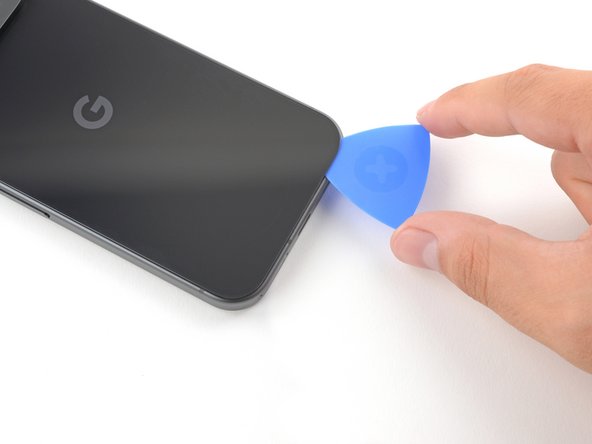
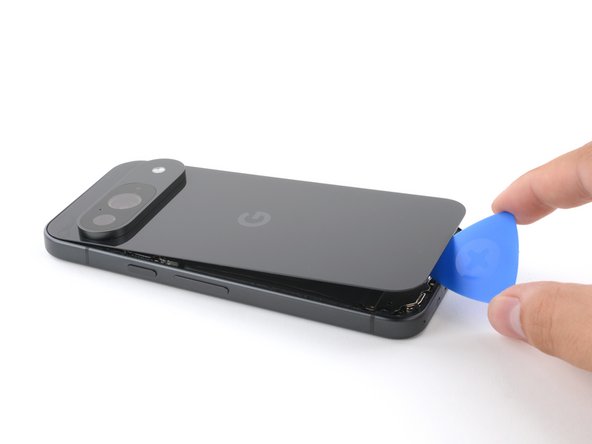
      • Pull up on the suction handle with strong, steady force to create a small gap under the back glass.

      • Insert the tip of an opening pick into the gap.

      Ask FixBot

      Add Comment

    4. Google Pixel 9 Motherboard Replacement, Separate the back glass adhesive: step 5, image 1 of 3 Google Pixel 9 Motherboard Replacement, Separate the back glass adhesive: step 5, image 2 of 3 Google Pixel 9 Motherboard Replacement, Separate the back glass adhesive: step 5, image 3 of 3
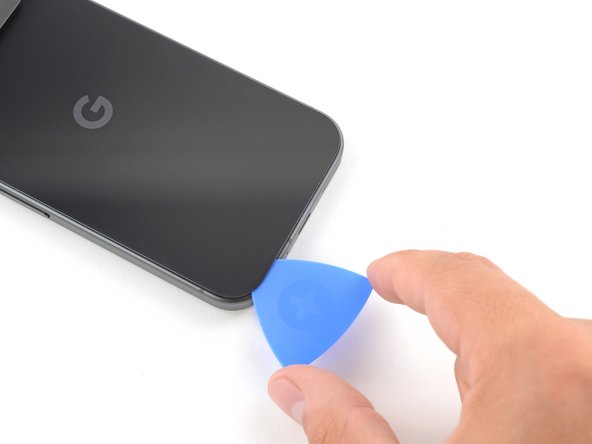
      • Slide the opening pick back and forth along the bottom edge to separate the adhesive securing it.

      • Remember: don't insert the opening pick deeper than 3 mm.

      Ask FixBot

      Add Comment

    5. Google Pixel 9 Motherboard Replacement: step 6, image 1 of 3 Google Pixel 9 Motherboard Replacement: step 6, image 2 of 3 Google Pixel 9 Motherboard Replacement: step 6, image 3 of 3
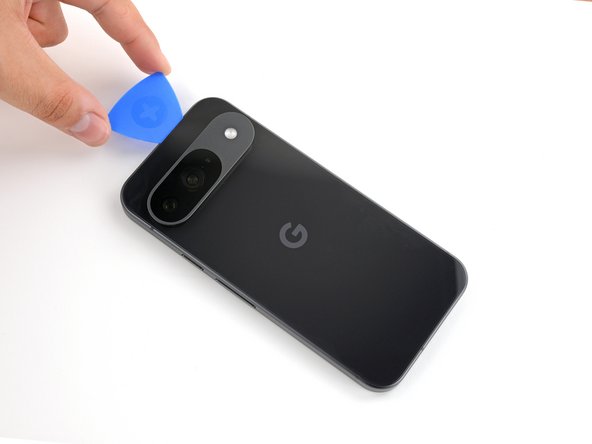
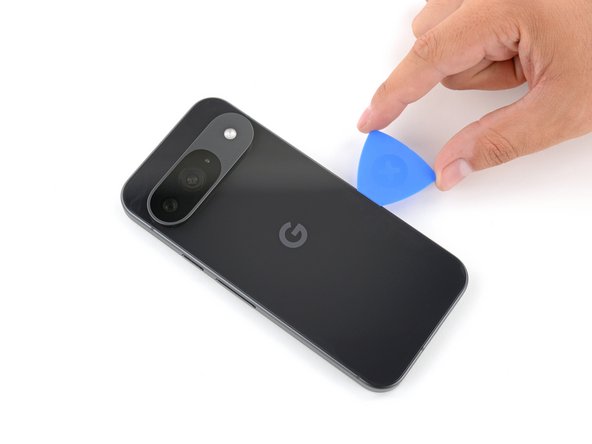
      • Slide the opening pick around the perimeter of the phone, slicing the rest of the adhesive.

      Ask FixBot

      Add Comment

    6. Google Pixel 9 Motherboard Replacement: step 7, image 1 of 3 Google Pixel 9 Motherboard Replacement: step 7, image 2 of 3 Google Pixel 9 Motherboard Replacement: step 7, image 3 of 3
      • With most of the adhesive separated, lightly twist the opening pick at the bottom edge to lift the back glass up until you can grip it with your fingers.

      • Use the opening pick to separate any remaining sections of adhesive securing the back glass.

      Ask FixBot

      Add Comment

    7. Google Pixel 9 Motherboard Replacement, Remove the back glass: step 8, image 1 of 1
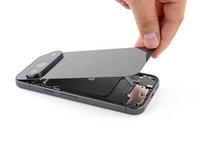
      • Remove the back glass.

      • During reassembly:

      • Now is a good time to test your phone before sealing it up. Power it on and check that it works. Power it back down before you continue reassembly.

      • Follow this guide to apply new adhesive and install your back glass.

      Ask FixBot

      Add Comment

    1. Google Pixel 9 Motherboard Replacement, Remove the upper board cover: step 9, image 1 of 1
      Tool used on this step:
      FixMat
      $36.95
      Buy
      • Throughout this repair, keep track of each screw and make sure it goes back exactly where it came from.

      • While the Pixel 9 uses Torx Plus screws, standard Torx bits also work. Make sure to apply constant, downward force to prevent stripping.

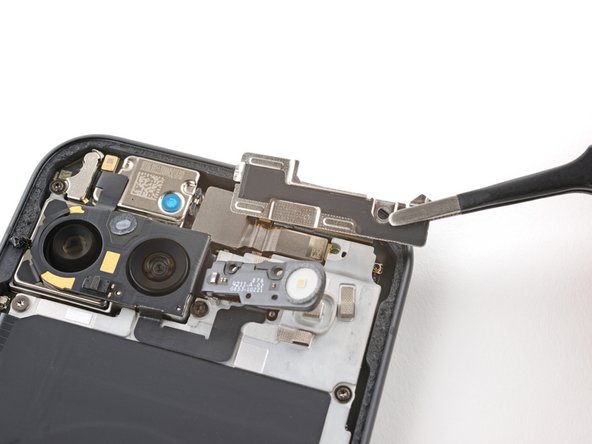
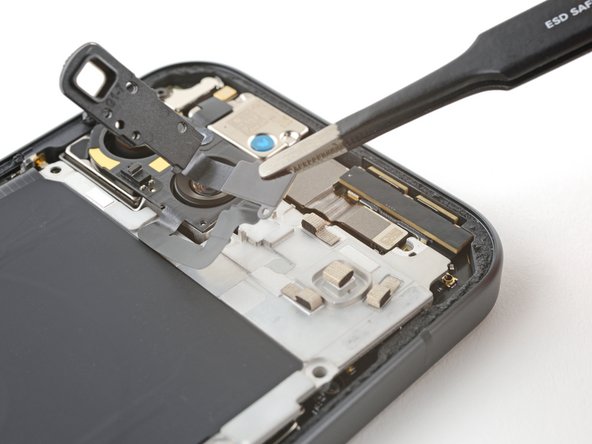
      • Use a 3IP Torx Plus driver to remove the single 5.4 mm‑long screw securing the upper board cover.

      Ask FixBot

      Add Comment

    2. Google Pixel 9 Motherboard Replacement: step 10, image 1 of 2 Google Pixel 9 Motherboard Replacement: step 10, image 2 of 2
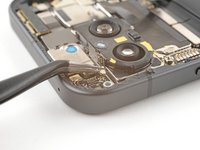
      • Use a pair of tweezers to remove the upper board cover.

      Ask FixBot

      Add Comment

    3. Google Pixel 9 Motherboard Replacement, Remove the midframe: step 11, image 1 of 1
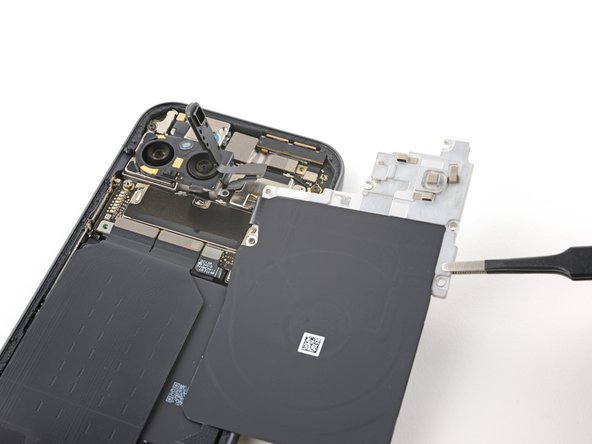
      • Use a 3IP Torx driver to remove the five screws securing the midframe and wireless charging coil:

      • Four 5.4 mm-long screws

      • One 2.2 mm-long screw

      Ask FixBot

      Add Comment

    4. Google Pixel 9 Motherboard Replacement, Peel up the flash cable: step 12, image 1 of 2 Google Pixel 9 Motherboard Replacement, Peel up the flash cable: step 12, image 2 of 2
      • Use a pair of tweezers to peel the flash cable off of the metal midframe.

      Ask FixBot

      Add Comment

    5. Google Pixel 9 Motherboard Replacement, Remove the midframe: step 13, image 1 of 2 Google Pixel 9 Motherboard Replacement, Remove the midframe: step 13, image 2 of 2
      • Remove the midframe, wireless charging coil, and NFC assembly.

      Ask FixBot

      Add Comment

    6. Google Pixel 9 Motherboard Replacement, Disconnect the battery: step 14, image 1 of 2 Google Pixel 9 Motherboard Replacement, Disconnect the battery: step 14, image 2 of 2
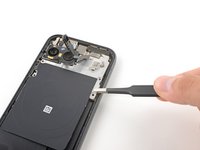
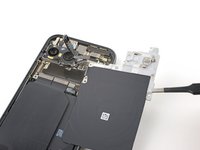
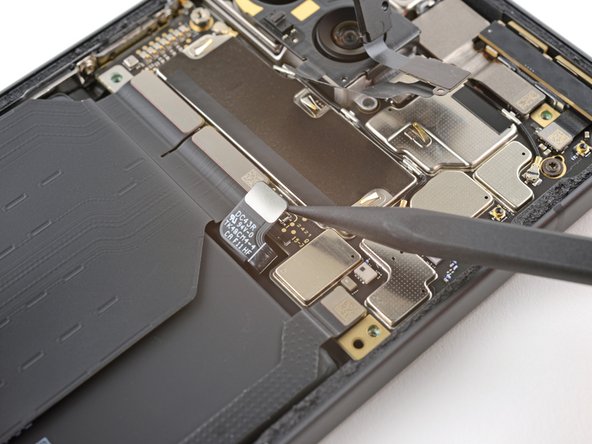
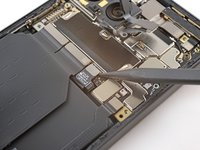
      • Use the tip of a spudger to pry up and disconnect the battery connector.

      Ask FixBot

      Add Comment

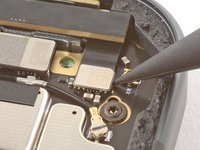
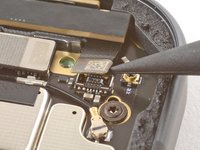
    1. Google Pixel 9 Motherboard Replacement, Disconnect the 5G mmWave antenna: step 15, image 1 of 3 Google Pixel 9 Motherboard Replacement, Disconnect the 5G mmWave antenna: step 15, image 2 of 3 Google Pixel 9 Motherboard Replacement, Disconnect the 5G mmWave antenna: step 15, image 3 of 3
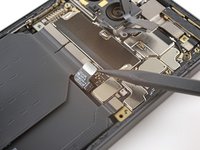
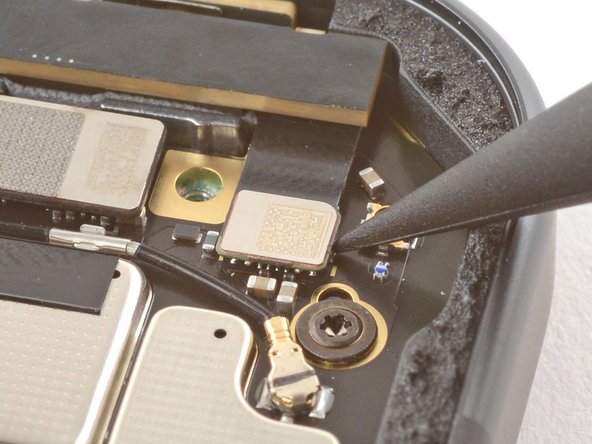
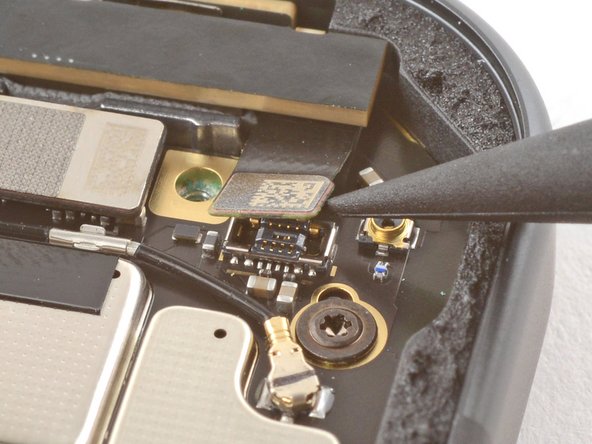
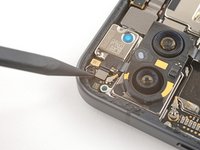
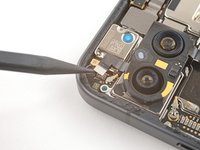
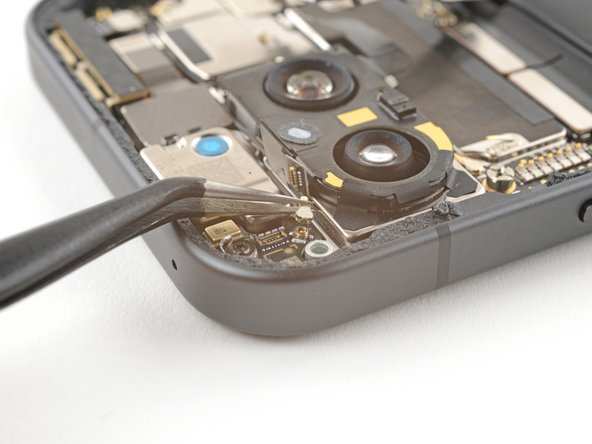
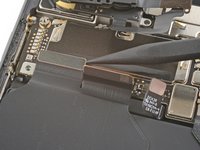
      • Use the tip of a spudger to pry up and disconnect the 5G mmWave antenna's press connector.

      Ask FixBot

      Add Comment

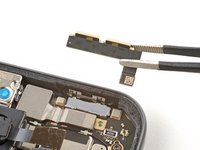
    2. Google Pixel 9 Motherboard Replacement, Remove the 5G mmWave antenna: step 16, image 1 of 3 Google Pixel 9 Motherboard Replacement, Remove the 5G mmWave antenna: step 16, image 2 of 3 Google Pixel 9 Motherboard Replacement, Remove the 5G mmWave antenna: step 16, image 3 of 3
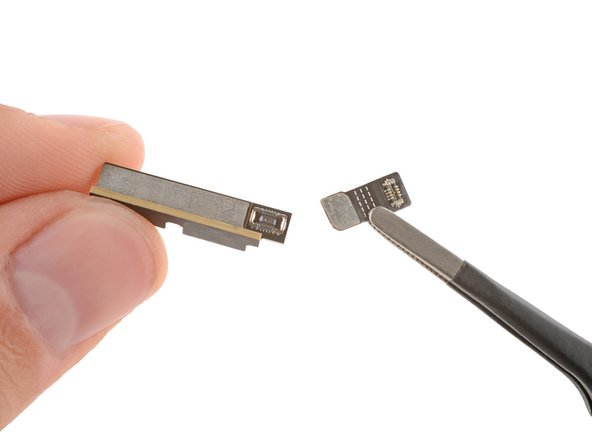
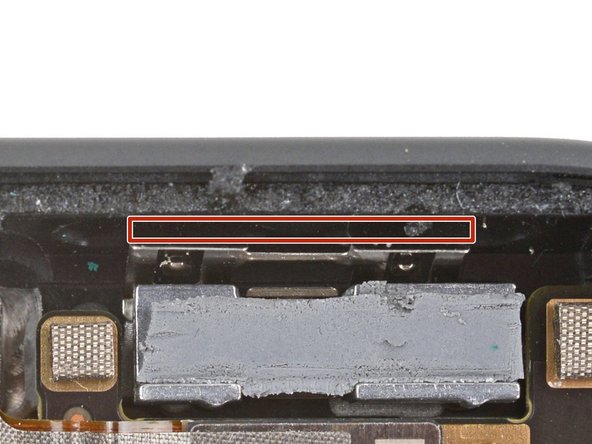
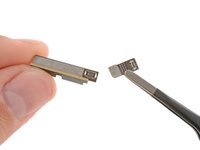
      • Remove the 5G mmWave antenna.

      • A small flex cable attaches to the back of the antenna with a press connector. You may need to reconnect it if it falls off.

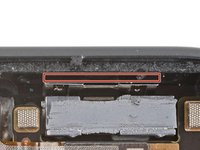
      • During reassembly, insert the antenna so it's between the frame and the small metal bracket near the top right corner.

      Ask FixBot

      Add Comment

    1. Google Pixel 9 Motherboard Replacement, Remove the antenna board cover: step 17, image 1 of 1
      • Use a 3IP Torx Plus driver to remove the 5.4 mm-long screw securing the antenna board cover.

      Ask FixBot

      Add Comment

    2. Google Pixel 9 Motherboard Replacement: step 18, image 1 of 1
      • Use a pair of tweezers to remove the antenna board cover.

      Ask FixBot

      Add Comment

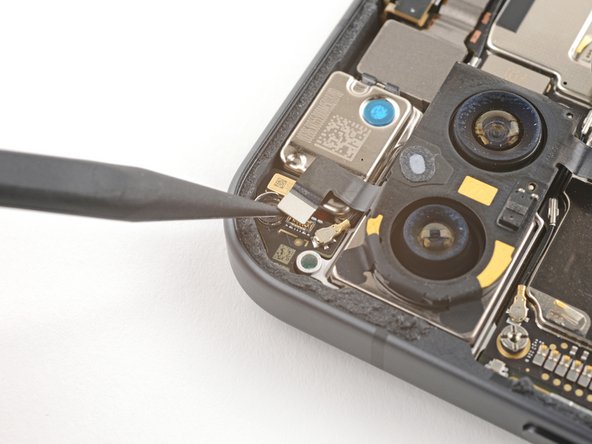
    3. Google Pixel 9 Motherboard Replacement, Disconnect the autofocus cable: step 19, image 1 of 2 Google Pixel 9 Motherboard Replacement, Disconnect the autofocus cable: step 19, image 2 of 2
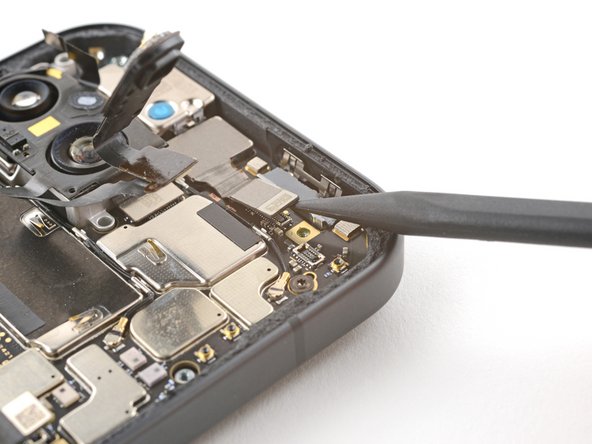
      • Use the tip of a spudger to pry up and disconnect the autofocus connector from the motherboard.

      Ask FixBot

      Add Comment

    4. Google Pixel 9 Motherboard Replacement, Disconnect the antenna cable: step 20, image 1 of 2 Google Pixel 9 Motherboard Replacement, Disconnect the antenna cable: step 20, image 2 of 2
      • Insert one arm of a pair of angled tweezers under the metal neck of the antenna board's coaxial antenna cable.

      • Lift straight up to disconnect the antenna.

      Ask FixBot

      Add Comment

    5. Google Pixel 9 Motherboard Replacement, Disconnect the front camera: step 21, image 1 of 2 Google Pixel 9 Motherboard Replacement, Disconnect the front camera: step 21, image 2 of 2
      • Use the tip of a spudger to pry up and disconnect the front camera press connector.

      Ask FixBot

      Add Comment

    6. Google Pixel 9 Motherboard Replacement, Disconnect the interconnect cables: step 22, image 1 of 3 Google Pixel 9 Motherboard Replacement, Disconnect the interconnect cables: step 22, image 2 of 3 Google Pixel 9 Motherboard Replacement, Disconnect the interconnect cables: step 22, image 3 of 3
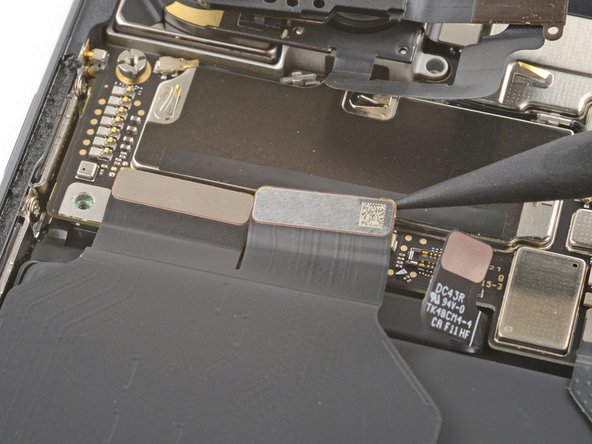
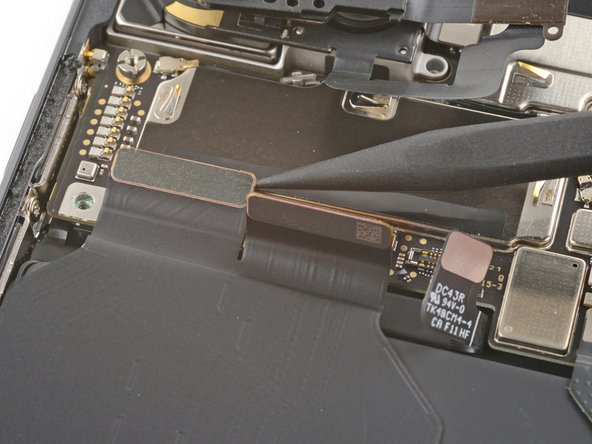
      • Use the tip of a spudger to pry up and disconnect the top two interconnect cable press connectors from the bottom edge of the motherboard.

      Ask FixBot

      Add Comment

    7. Google Pixel 9 Motherboard Replacement, Unscrew the motherboard: step 23, image 1 of 1
      Tool used on this step:
      Standoff Screwdriver for iPhones
      $5.49
      Buy
      • Remove the two screws securing the motherboard:

      • One 2.9 mm-long 3IP Torx Plus screw

      • One 5 mm-long standoff screw

      Ask FixBot

      Add Comment

    8. Google Pixel 9 Motherboard Replacement, Lift up the motherboard: step 24, image 1 of 3 Google Pixel 9 Motherboard Replacement, Lift up the motherboard: step 24, image 2 of 3 Google Pixel 9 Motherboard Replacement, Lift up the motherboard: step 24, image 3 of 3
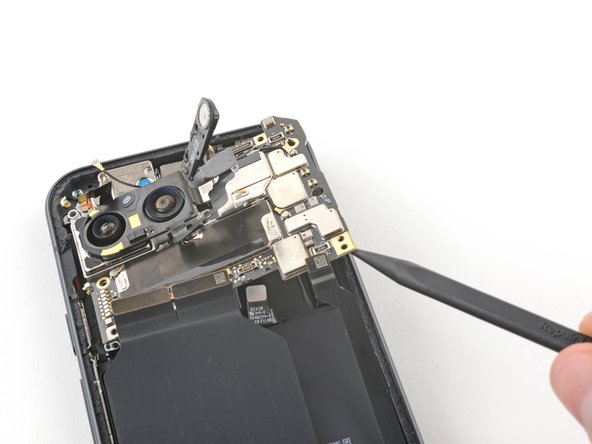
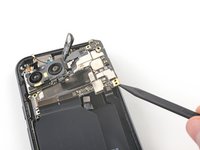
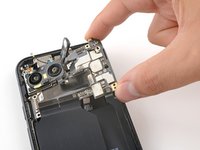
      • Insert the tip of a spudger underneath the bottom right corner of the motherboard.

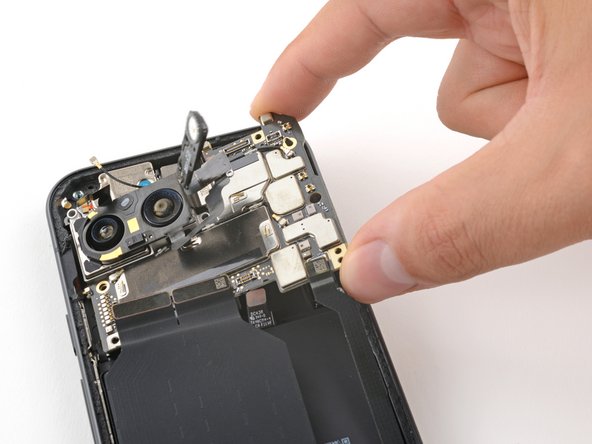
      • Lift up with the spudger to dislodge the motherboard.

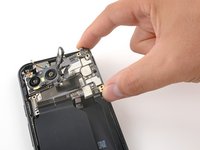
      • Lift the motherboard up until you can grip it with your fingers.

      Ask FixBot

      Add Comment

    9. Google Pixel 9 Motherboard Replacement, Remove the motherboard: step 25, image 1 of 2 Google Pixel 9 Motherboard Replacement, Remove the motherboard: step 25, image 2 of 2
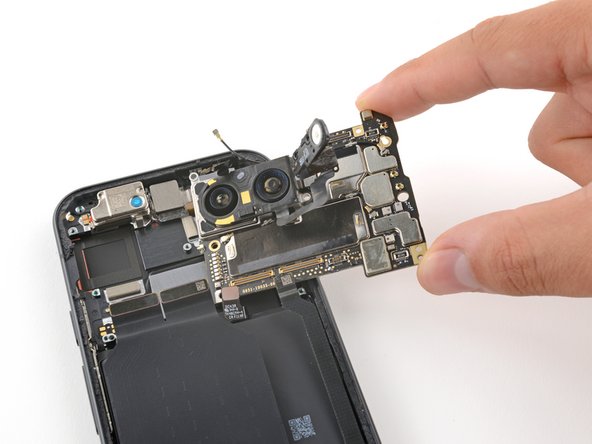
      • Remove the motherboard.

      Ask FixBot

      Add Comment

    10. Google Pixel 9 Motherboard Replacement, Thermal pad reassembly information: step 26, image 1 of 3 Google Pixel 9 Motherboard Replacement, Thermal pad reassembly information: step 26, image 2 of 3 Google Pixel 9 Motherboard Replacement, Thermal pad reassembly information: step 26, image 3 of 3
      • During reassembly:

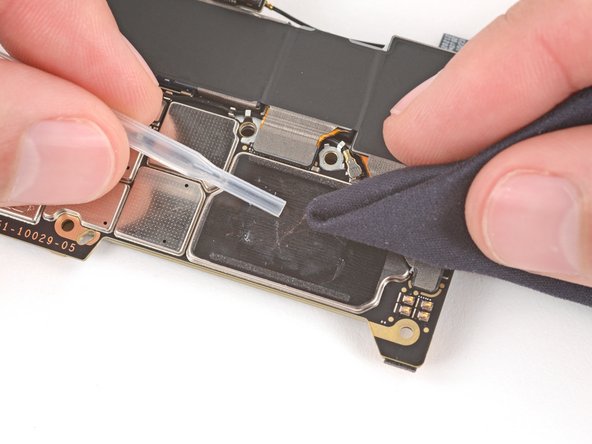
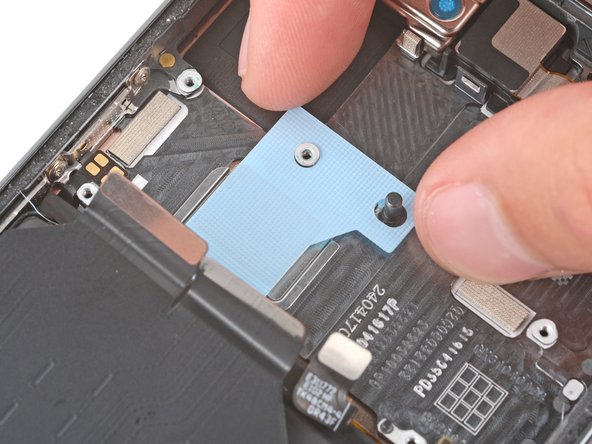
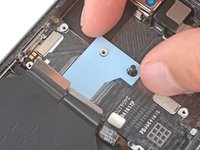
      • Check the condition of the logic board thermal pad—it will either be on the bottom of the logic board or on the frame.

      • If the pad is undamaged, skip the rest of this step.

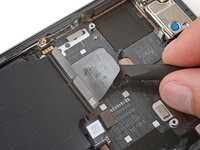
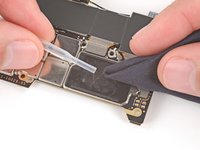
      • If the pad is damaged, use the flat end of a spudger to scrape it up and remove it.

      • Use isopropyl alcohol (greater than 90%) and a microfiber cloth to remove all thermal pad residue from the frame and bottom of the logic board.

      • Apply a new thermal pad to its spot on the frame.

      Ask FixBot

      Add Comment

    1. Google Pixel 9 Motherboard Replacement, Disconnect the flash: step 27, image 1 of 2 Google Pixel 9 Motherboard Replacement, Disconnect the flash: step 27, image 2 of 2
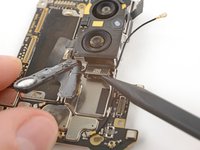
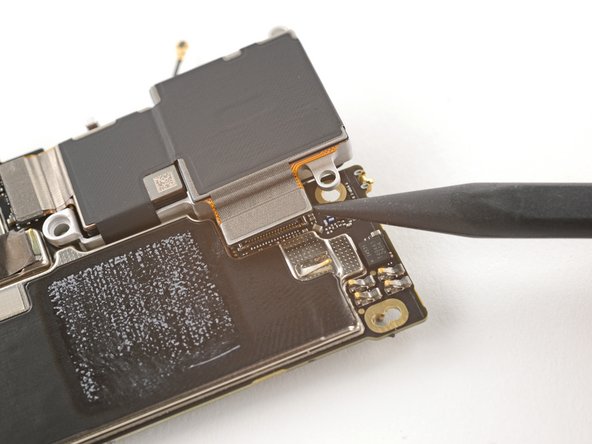
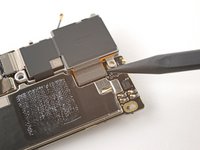
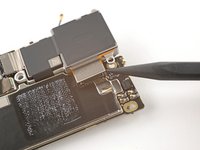
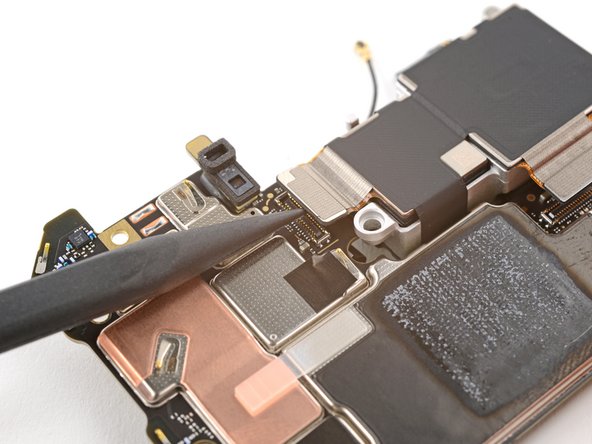
      • Use the tip of a spudger to pry up and disconnect the flash connector from the motherboard.

      Ask FixBot

      Add Comment

    2. Google Pixel 9 Motherboard Replacement, Disconnect the wide camera: step 28, image 1 of 2 Google Pixel 9 Motherboard Replacement, Disconnect the wide camera: step 28, image 2 of 2
      • Use the tip of a spudger to pry up and disconnect the wide camera.

      Ask FixBot

      Add Comment

    3. Google Pixel 9 Motherboard Replacement, Disconnect the ultrawide camera: step 29, image 1 of 2 Google Pixel 9 Motherboard Replacement, Disconnect the ultrawide camera: step 29, image 2 of 2
      • Use the tip of a spudger to pry up and disconnect the ultrawide camera.

      Ask FixBot

      Add Comment

    4. Google Pixel 9 Motherboard Replacement, Remove the motherboard: step 30, image 1 of 2 Google Pixel 9 Motherboard Replacement, Remove the motherboard: step 30, image 2 of 2
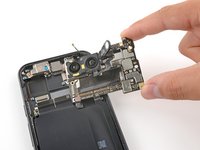
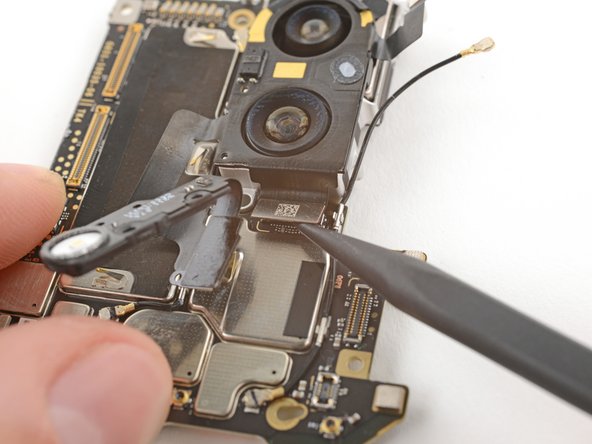
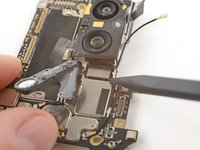
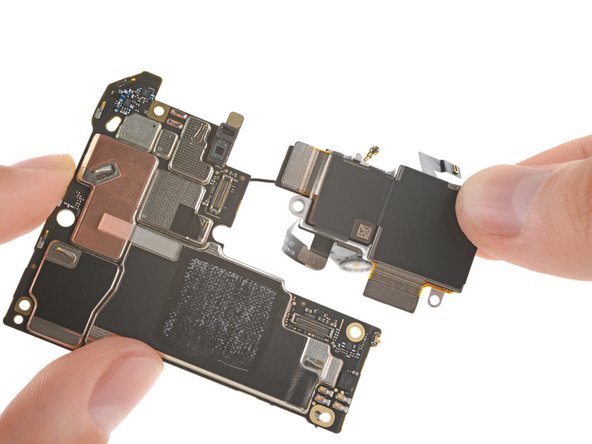
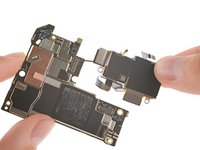
      • Remove the rear camera module from the motherboard.

      Ask FixBot

      Add Comment

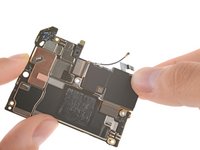
    5. Google Pixel 9 Motherboard Replacement: step 31, image 1 of 1
      • Only the motherboard remains.

      Ask FixBot

      Add Comment

Conclusion

To reassemble your device, follow these instructions in reverse order.

To run a diagnostics test with the built-in Pixel Diagnostic tool, click here.

Take your e-waste to an R2 or e-Stewards certified recycler.

Repair didn’t go as planned? Try some basic troubleshooting, or ask our Pixel 9 Answers Community for help.

Cancel: I did not complete this guide.

One other person completed this guide.

Carsten Frauenheim

Member since: 03/10/20

169,005 Reputation

437 Guides authored

Team

iFixit Member of iFixit

Staff

123 Members

85,442 Guides authored

1 Guide Comment

Hello there, maybe someone know where buy motherboard for pixel 9 pro?

Никита Костецкий - Reply Share
Add Comment

View Statistics:

Past 24 Hours: 18

Past 7 Days: 98

Past 30 Days: 404

All Time: 5,819