Free Shipping on Domestic Orders $75+

Google Pixel 9 5G mmWave Antenna Replacement

What you need

  1. Google Pixel 9 5G mmWave Antenna Replacement, Prepare your Pixel for disassembly: step 1, image 1 of 3 Google Pixel 9 5G mmWave Antenna Replacement, Prepare your Pixel for disassembly: step 1, image 2 of 3 Google Pixel 9 5G mmWave Antenna Replacement, Prepare your Pixel for disassembly: step 1, image 3 of 3
    • Let your Pixel's battery drain below 25% before starting this repair. A charged lithium‑ion battery may catch fire if damaged.

    • Unplug all cables from your phone.

    • Completely power off your phone.

    • Press the power and volume up buttons at the same time to bring up the shutdown menu.

    Ask FixBot
  2. Google Pixel 9 5G mmWave Antenna Replacement, Adhesive information: step 2, image 1 of 3 Google Pixel 9 5G mmWave Antenna Replacement, Adhesive information: step 2, image 2 of 3 Google Pixel 9 5G mmWave Antenna Replacement, Adhesive information: step 2, image 3 of 3
    • Adhesive secures the perimeter of the back glass to the frame.

    • When separating the adhesive, don't insert your tool more than 3 mm under the back glass to avoid damaging the internal components.

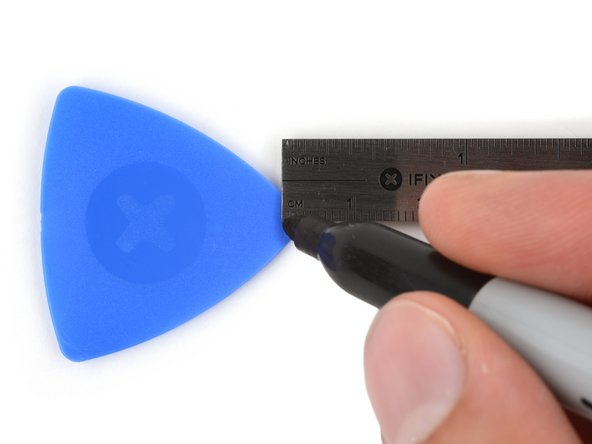
    • To help, measure and mark 3 mm from the tip of an opening pick with a permanent marker.

    • If your screen or back glass is badly cracked, a suction cup may not perfectly adhere.

    • Lay overlapping strips of packing tape over the glass to protect yourself and make disassembly easier. Ensure there's a smooth area near the bottom edge that's large and smooth enough for a suction cup to stick to.

    Ask FixBot
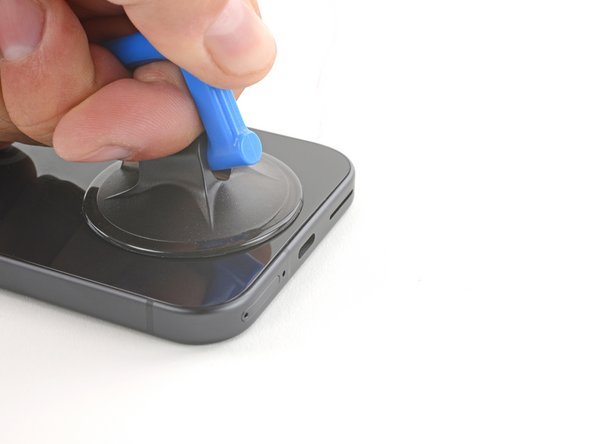
  3. Google Pixel 9 5G mmWave Antenna Replacement, Apply a suction handle: step 3, image 1 of 2 Google Pixel 9 5G mmWave Antenna Replacement, Apply a suction handle: step 3, image 2 of 2
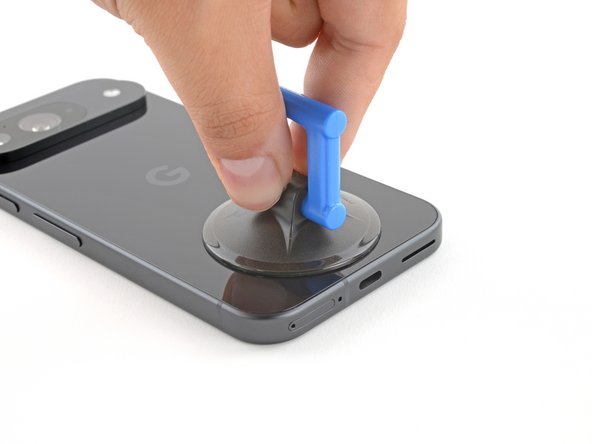
    • Place a suction handle at the bottom edge of the back glass, as close to the edge as possible.

    • Push down to attach the suction cup.

    Ask FixBot
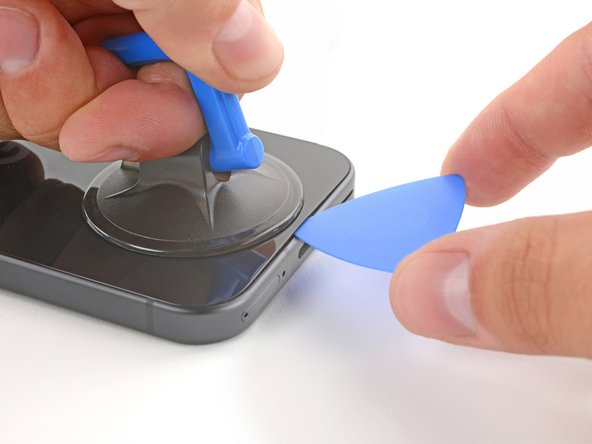
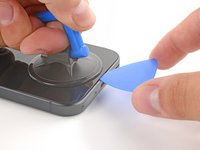
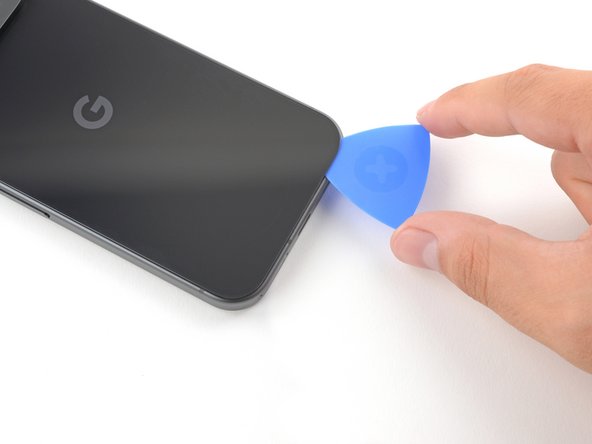
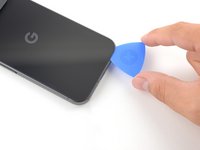
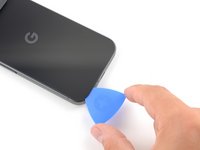
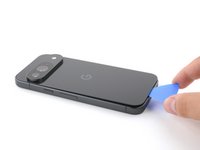
  4. Google Pixel 9 5G mmWave Antenna Replacement, Insert an opening pick: step 4, image 1 of 3 Google Pixel 9 5G mmWave Antenna Replacement, Insert an opening pick: step 4, image 2 of 3 Google Pixel 9 5G mmWave Antenna Replacement, Insert an opening pick: step 4, image 3 of 3
    • Pull up on the suction handle with strong, steady force to create a small gap under the back glass.

    • Insert the tip of an opening pick into the gap.

    Ask FixBot
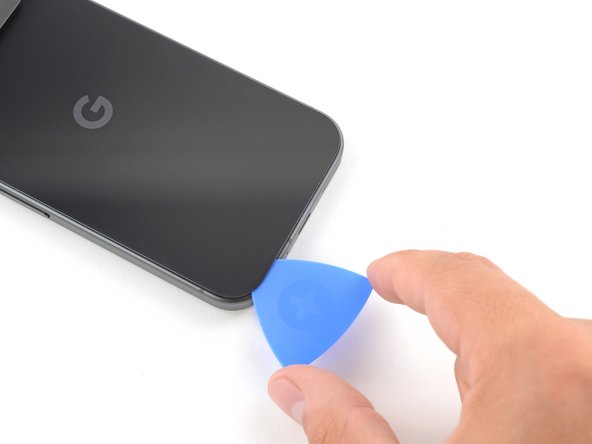
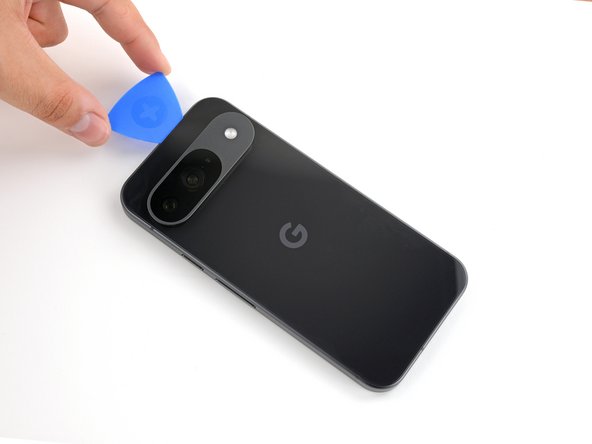
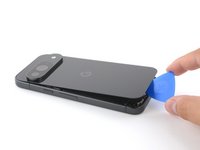
  5. Google Pixel 9 5G mmWave Antenna Replacement, Separate the back glass adhesive: step 5, image 1 of 3 Google Pixel 9 5G mmWave Antenna Replacement, Separate the back glass adhesive: step 5, image 2 of 3 Google Pixel 9 5G mmWave Antenna Replacement, Separate the back glass adhesive: step 5, image 3 of 3
    • Slide the opening pick back and forth along the bottom edge to separate the adhesive securing it.

    • Remember: don't insert the opening pick deeper than 3 mm.

    Ask FixBot
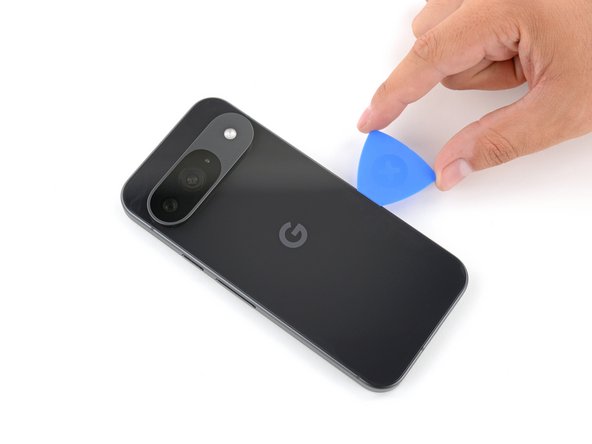
  6. Google Pixel 9 5G mmWave Antenna Replacement: step 6, image 1 of 3 Google Pixel 9 5G mmWave Antenna Replacement: step 6, image 2 of 3 Google Pixel 9 5G mmWave Antenna Replacement: step 6, image 3 of 3
    • Slide the opening pick around the perimeter of the phone, slicing the rest of the adhesive.

    Ask FixBot
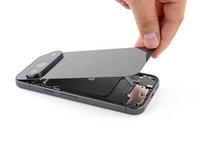
  7. Google Pixel 9 5G mmWave Antenna Replacement: step 7, image 1 of 3 Google Pixel 9 5G mmWave Antenna Replacement: step 7, image 2 of 3 Google Pixel 9 5G mmWave Antenna Replacement: step 7, image 3 of 3
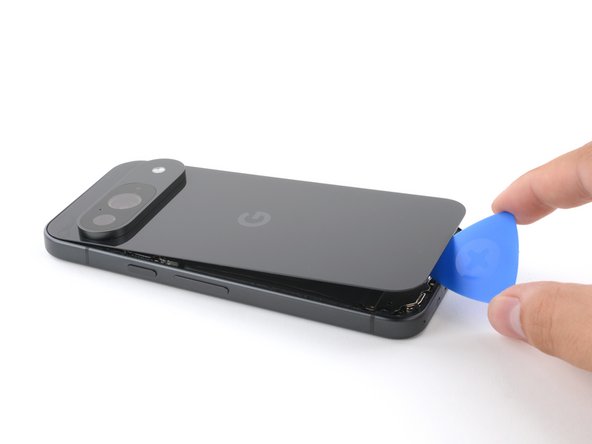
    • With most of the adhesive separated, lightly twist the opening pick at the bottom edge to lift the back glass up until you can grip it with your fingers.

    • Use the opening pick to separate any remaining sections of adhesive securing the back glass.

    Ask FixBot
  8. Google Pixel 9 5G mmWave Antenna Replacement, Remove the back glass: step 8, image 1 of 1
    • Remove the back glass.

    • During reassembly:

    • Now is a good time to test your phone before sealing it up. Power it on and check that it works. Power it back down before you continue reassembly.

    • Follow this guide to apply new adhesive and install your back glass.

    Ask FixBot
  9. Google Pixel 9 5G mmWave Antenna Replacement, Remove the upper board cover: step 9, image 1 of 1
    Tool used on this step:
    FixMat
    $36.95
    Buy
    • Throughout this repair, keep track of each screw and make sure it goes back exactly where it came from.

    • While the Pixel 9 uses Torx Plus screws, standard Torx bits also work. Make sure to apply constant, downward force to prevent stripping.

    • Use a 3IP Torx Plus driver to remove the single 5.4 mm‑long screw securing the upper board cover.

    Ask FixBot
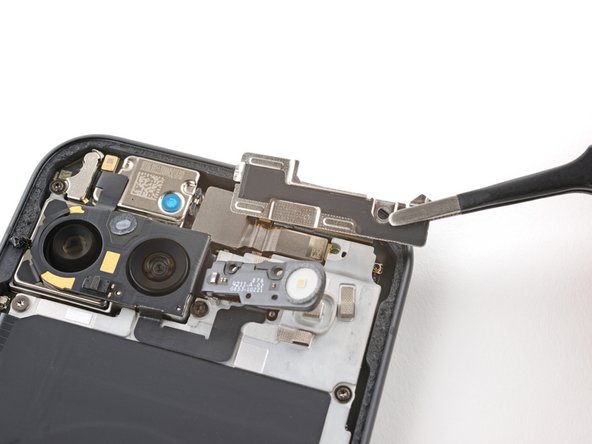
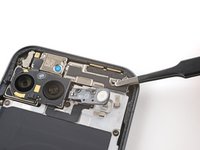
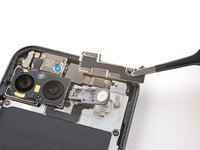
  10. Google Pixel 9 5G mmWave Antenna Replacement: step 10, image 1 of 2 Google Pixel 9 5G mmWave Antenna Replacement: step 10, image 2 of 2
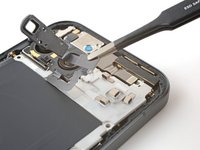
    • Use a pair of tweezers to remove the upper board cover.

    Ask FixBot
  11. Google Pixel 9 5G mmWave Antenna Replacement, Remove the midframe: step 11, image 1 of 1
    • Use a 3IP Torx driver to remove the five screws securing the midframe and wireless charging coil:

    • Four 5.4 mm-long screws

    • One 2.2 mm-long screw

    Ask FixBot
  12. Google Pixel 9 5G mmWave Antenna Replacement, Peel up the flash cable: step 12, image 1 of 2 Google Pixel 9 5G mmWave Antenna Replacement, Peel up the flash cable: step 12, image 2 of 2
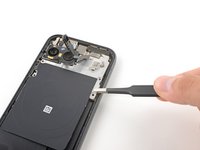
    • Use a pair of tweezers to peel the flash cable off of the metal midframe.

    Ask FixBot
  13. Google Pixel 9 5G mmWave Antenna Replacement, Remove the midframe: step 13, image 1 of 2 Google Pixel 9 5G mmWave Antenna Replacement, Remove the midframe: step 13, image 2 of 2
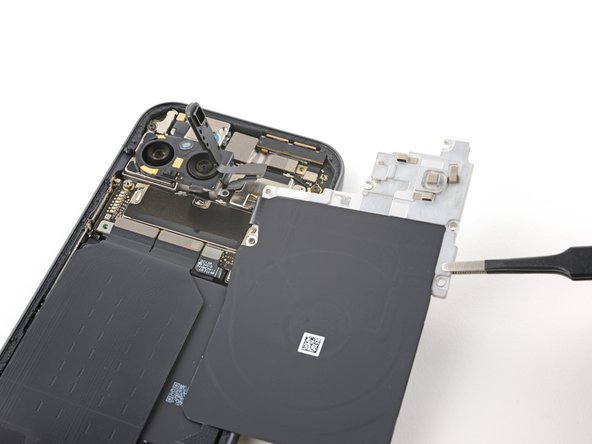
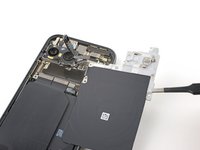
    • Remove the midframe, wireless charging coil, and NFC assembly.

    Ask FixBot
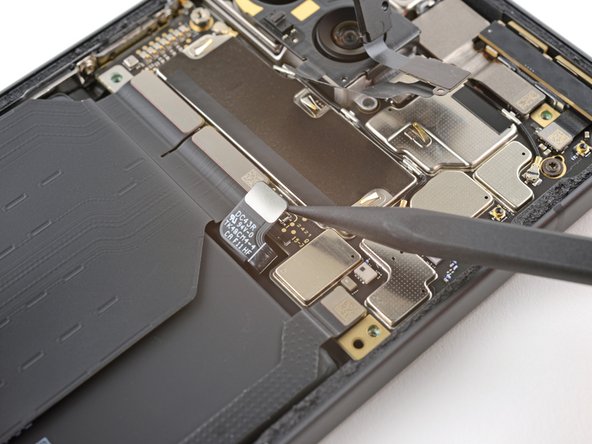
  14. Google Pixel 9 5G mmWave Antenna Replacement, Disconnect the battery: step 14, image 1 of 2 Google Pixel 9 5G mmWave Antenna Replacement, Disconnect the battery: step 14, image 2 of 2
    • Use the tip of a spudger to pry up and disconnect the battery connector.

    Ask FixBot
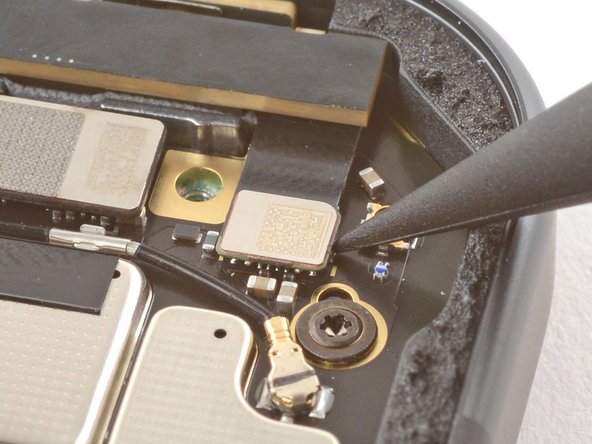
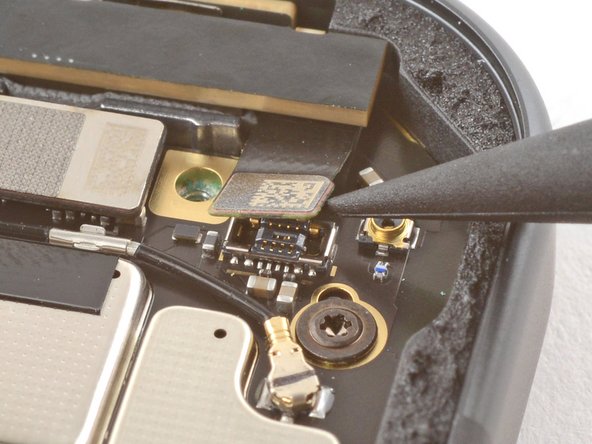
  15. Google Pixel 9 5G mmWave Antenna Replacement, Disconnect the 5G mmWave antenna: step 15, image 1 of 3 Google Pixel 9 5G mmWave Antenna Replacement, Disconnect the 5G mmWave antenna: step 15, image 2 of 3 Google Pixel 9 5G mmWave Antenna Replacement, Disconnect the 5G mmWave antenna: step 15, image 3 of 3
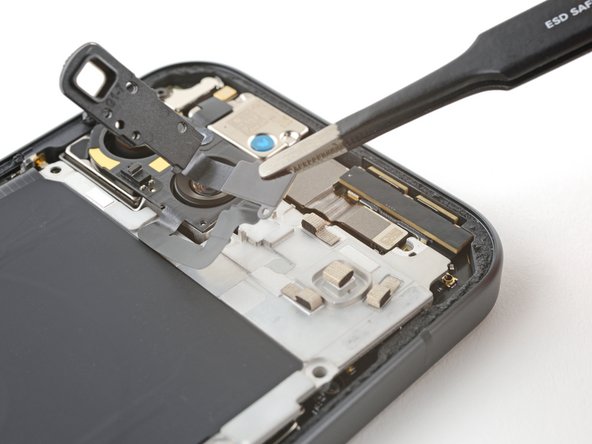
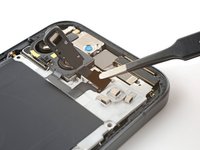
    • Use the tip of a spudger to pry up and disconnect the 5G mmWave antenna's press connector.

    Ask FixBot
  16. Google Pixel 9 5G mmWave Antenna Replacement, Remove the 5G mmWave antenna: step 16, image 1 of 3 Google Pixel 9 5G mmWave Antenna Replacement, Remove the 5G mmWave antenna: step 16, image 2 of 3 Google Pixel 9 5G mmWave Antenna Replacement, Remove the 5G mmWave antenna: step 16, image 3 of 3
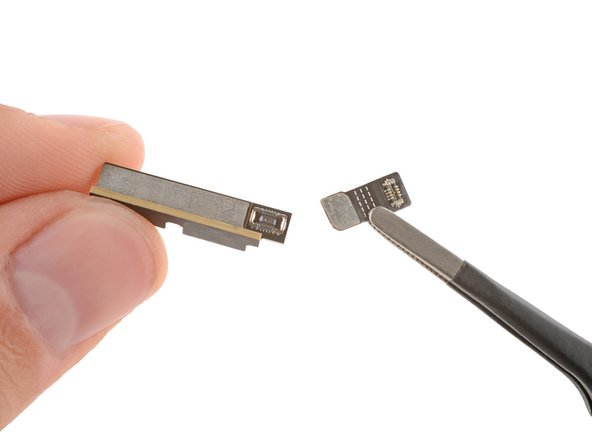
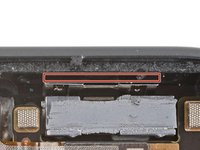
    • Remove the 5G mmWave antenna.

    • A small flex cable attaches to the back of the antenna with a press connector. You may need to reconnect it if it falls off.

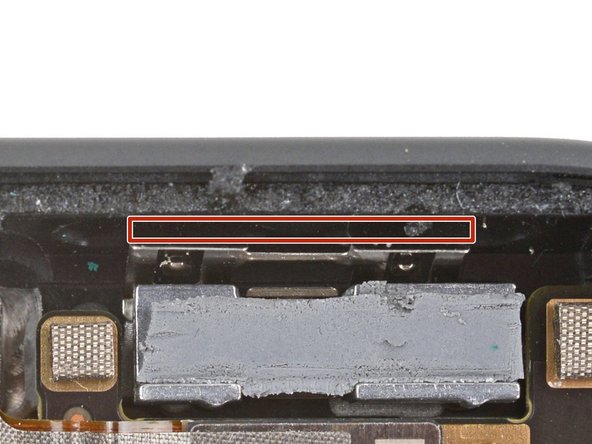
    • During reassembly, insert the antenna so it's between the frame and the small metal bracket near the top right corner.

    Ask FixBot
Conclusion

To reassemble your device, follow these instructions in reverse order.

To run a diagnostics test with the built-in Pixel Diagnostic tool, click here.

Take your e-waste to an R2 or e-Stewards certified recycler.

Repair didn’t go as planned? Try some basic troubleshooting, or ask our Pixel 9 Answers Community for help.


Carsten Frauenheim

Member since: 03/10/20

164,583 Reputation

439 Guides authored

Team

iFixit Member of iFixit

Staff

123 Members

25,713 Guides authored

0 Guide Comments

Add Comment

View Statistics:

Past 24 Hours: 4

Past 7 Days: 23

Past 30 Days: 165

All Time: 3,367