Free Shipping on Domestic Orders $75+

Google Pixel 3 Back Cover Adhesive Installation

What you need

    1. Google Pixel 3 Back Cover Adhesive Installation, Remove adhesive residue from the frame: step 1, image 1 of 3 Google Pixel 3 Back Cover Adhesive Installation, Remove adhesive residue from the frame: step 1, image 2 of 3 Google Pixel 3 Back Cover Adhesive Installation, Remove adhesive residue from the frame: step 1, image 3 of 3
      • Pick and scrape away the old adhesive from the frame.

      • Use a spudger to scrape away any lingering adhesive.

      • Don't use metal tools to scrape away adhesive as this will damage the frame.

      • For best results, clean the area underneath the removed adhesive with 90% or greater isopropyl alcohol to prep the surface for the new adhesive.

      Ask FixBot

      Add Comment

    2. Google Pixel 3 Back Cover Adhesive Installation, Remove adhesive residue from the back cover: step 2, image 1 of 3 Google Pixel 3 Back Cover Adhesive Installation, Remove adhesive residue from the back cover: step 2, image 2 of 3 Google Pixel 3 Back Cover Adhesive Installation, Remove adhesive residue from the back cover: step 2, image 3 of 3
      • Repeat the previous step for the back cover adhesive.

      • Don't use metal tools to scrape away adhesive as this will damage the back cover coating.

      • Don't use isopropyl alcohol near the rear camera bracket as it will damage its adhesive and foam.

      Ask FixBot

      Add Comment

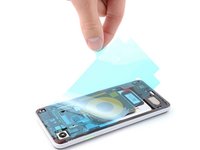
    3. Google Pixel 3 Back Cover Adhesive Installation, Prepare the replacement adhesive: step 3, image 1 of 1
      • Peel away the clear plastic lining to expose the frame side of the replacement adhesive.

      Ask FixBot

      Add Comment

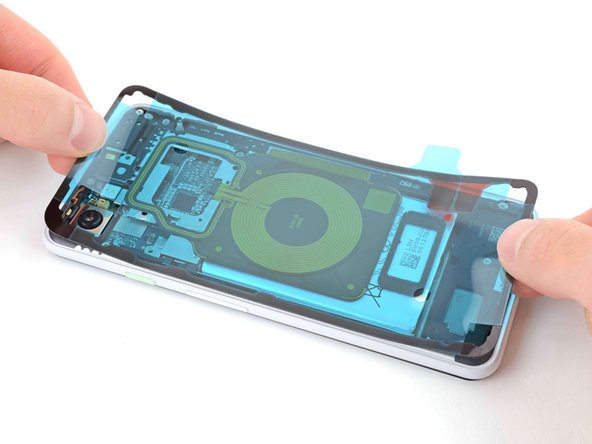
    4. Google Pixel 3 Back Cover Adhesive Installation, Apply the adhesive: step 4, image 1 of 2 Google Pixel 3 Back Cover Adhesive Installation, Apply the adhesive: step 4, image 2 of 2
      • Be very careful during this step! The adhesive is very sticky and can't be repositioned once it sticks. Misaligned adhesive can lead to an improper seal.

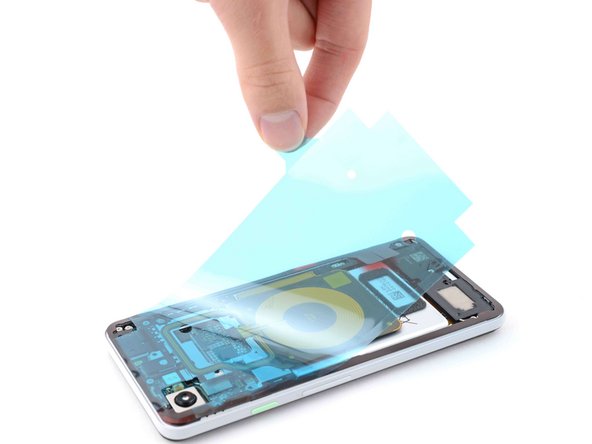
      • Lower the adhesive onto the frame.

      • Use the rear camera and corners to properly align the adhesive.

      Ask FixBot

      Add Comment

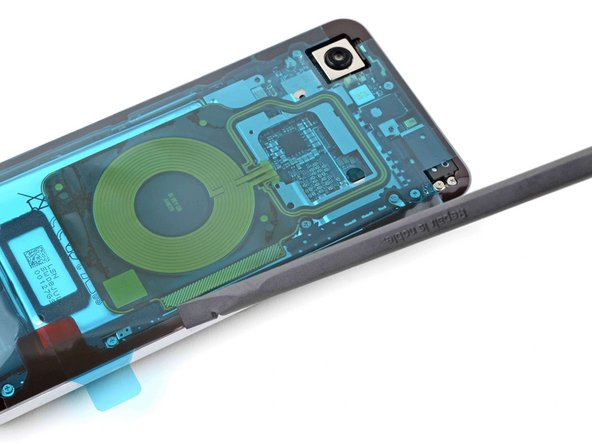
    5. Google Pixel 3 Back Cover Adhesive Installation, Secure the adhesive to the frame: step 5, image 1 of 2 Google Pixel 3 Back Cover Adhesive Installation, Secure the adhesive to the frame: step 5, image 2 of 2
      • Use the flat end of a spudger or your fingernail to press down on the adhesive.

      • Slide along the perimeter to secure the adhesive to the frame.

      Ask FixBot

      Add Comment

    6. Google Pixel 3 Back Cover Adhesive Installation, Peel away the outer plastic lining: step 6, image 1 of 2 Google Pixel 3 Back Cover Adhesive Installation, Peel away the outer plastic lining: step 6, image 2 of 2
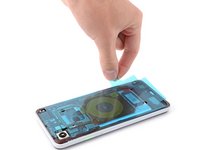
      • Peel away the blue outer plastic lining on the back cover side of the adhesive.

      Ask FixBot

      Add Comment

    7. Google Pixel 3 Back Cover Adhesive Installation, Connect the fingerprint sensor cable: step 7, image 1 of 2 Google Pixel 3 Back Cover Adhesive Installation, Connect the fingerprint sensor cable: step 7, image 2 of 2
      Tool used on this step:
      Tweezers
      $4.99
      Buy
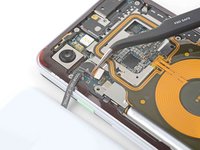
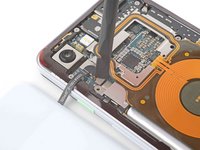
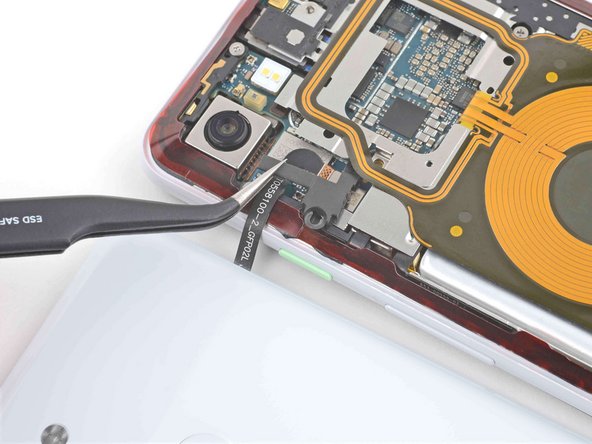
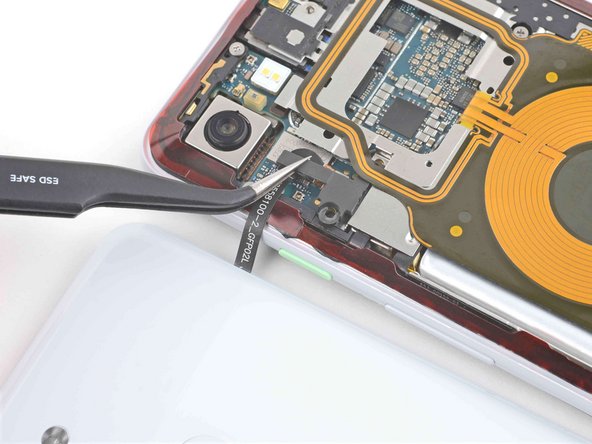
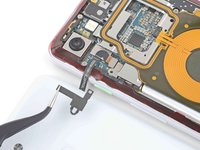
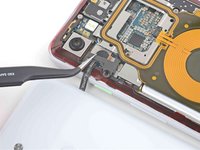
      • Use tweezers or your fingers to position the fingerprint sensor cable over its connector on the motherboard.

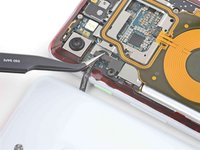
      • Use the flat end of a spudger or your finger to press down on the connector to secure it to the motherboard.

      Ask FixBot

      Add Comment

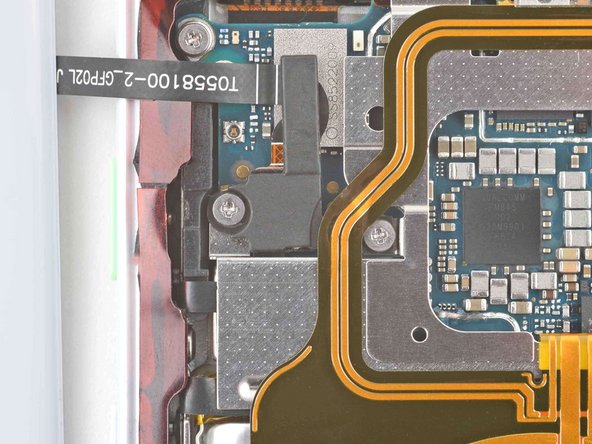
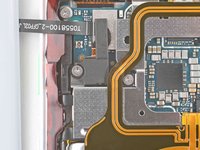
    8. Google Pixel 3 Back Cover Adhesive Installation: step 8, image 1 of 3 Google Pixel 3 Back Cover Adhesive Installation: step 8, image 2 of 3 Google Pixel 3 Back Cover Adhesive Installation: step 8, image 3 of 3
      • Use tweezers or your fingers to place the bracket over the fingerprint sensor cable.

      Ask FixBot

      Add Comment

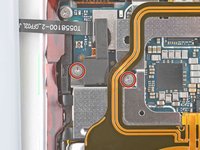
    9. Google Pixel 3 Back Cover Adhesive Installation: step 9, image 1 of 2 Google Pixel 3 Back Cover Adhesive Installation: step 9, image 2 of 2
      • Use a Phillips PH00 screwdriver to install the two 4.1 mm screws securing the bracket to the frame.

      Ask FixBot

      Add Comment

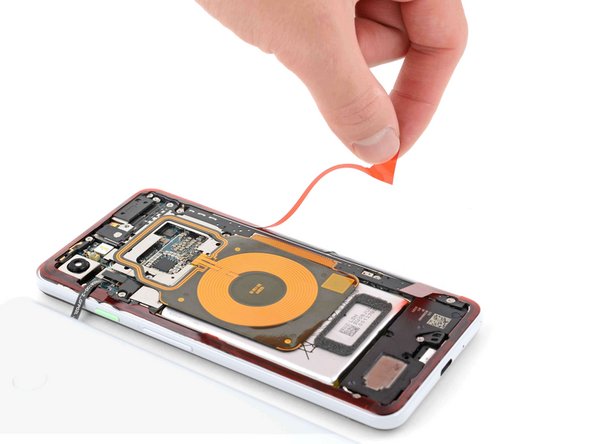
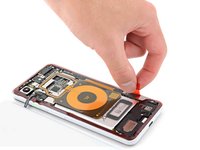
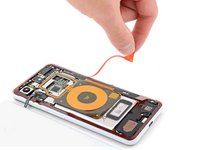
    10. Google Pixel 3 Back Cover Adhesive Installation, Peel away the remaining plastic lining: step 10, image 1 of 2 Google Pixel 3 Back Cover Adhesive Installation, Peel away the remaining plastic lining: step 10, image 2 of 2
      • Peel away the red plastic lining to expose the back cover side of the adhesive.

      Ask FixBot

      Add Comment

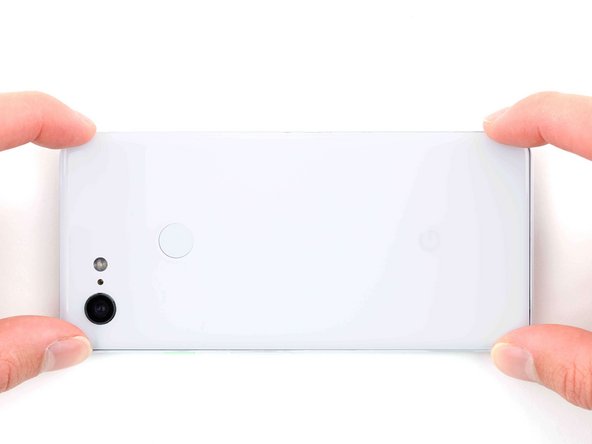
    11. Google Pixel 3 Back Cover Adhesive Installation, Secure the back cover to the frame: step 11, image 1 of 2 Google Pixel 3 Back Cover Adhesive Installation, Secure the back cover to the frame: step 11, image 2 of 2
      • Lower the back cover onto the frame.

      • Press down on all edges of the back cover to secure it to the frame.

      • To help the adhesive bond more securely, heat the perimeter of the back cover and then place the phone face-down under a heavy stack of books for 30 minutes.

      Ask FixBot

      Add Comment

Conclusion

Repair didn’t go as planned? Try some basic troubleshooting, or ask our Pixel 3 Answers community for help.

Cancel: I did not complete this guide.

11 other people completed this guide.

Chayton Ritter

Member since: 08/21/20

27,255 Reputation

105 Guides authored

0 Guide Comments

Add Comment

View Statistics:

Past 24 Hours: 1

Past 7 Days: 14

Past 30 Days: 77

All Time: 4,687