
Golf Club Shaft Replacement

George Bassili and one other contributor
Last updated on Jun 15, 2021
Views: 2.4K
View statistics:
- Past 24 Hours:
- 6
- Past 7 Days:
- 41
- Past 30 Days:
- 139
- All Time:
- 2,350
Comments: 0
No one has left comments on this guide. Will you be first?
Go to guide commentsCompleted: 1 2
1 person has marked this guide "completed." Will you be next?
2 people have marked this guide "completed." Including you — great job!
Favorites: 0 1
No one has favorited (and subscribed to) this guide. Will you be the first?
1 person has favorited (and subscribed to) this guide — and that's you!
Introduction
Go to step 1 ↓This guide will show you how to replace the shaft of a golf club. New golf clubs are expensive, so it is very common to buy golf clubs second hand. A second hand club with a worn out, loose, or warped shaft not only deems itself almost useless, but if used, it prevents a danger in the form of the club head flying off of the shaft swing. Oftentimes, it is recommended to take one’s golf club to a specialty repair shop where they can charge you anywhere from $50-$250 to do these simple steps.
What you need
Tools


-
-
-
Use a heat gun to melt the old epoxy holding the club head to the old shaft.
 Ask FixBot
-
-
-
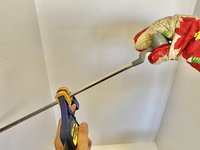
Stabilize the club shaft using a vise grip or the weight of a friend.
-
With a pair of oven mitts, remove the club head by carefully twisting it from the shaft.
-
-
-
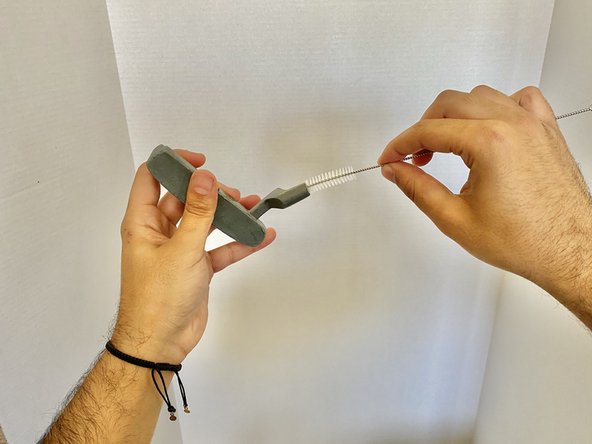
Place the cleaned club head on the new shaft and mark the where the end of the club head reaches on the shaft.
-
Remove the club head.
-
-
-
-
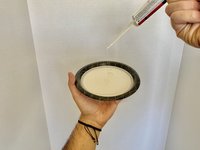
Get the epoxy ready by pouring it into a plate.
-
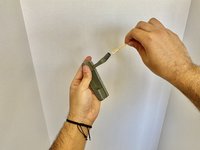
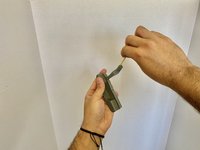
Use a toothpick to apply epoxy into the part of the club head that goes over the shaft.
-
-
-
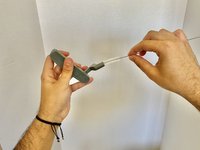
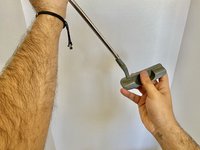
Slide the new shaft into the club head.
-
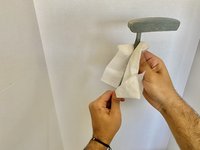
Wipe off the excess epoxy that squeezes out.
-
Let the epoxy set overnight for an optimal seal, then it will be ready for use.
-
-










Cancel: I did not complete this guide.
One other person completed this guide.

Team

CSU Los Angeles, Team S1-G35, Harris Spring 2021 Member of CSU Los Angeles, Team S1-G35, Harris Spring 2021
CSULA-HARRIS-S21S1G35
1 Member
12 Guides authored
