
Golf Club Grip Replacement

Skylar Nichols and 5 other contributors
Last updated on Aug 9, 2019
Views: 8.5K
View statistics:
- Past 24 Hours:
- 4
- Past 7 Days:
- 43
- Past 30 Days:
- 146
- All Time:
- 8,527
Comments: 1
1 comment on steps.
Completed: 6 7
6 people have marked this guide "completed." Will you be next?
7 people have marked this guide "completed." Including you — great job!
Favorites: 0 1
No one has favorited (and subscribed to) this guide. Will you be the first?
1 person has favorited (and subscribed to) this guide — and that's you!
Featured Student Guide
This guide has been the hard work of our awesome students and is found to be exceptionally cool by the iFixit staff.
Introduction
Go to step 1 ↓For this Fast Fixit you will be taking off a worn or old golf grip and replacing it with a new one. In order to do this we will be cutting the old grip off and putting an adhesive solution along with tape onto the golf club in order to attach the new grip.
What you need
Parts
Tools

-
-
-
Place the golf club securely on a level table.
-
Using a blade or knife, cut a line through the grip.
 Ask FixBot
-
-
-
Pour a generous amount of adhesive into the opposite end of the grip.
-
Squeeze together the open end of the grip.
-
Lightly shake, in order to spread the adhesive within the grip.
-
-
-
-
Over a bowl or container, pour adhesive in the grip onto the shaft of the golf club.
-
-
-
Remove the tee from the back of the grip.
-
Push the grip onto the golf club shaft.
-
Ensure that the end of the grip is hitting the end of the shaft.
-
-


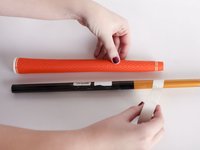
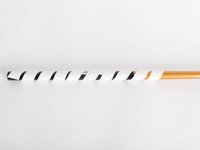


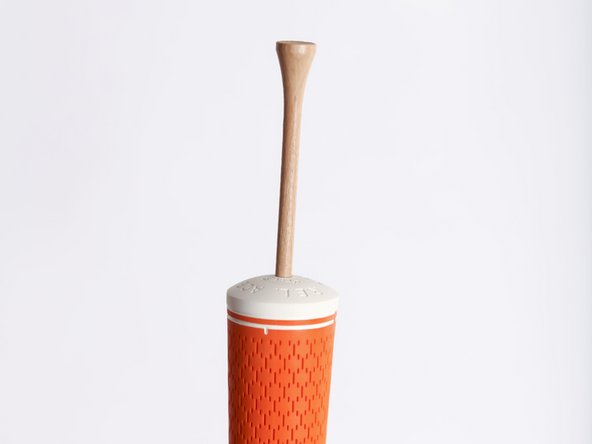
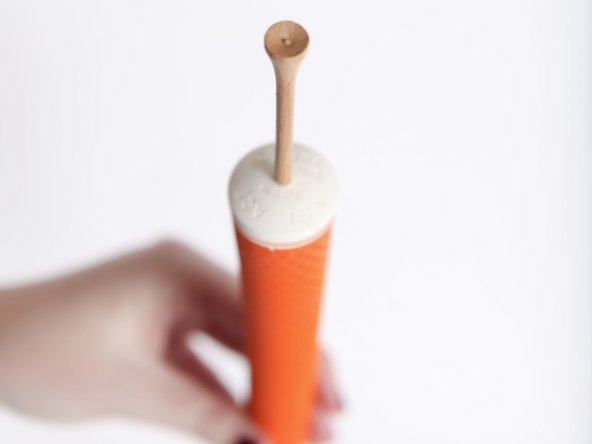
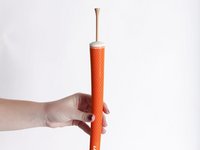
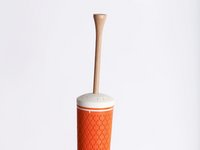
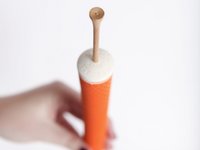


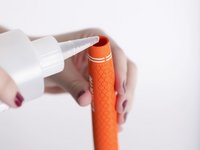
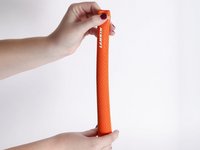


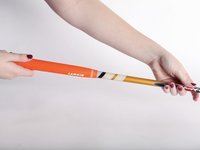
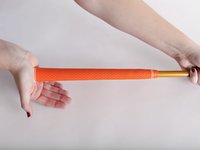

After allowing the club to properly dry, you will have a new grip to improve your swing at tee off.
Cancel: I did not complete this guide.
6 other people completed this guide.

Team

Missouri Western, Team 1-8, Adkins Fall 2016 Member of Missouri Western, Team 1-8, Adkins Fall 2016
MWSU-ADKINS-F16S1G8
3 Members
12 Guides authored
