Free Shipping on Domestic Orders $75+

GoPro Hero5 Black Motherboard Replacement

What you need

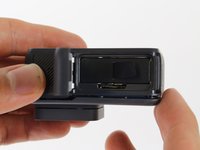
  1. GoPro Hero5 Black Motherboard Replacement, Battery: step 1, image 1 of 3 GoPro Hero5 Black Motherboard Replacement, Battery: step 1, image 2 of 3 GoPro Hero5 Black Motherboard Replacement, Battery: step 1, image 3 of 3
    • While pressing the button on the bottom of the GoPro, slide the battery door to the side to pop it open.

    Ask FixBot

    Add Comment

  2. GoPro Hero5 Black Motherboard Replacement: step 2, image 1 of 3 GoPro Hero5 Black Motherboard Replacement: step 2, image 2 of 3 GoPro Hero5 Black Motherboard Replacement: step 2, image 3 of 3
    • Grab the plastic flap on the battery and pull the battery out.

    Ask FixBot

    Add Comment

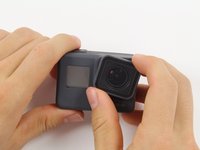
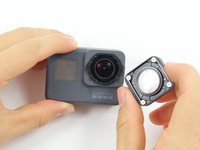
  3. GoPro Hero5 Black Motherboard Replacement, Back Housing: step 3, image 1 of 2 GoPro Hero5 Black Motherboard Replacement, Back Housing: step 3, image 2 of 2
    • Pull and twist the lens cover right or left until it pops off.

    • The lens cover is secured tightly and might be difficult to twist off.

    Ask FixBot

    Add Comment

  4. GoPro Hero5 Black Motherboard Replacement: step 4, image 1 of 1
    • This step is not necessary but will make the process of removing the faceplate much easier.

    • Refer to the iOpener instructions for how to heat up and use the iOpener.

    • Apply the heated iOpener to the front of the GoPro for a few minutes to melt the adhesive under the faceplate.

    • The heated iOpener is very hot and can burn your hands. Avoid burns by using towels or gloves to hold the iOpener.

    Ask FixBot

    Add Comment

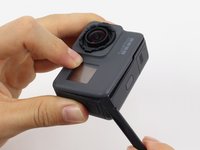
  5. GoPro Hero5 Black Motherboard Replacement: step 5, image 1 of 3 GoPro Hero5 Black Motherboard Replacement: step 5, image 2 of 3 GoPro Hero5 Black Motherboard Replacement: step 5, image 3 of 3
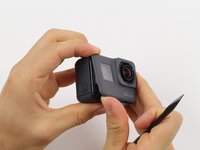
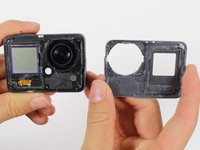
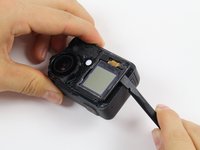
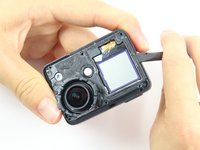
    • Starting with the edges, use the spudger to pry off the faceplate.

    • The faceplate is held down with adhesive and may take a while to get off.

    Ask FixBot

    Add Comment

  6. GoPro Hero5 Black Motherboard Replacement: step 6, image 1 of 2 GoPro Hero5 Black Motherboard Replacement: step 6, image 2 of 2
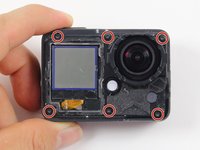
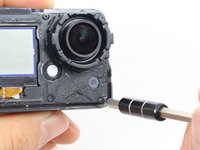
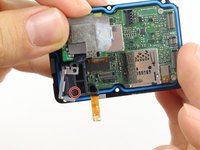
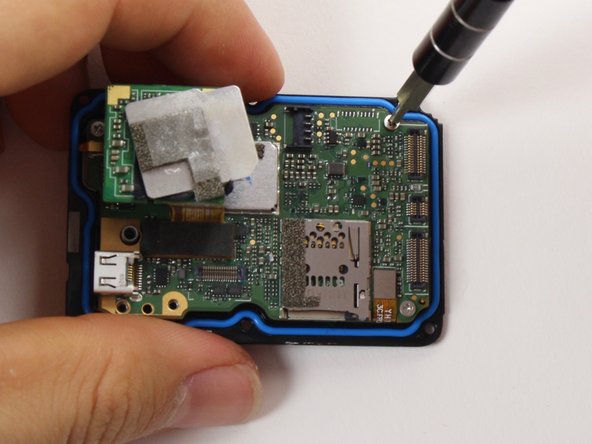
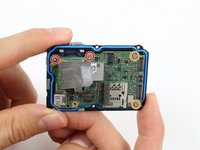
    • Remove the six T3 Torx screws.

    Ask FixBot

    Add Comment

  7. GoPro Hero5 Black Motherboard Replacement: step 7, image 1 of 3 GoPro Hero5 Black Motherboard Replacement: step 7, image 2 of 3 GoPro Hero5 Black Motherboard Replacement: step 7, image 3 of 3
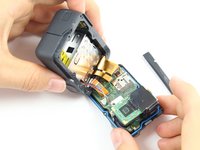
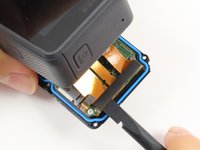
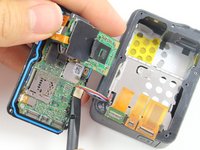
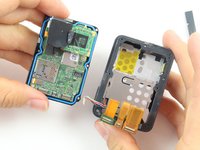
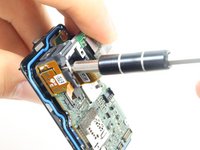
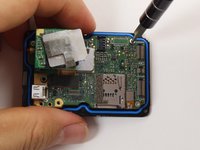
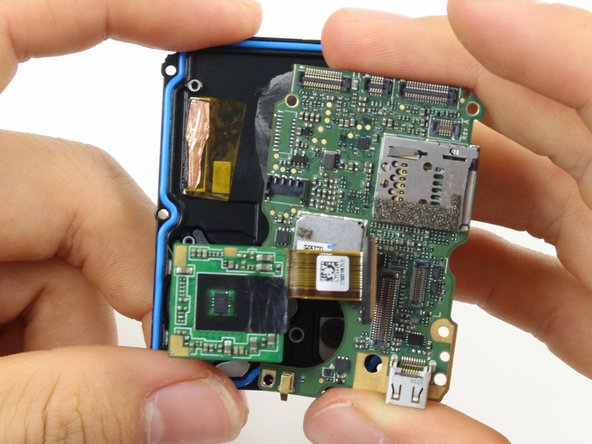
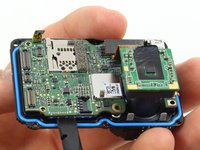
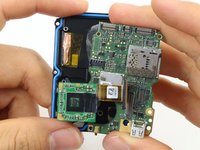
    • Be careful when pulling open the motherboard assembly as it is still connected to the back housing by four cables. The cables may break if stretched.

    • Using the spudger, slowly pry open the motherboard assembly from the LCD side of the GoPro.

    Ask FixBot

    Add Comment

  8. GoPro Hero5 Black Motherboard Replacement: step 8, image 1 of 3 GoPro Hero5 Black Motherboard Replacement: step 8, image 2 of 3 GoPro Hero5 Black Motherboard Replacement: step 8, image 3 of 3
    • Use the flat end of a spudger to pry the three ribbon cables connected to the side of the motherboard.

    Ask FixBot

    Add Comment

  9. GoPro Hero5 Black Motherboard Replacement: step 9, image 1 of 2 GoPro Hero5 Black Motherboard Replacement: step 9, image 2 of 2
    • Use the flat end of the spudger to pry the battery housing power cable straight up from its socket on the motherboard.

    Ask FixBot

    Add Comment

  10. GoPro Hero5 Black Motherboard Replacement, Motherboard: step 10, image 1 of 1
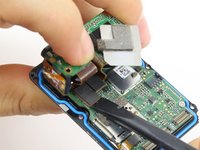
    • Use the flat end of the spudger to pry the black cover plate straight up from its socket on the motherboard.

    Ask FixBot

    Add Comment

  11. GoPro Hero5 Black Motherboard Replacement: step 11, image 1 of 1
    Tool used on this step:
    Tweezers
    $4.99
    Buy
    • Use the tweezers to pull the ribbon cable connector out of its white socket on the charging assembly board.

    Ask FixBot

    Add Comment

  12. GoPro Hero5 Black Motherboard Replacement: step 12, image 1 of 2 GoPro Hero5 Black Motherboard Replacement: step 12, image 2 of 2
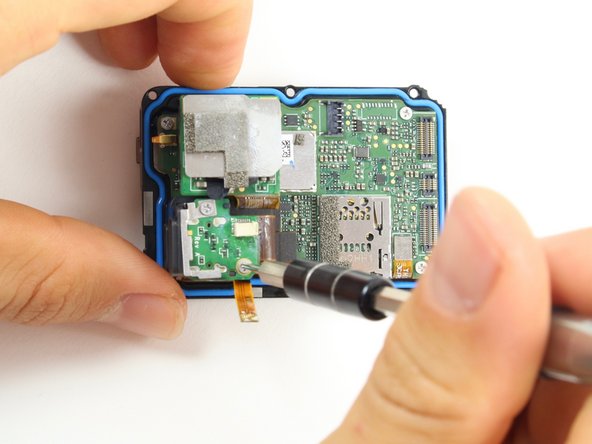
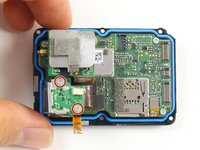
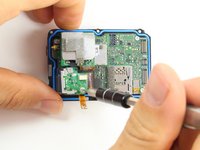
    • Remove the two #000 Phillips screw.

    Ask FixBot

    Add Comment

  13. GoPro Hero5 Black Motherboard Replacement: step 13, image 1 of 2 GoPro Hero5 Black Motherboard Replacement: step 13, image 2 of 2
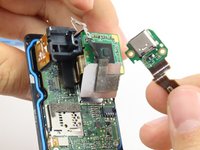
    • Use the flat end of the spudger to pry the charging port ribbon cable connector straight up from its socket on the motherboard.

    • Once the ribbon cable is disconnected from the motherboard. The charging port assembly should come right off.

    Ask FixBot

    Add Comment

  14. GoPro Hero5 Black Motherboard Replacement: step 14, image 1 of 2 GoPro Hero5 Black Motherboard Replacement: step 14, image 2 of 2
    • Remove the 10mm #000 Phillips screw.

    Ask FixBot

    Add Comment

  15. GoPro Hero5 Black Motherboard Replacement: step 15, image 1 of 1
    • Remove the charging assembly housing by pulling it straight up off the motherboard.

    Ask FixBot

    Add Comment

  16. GoPro Hero5 Black Motherboard Replacement: step 16, image 1 of 2 GoPro Hero5 Black Motherboard Replacement: step 16, image 2 of 2
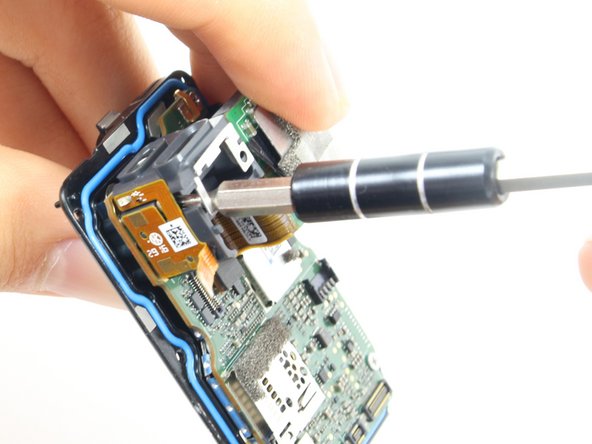
    • Remove the two 6mm #000 Phillips screws.

    • Remove the two 2mm #000 Phillips screws.

    Ask FixBot

    Add Comment

  17. GoPro Hero5 Black Motherboard Replacement: step 17, image 1 of 1
    • Use the flat end of the spudger to pry the lens assembly ribbon cable connector straight up from its socket on the motherboard.

    Ask FixBot

    Add Comment

  18. GoPro Hero5 Black Motherboard Replacement: step 18, image 1 of 1
    • Use the flat end of the spudger to pry the LCD screen ribbon cable connector straight up from its socket on the motherboard.

    Ask FixBot

    Add Comment

  19. GoPro Hero5 Black Motherboard Replacement: step 19, image 1 of 3 GoPro Hero5 Black Motherboard Replacement: step 19, image 2 of 3 GoPro Hero5 Black Motherboard Replacement: step 19, image 3 of 3
    • Use the flat end of the spudger to pry the motherboard off the midframe.

    • The motherboard is held onto the midframe with light adhesive and should come right off with a little force.

    Ask FixBot

    Add Comment

Conclusion

To reassemble your device, follow these instructions in reverse order.

Cancel: I did not complete this guide.

20 other people completed this guide.

Christopher Adams

Member since: 10/03/16

2,133 Reputation

5 Guides authored

Team

Cal Poly, Team 18-6, Forte Fall 2016 Member of Cal Poly, Team 18-6, Forte Fall 2016

CPSU-FORTE-F16S18G6

4 Members

22 Guides authored

11 Guide Comments

Hi

I took off only faceplate. Do you guys have an idea how to make it waterproof again? What can be used as an adhesive? Thanks

ramone4 - Reply Share
you can try silicone glue, although obviously there is no guarantee to what extent it would be waterproof.

mattatron4 - Reply Share
I think you better use an extra waterproof case to put your GP5 in it

Loic - Reply Share

I used this guide to replace the USB port in my GP5. Does anyone know of a good way to hold the face plate down once it’s been removed? Not looking to make it waterproof again, just trying to hold the faceplate down a little better.

Mario Wong - Reply Share

I would try either a silicone- or cyanoacrylate- (super glue) based adhesive. You can try to peel off the blue gasket and/or sand where the two pieces meet for better adhesion.

mattatron4 - Reply Share

Add Comment

View Statistics:

Past 24 Hours: 4

Past 7 Days: 18

Past 30 Days: 121

All Time: 30,358