Free Shipping on Domestic Orders $75+

GoPro Hero+ LCD Lens Replacement

Views: 7.6K

View statistics:

Past 24 Hours:
6
Past 7 Days:
22
Past 30 Days:
110
All Time:
7,565
Comments: 6

4 comments on steps, 2 guide comments.

Go to guide comments
Completed: 2

2 people have marked this guide "completed." Will you be next?

Favorites: 1

1 person has favorited (and subscribed to) this guide. Will you be next?

Time Required: 5 - 10 minutes
Difficulty: Difficult
GoPro Hero+ LCD Lens Replacement

Introduction

Go to step 1 ↓

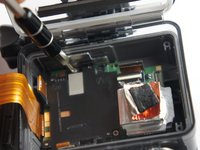
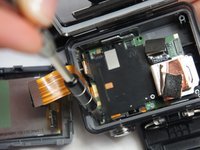
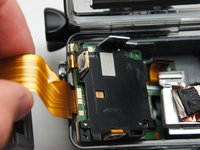
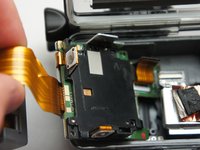
To remove the lens assembly, you must remove some internal parts first. Some of these screws are in tight places, so they will be tedious to access.

What you need

Parts

Tools

    1. GoPro Hero+ LCD Lens Replacement, Back Panel: step 1, image 1 of 2 GoPro Hero+ LCD Lens Replacement, Back Panel: step 1, image 2 of 2
      • Be sure to power off the GoPro before you start disassembly.

      • Pop up and pull back on the clip to remove the screen cover and expose the back panel with the touchscreen.

      Ask FixBot

      Add Comment

    2. GoPro Hero+ LCD Lens Replacement: step 2, image 1 of 2 GoPro Hero+ LCD Lens Replacement: step 2, image 2 of 2
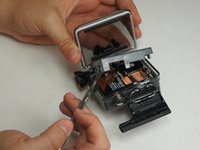
      • Use the metal spudger to pry around the perimeter of the panel.

      • Pry the panel upwards by inserting the metal spudger into the corner crease between the panel and camera shell.

      Ask FixBot

      Add Comment

    3. GoPro Hero+ LCD Lens Replacement: step 3, image 1 of 2 GoPro Hero+ LCD Lens Replacement: step 3, image 2 of 2
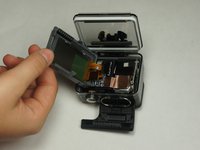
      • Pry around the panel to ensure it is not attached to the device.

      • Move the panel to the side so you can access the internal components.

      • The panel is still attached to the rest of the device with a ribbon cable, so be sure to not tear or damage the cable.

      Ask FixBot

      Add Comment

    1. GoPro Hero+ LCD Lens Replacement, Battery: step 4, image 1 of 1
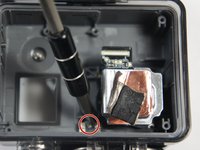
      • Peel back the rear panel ribbon cable that is adhered to the battery until it is completely separated from the battery.

      • Be careful of metal contacts on strip; they can be sharp.

      Ask FixBot

      Add Comment

    2. GoPro Hero+ LCD Lens Replacement: step 5, image 1 of 1
      Tool used on this step:
      Tweezers
      $4.99
      Buy
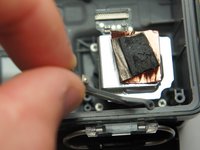
      • Using tweezers, peel off the copper tape on the right side of the battery.

      Ask FixBot

      Add Comment

    3. GoPro Hero+ LCD Lens Replacement: step 6, image 1 of 2 GoPro Hero+ LCD Lens Replacement: step 6, image 2 of 2
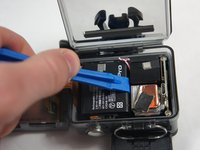
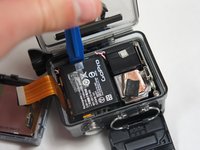
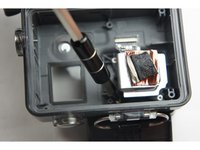
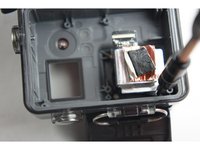
      • Place the plastic opening tool at one of the edges of the battery then pry until the battery is removed from the GoPro.

      Ask FixBot

      Add Comment

    4. GoPro Hero+ LCD Lens Replacement: step 7, image 1 of 1
      • Use a pair of tweezers to disconnect the battery connector from the motherboard.

      • Gently pull the battery off the motherboard. Pulling vertically off the motherboard will give a clean release.

      Ask FixBot

      Add Comment

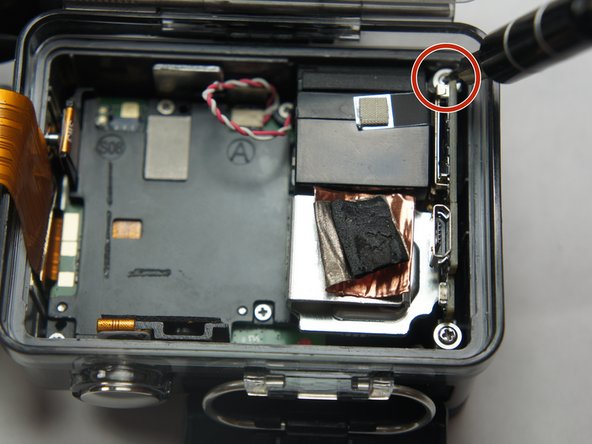
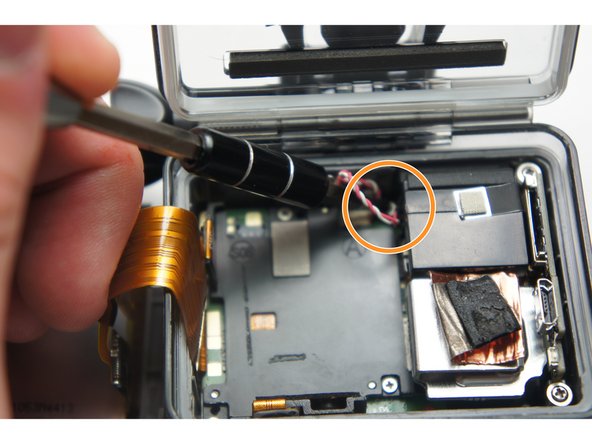
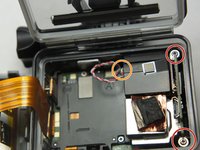
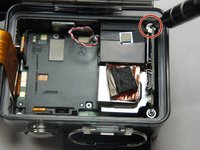
    1. GoPro Hero+ LCD Lens Replacement, MicroSD/Micro USB Port Assembly: step 8, image 1 of 3 GoPro Hero+ LCD Lens Replacement, MicroSD/Micro USB Port Assembly: step 8, image 2 of 3 GoPro Hero+ LCD Lens Replacement, MicroSD/Micro USB Port Assembly: step 8, image 3 of 3
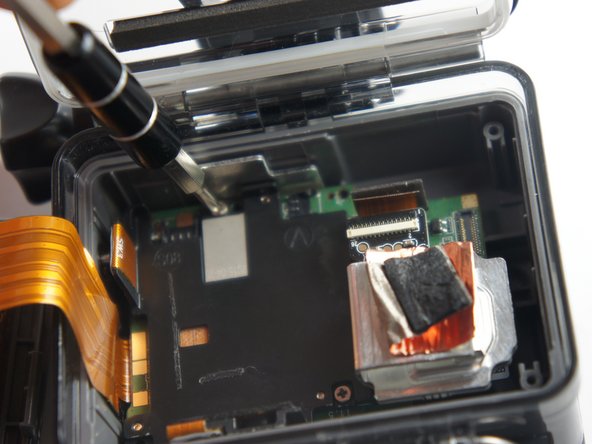
      • Remove the two 6 mm Phillips #00 screws.

      • Remove the single 4 mm Phillips #000 screws.

      Ask FixBot

      Add Comment

    2. GoPro Hero+ LCD Lens Replacement: step 9, image 1 of 1
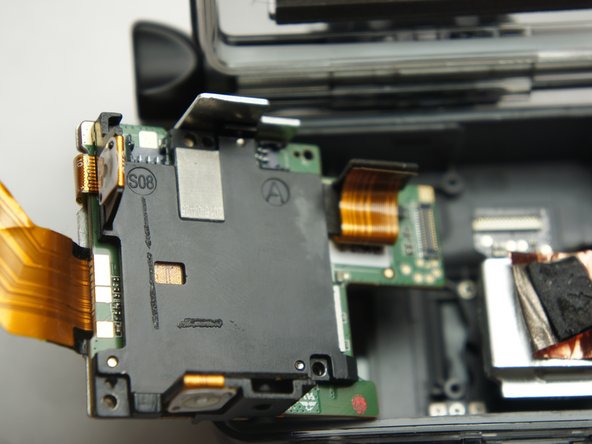
      • Remove the image sensor from the camera.

      • You do not have to unplug the black box to remove the USB/SD chip.

      Ask FixBot

      Add Comment

    3. GoPro Hero+ LCD Lens Replacement: step 10, image 1 of 1
      Tool used on this step:
      Tweezers
      $4.99
      Buy
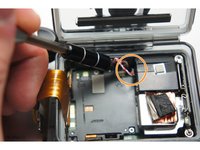
      • Grab the edge of the ribbon cable with the tweezers and gently pull until the cable is disconnected from the motherboard.

      • Be careful when removing the ribbon cable. You must pull gently or you can rip the ribbon off of its contacts.

      Ask FixBot

      Add Comment

    4. GoPro Hero+ LCD Lens Replacement: step 11, image 1 of 1
      • Gently lift the microSD/Micro USB assembly up and out of the device.

      Ask FixBot

      Add Comment

    1. GoPro Hero+ LCD Lens Replacement, Image Sensor: step 12, image 1 of 1
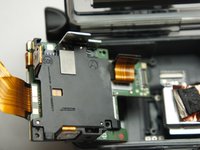
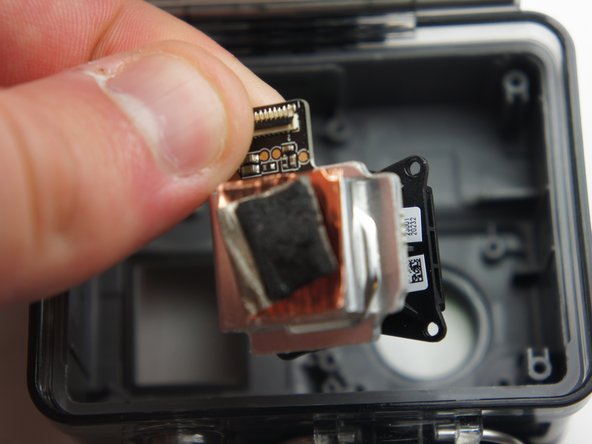
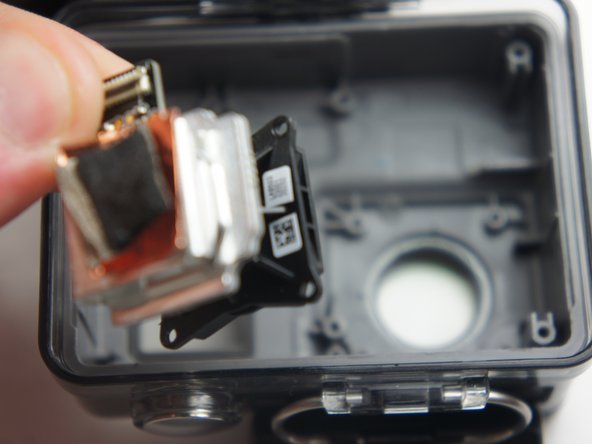
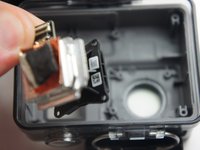
      • Use your fingers and gently pull out the sensor from the motherboard by slowly and gradually pulling up on the image sensor box.

      • Do not yank on the image sensor, it can rip out the wiring or damage the motherboard.

      Ask FixBot

      Add Comment

    1. GoPro Hero+ LCD Lens Replacement, Motherboard: step 13, image 1 of 3 GoPro Hero+ LCD Lens Replacement, Motherboard: step 13, image 2 of 3 GoPro Hero+ LCD Lens Replacement, Motherboard: step 13, image 3 of 3
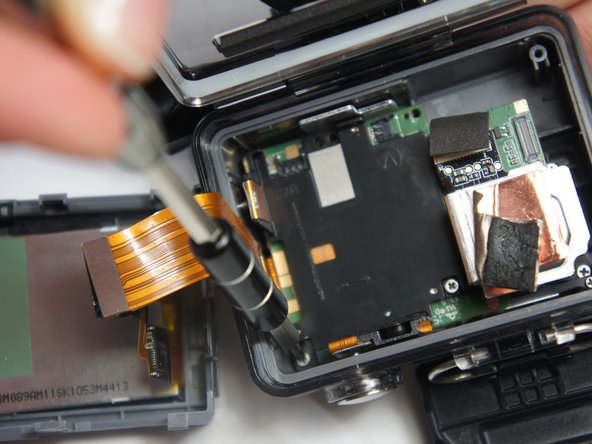
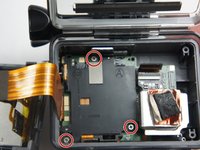
      • Remove the three 4 mm Phillips #000 screws securing the motherboard.

      Ask FixBot

      Add Comment

    2. GoPro Hero+ LCD Lens Replacement: step 14, image 1 of 1
      • Use your fingers to gently remove the ribbon connected to the lens.

      • Be careful when removing the ribbon cable. Pull off gently or you can separate the ribbon from the contacts.

      Ask FixBot

      Add Comment

    3. GoPro Hero+ LCD Lens Replacement: step 15, image 1 of 3 GoPro Hero+ LCD Lens Replacement: step 15, image 2 of 3 GoPro Hero+ LCD Lens Replacement: step 15, image 3 of 3
      • Use your fingers and carefully pull out the motherboard from under the lens. It may take a little bit of adjusting to get it out.

      Ask FixBot

      Add Comment

    1. GoPro Hero+ LCD Lens Replacement, Lens: step 16, image 1 of 3 GoPro Hero+ LCD Lens Replacement, Lens: step 16, image 2 of 3 GoPro Hero+ LCD Lens Replacement, Lens: step 16, image 3 of 3
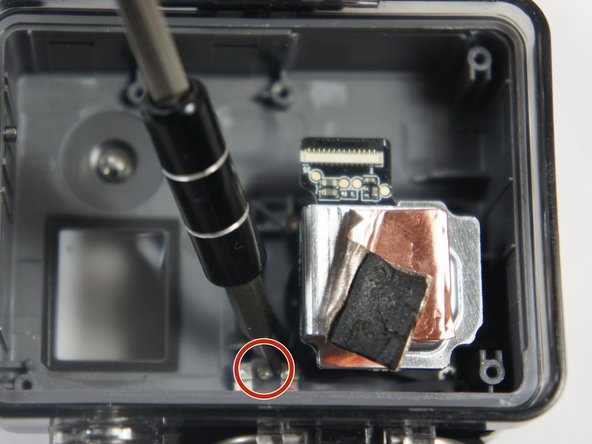
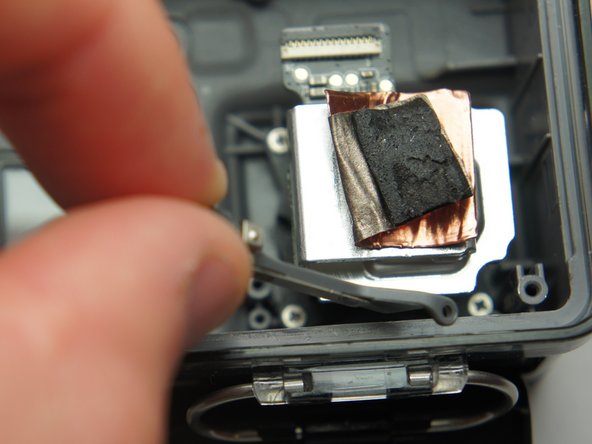
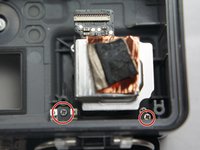
      • Remove the two 4 mm Phillips #000 screws securing the top button.

      Ask FixBot

      Add Comment

    2. GoPro Hero+ LCD Lens Replacement: step 17, image 1 of 2 GoPro Hero+ LCD Lens Replacement: step 17, image 2 of 2
      • Remove the four 4 mm Phillips #000 screws securing the lens to the case.

      Ask FixBot

      Add Comment

    3. GoPro Hero+ LCD Lens Replacement: step 18, image 1 of 3 GoPro Hero+ LCD Lens Replacement: step 18, image 2 of 3 GoPro Hero+ LCD Lens Replacement: step 18, image 3 of 3
      • Gently lift the lens up and out of the device.

      Ask FixBot

      Add Comment

Conclusion

To reassemble your device, follow these instructions in reverse order.

Cancel: I did not complete this guide.

2 other people completed this guide.

Matthew Tinkey

Member since: 08/27/15

937 Reputation

4 Guides authored

Team

USF Tampa, Team 2-4, Blackwell Fall 2015 Member of USF Tampa, Team 2-4, Blackwell Fall 2015

USFT-BLACKWELL-F15S2G4

4 Members

72 Guides authored

2 Guide Comments

I'm curious if you have any suggestions for sourcing the replacement part.

Driftless Repair - Reply Share

My hing clip is broken, Can I remove the actual camera & replace the full waterproof case then reinstall my camera into the new replacement case ?

jimmac044 - Reply Share
Add Comment

View Statistics:

Past 24 Hours: 6

Past 7 Days: 22

Past 30 Days: 110

All Time: 7,565