Repair Guides
Learn how to fix just about anything with our step-by-step guides.
App
Your pocket repair helper.
FixBot
The friendly AI repair assistant.
Repairability
Learn why fixable products make sense.
Teardowns
Get a sneak peek inside the latest gadgets.
Answers Forum
Share solutions and get help from a friend.
Find Your Community
Find teams, events, and fellow fixers.
Help Out
Help make repair knowledge free and accessible for everyone.
Right to Repair
Learn about the Right to Repair movement and how to be an advocate.
Featured
Quality parts and tools backed by our lifetime guarantee.
Tools
Shop our wide selection of precision tools.
Parts
Shop parts backed by our quality guarantee.
iPhone Batteries
Batteries tested and guaranteed plus a kit with everything you need.
Free Shipping on Domestic Orders $75+
Be sure the grill is turned off before beginning this guide.
Remove all of the control knobs.
The amount of knobs may vary depending on the grill.
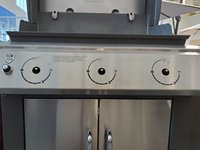
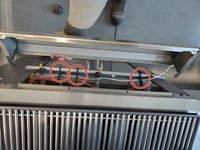
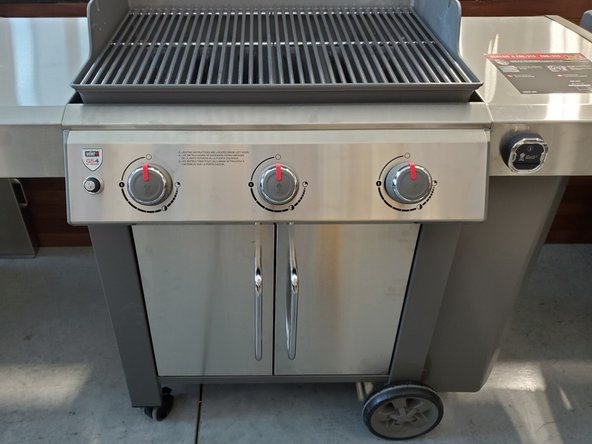
Remove the two 19 mm screws below the control knob panel using a Phillips #3 screwdriver.
Push up on the front panel, and pull it up above the grill.
Potential for device damage: The ignitor is connected to the front panel, so do not pull too hard.
Disconnect the cables from the ignitor.
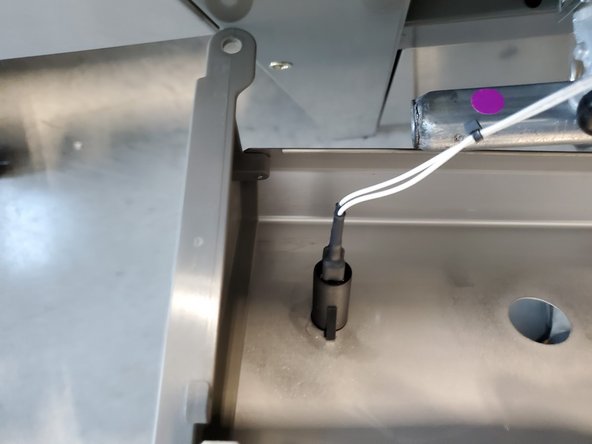
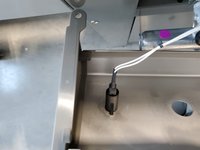
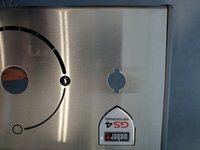
Pinch the two ends of the ignitor and remove the ignitor from the front panel.
Have the new ignitor on hand, and make sure that the clips on the side are in good condition.
Ensure that the pins at the end are straight and not bent.
Put the new ignitor into the socket.
Press down evenly until it is secure.
Connect the white cables to the ignitor.
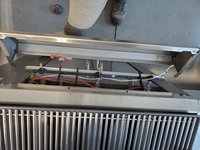
Make sure any and all cables are separated from the fire box (the bottom of the grill).
Slot the panel back on the grill and then push downward.
The fire box is the part of the grill that gets really hot, and this can damage the cables.
Make sure the holes match and reinsert the screws from Step 2 using a Phillips #3 screwdriver.
If the holes do not match up, you may have to gently push or pull the front plastic panel.
Add the control knobs, and slot them into place.
Cancel: I did not complete this guide.
One other person completed this guide.
with 2 other contributors
Member since: 01/18/21
253 Reputation
1 Guide authored
Badges: 3
YORK-WOODHOUSE-S21S1G5
1 Member
2 Guides authored
Choose a size and copy the code below to embed this guide as a small widget on your site / forum.
Past 24 Hours: 4
Past 7 Days: 9
Past 30 Days: 61
All Time: 1,205