
GeeksPhone Keon Screen Replacement

DavidDrash and 3 other contributors
Last updated on Dec 29, 2015
Views: 595
View statistics:
- Past 24 Hours:
- 2
- Past 7 Days:
- 15
- Past 30 Days:
- 87
- All Time:
- 595
Comments: 0
No one has left comments on this guide. Will you be first?
Go to guide commentsCompleted: 1 2
1 person has marked this guide "completed." Will you be next?
2 people have marked this guide "completed." Including you — great job!
Favorites: 1 2
1 person has favorited (and subscribed to) this guide. Will you be next?
2 people have favorited (and subscribed to) this guide — including you!
Better Introduction
Improve this guide by completing or revising its introduction.
Introduction
Go to step 1 ↓If your screen is cracked or non-responsive, use this guide to replace the screen.
What you need
Tools


-
-
-
Insert the plastic opening tool into the seam between the front of the device and the rear cover.
-
Slide the plastic opening tool from the bottom of the phone to the top.
-
Use the plastic opening tool to free all the clips attached to the phone.
 Ask FixBot
-
-
-
Insert the plastic opening tool into the groove between the bottom of the phone and the battery.
-
Lift the battery with the plastic opening tool and finish removing battery by hand.
-
-
-
-
-
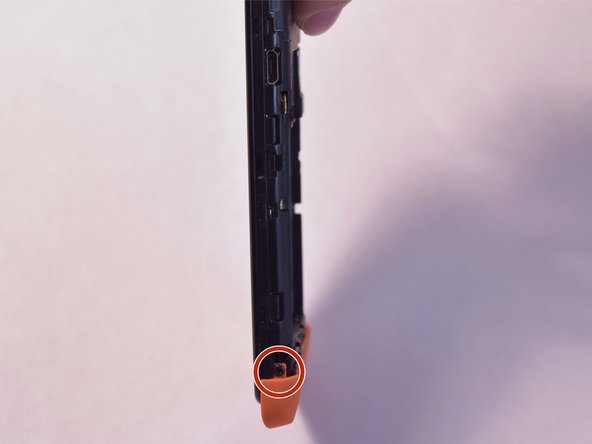
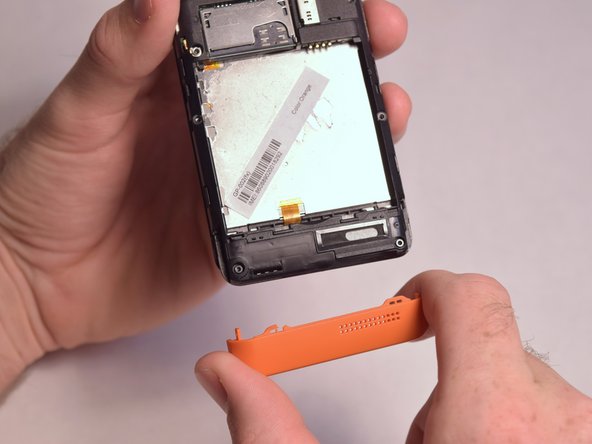
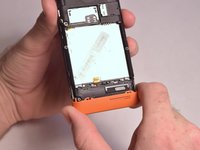
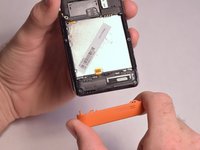
Remove the two 5mm T4 screws on the sides of the small orange plate.
-
-
-
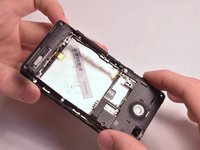
Remove the following screws securing the back plate to the device:
-
Two silver 2mm T3 screws
-
Five black 3mm T3 screws
-
-
-
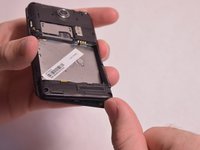
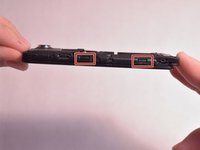
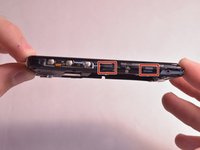
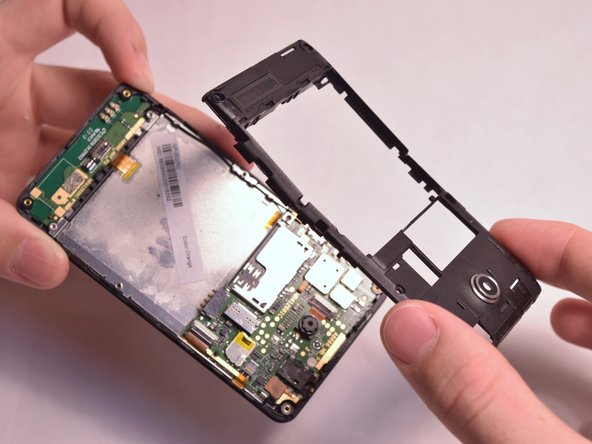
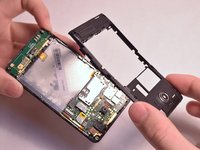
Slightly lift up the bottom corner of the backplate.
-
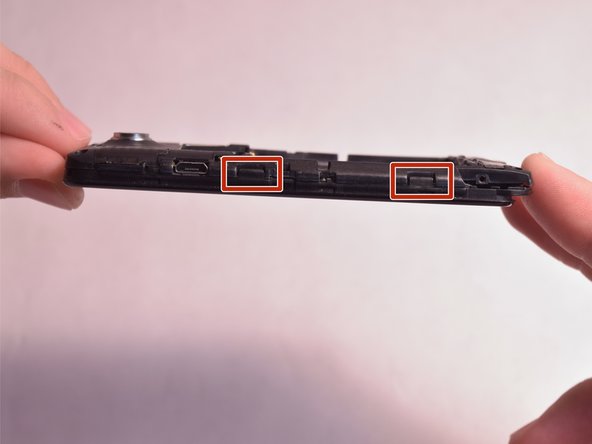
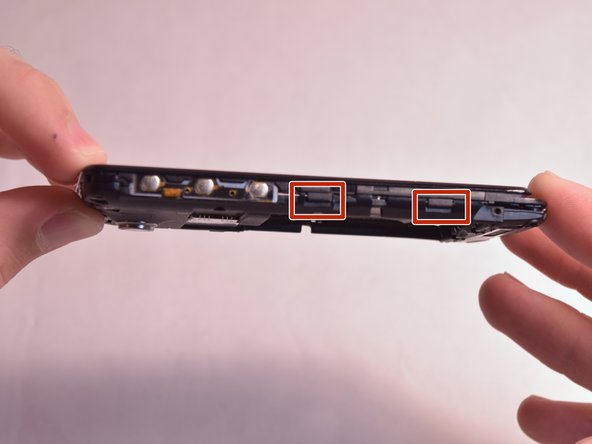
Release the four clips on both sides by pulling them away from the device.
-
-
-
-
-
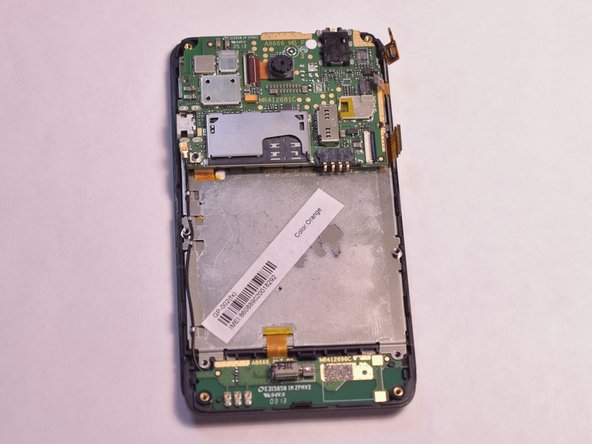
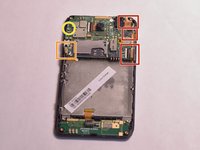
Remove the three connections from the back of the motherboard by using the tip of a spudger or your fingernail to flip up the small retaining flap. Then pull the ribbon cable out.
-
Remove the wire from the bottom left of the motherboard by lifting it away from the device.
-
Remove the 2mm T3 screw in the upper left corner of the motherboard.
-
-
-
Lift the motherboard and remove the connector on the back by using the tip of a spudger or your fingernail to flip up the small retaining flap. Then pull the ribbon cable out.
-
-
-
-
-
-
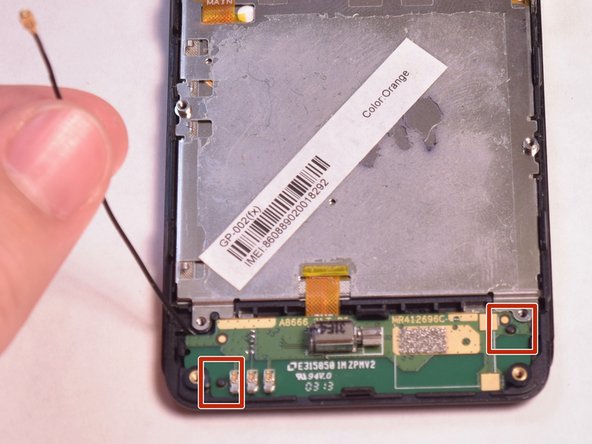
Unfasten the black wire from the metal clamps by hand and lift the black wire away from the device.
-
Unfasten the plastic clamps attached to the antenna.
-
-
-
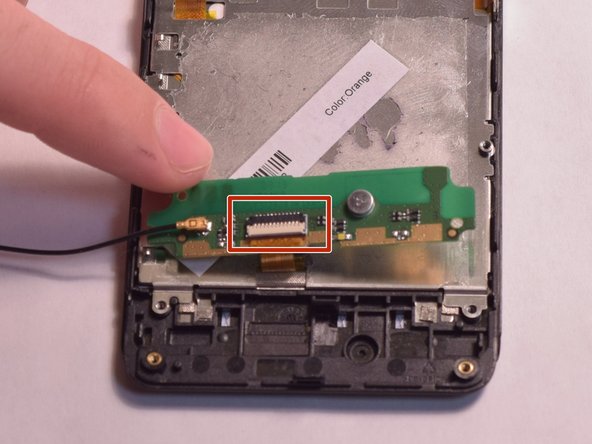
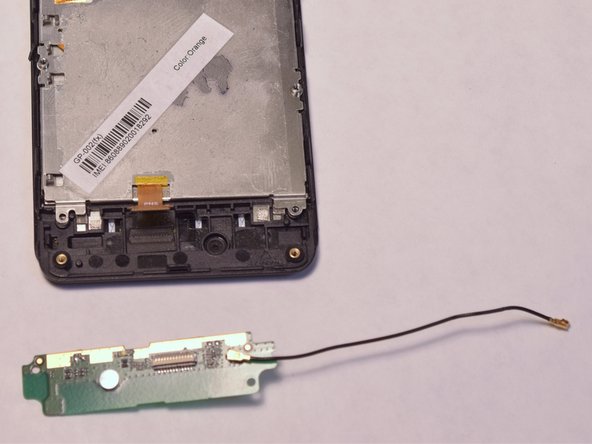
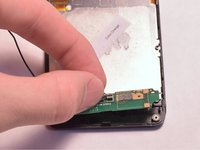
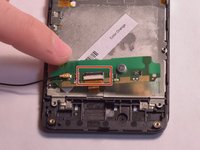
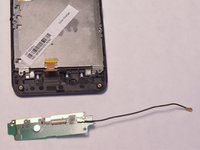
Gently lift the antenna and flip it over to reveal a ZIF connector on the back.
-
Flip up the small retaining flap on the ZIF connector and pull the ribbon cable out.
-
-
-







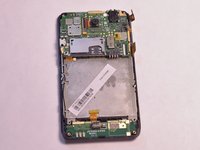




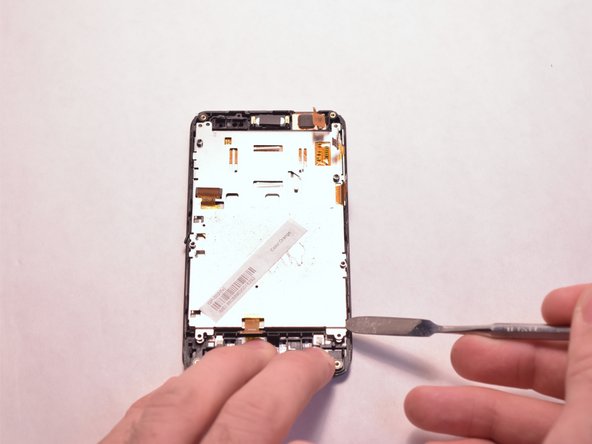
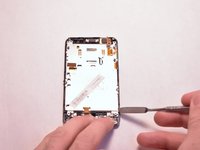
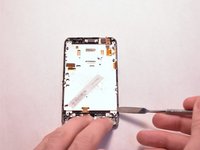

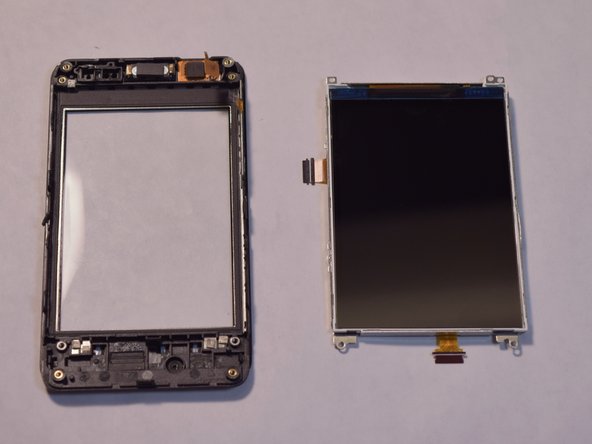
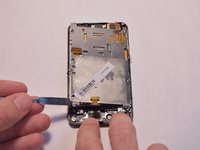
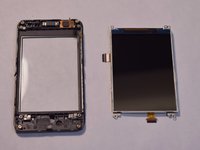
To reassemble your device, follow these instructions in reverse order.
Cancel: I did not complete this guide.
One other person completed this guide.

Team

USF Tampa, Team 3-5, Eyestone Fall 2015 Member of USF Tampa, Team 3-5, Eyestone Fall 2015
USFT-EYESTONE-F15S3G5
4 Members
72 Guides authored
