
GeeksPhone Keon Camera Replacement

Bryan Bittner and 5 other contributors
Last updated on May 7, 2024
Views: 549
View statistics:
- Past 24 Hours:
- 3
- Past 7 Days:
- 18
- Past 30 Days:
- 98
- All Time:
- 549
Comments: 0
No one has left comments on this guide. Will you be first?
Go to guide commentsCompleted: 0 1
No one has marked this guide "completed." Will you be the first?
1 person has marked this guide "completed." It's you — great job!
Favorites: 0 1
No one has favorited (and subscribed to) this guide. Will you be the first?
1 person has favorited (and subscribed to) this guide — and that's you!
Introduction
Go to step 1 ↓Note: The motherboard does not have to be removed from the phone in order to remove the camera.
This guide can be used to replace the camera if it is no longer working properly.
What you need
Tools


-
-
-
Insert the plastic opening tool into the seam between the front of the device and the rear cover.
-
Slide the plastic opening tool from the bottom of the phone to the top.
-
Use the plastic opening tool to free all the clips attached to the phone.
 Ask FixBot
-
-
-
Insert the plastic opening tool into the groove between the bottom of the phone and the battery.
-
Lift the battery with the plastic opening tool and finish removing battery by hand.
-
-
-
-
-
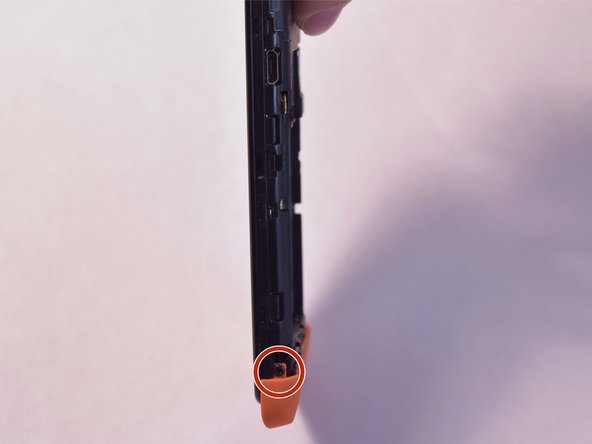
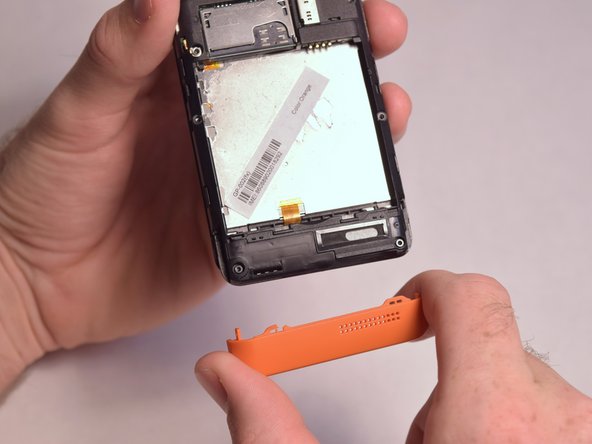
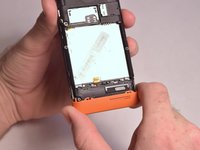
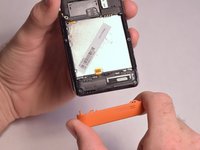
Remove the two 5mm T4 screws on the sides of the small orange plate.
-
-
-
Remove the following screws securing the back plate to the device:
-
Two silver 2mm T3 screws
-
Five black 3mm T3 screws
-
-
-
Slightly lift up the bottom corner of the backplate.
-
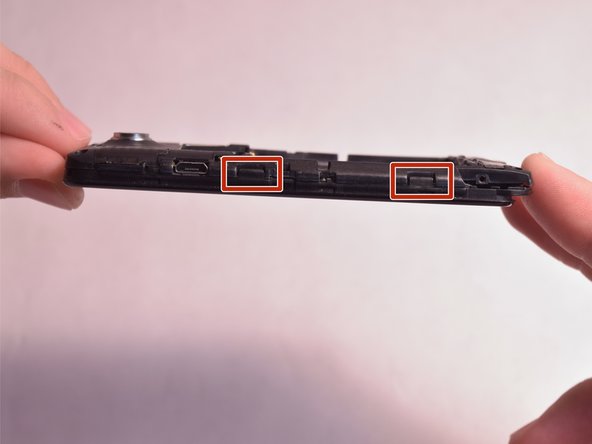
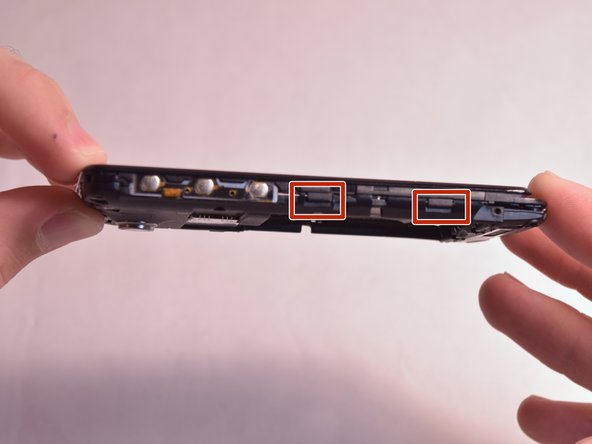
Release the four clips on both sides by pulling them away from the device.
-
-
-
-
-
Tool used on this step:Tweezers$4.99
-
Lift the retaining flap on camera's ZIF connector.
-
Pull the ribbon cable away with tweezers.
-
-





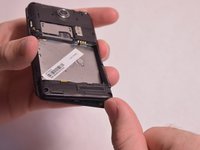
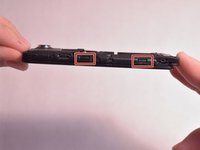
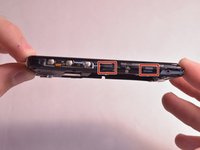

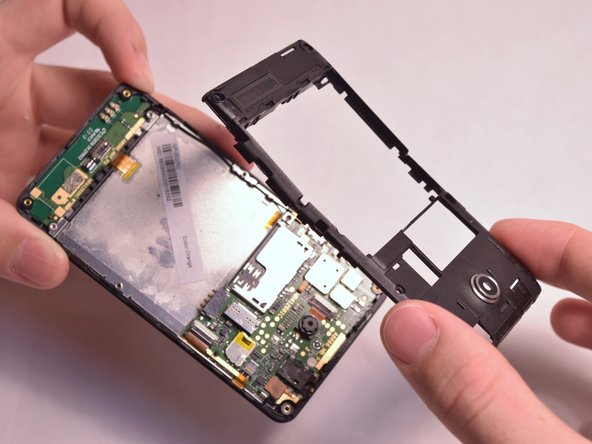
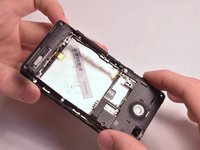
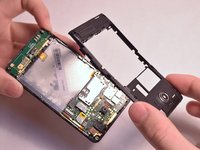


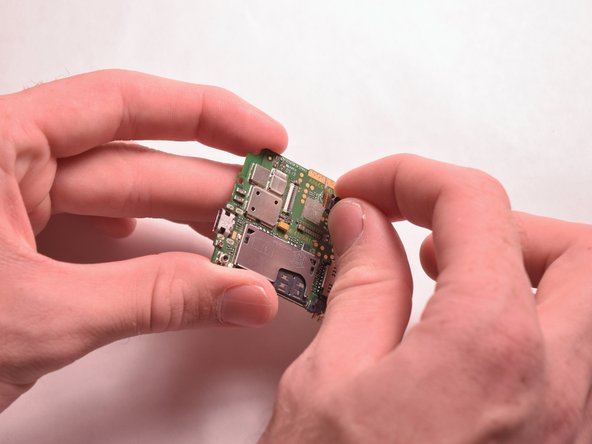
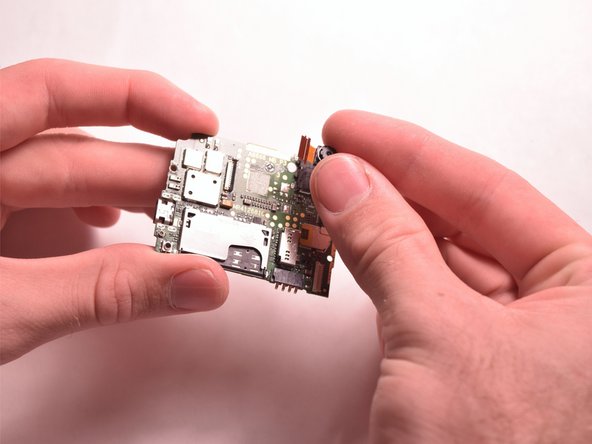
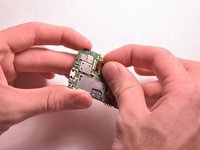
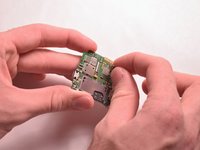
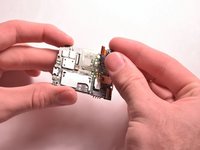
To reassemble your device, follow these instructions in reverse order; but remember, the new camera must be glued back in place where the old one was removed.

Team

USF Tampa, Team 3-5, Eyestone Fall 2015 Member of USF Tampa, Team 3-5, Eyestone Fall 2015
USFT-EYESTONE-F15S3G5
4 Members
72 Guides authored
