Free Shipping on Domestic Orders $75+

Gateway W350I Heatsink Fan Replacement

What you need

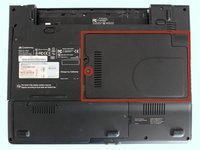
    1. Gateway W350I Heatsink Fan Replacement, Battery Access: step 1, image 1 of 1
      • Turn the laptop upside down and position it as shown in the image.

      Ask FixBot

      Add Comment

    2. Gateway W350I Heatsink Fan Replacement, Unlocking the Battery: step 2, image 1 of 3 Gateway W350I Heatsink Fan Replacement, Unlocking the Battery: step 2, image 2 of 3 Gateway W350I Heatsink Fan Replacement, Unlocking the Battery: step 2, image 3 of 3
      • Slide the locking switch towards the open lock picture.

      • Hold the release switch in the unlocked position while simultaneously pushing the battery away from the laptop.

      • Once the laptop is disengaged, completely remove the battery from the laptop.

      Ask FixBot

      Add Comment

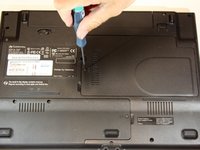
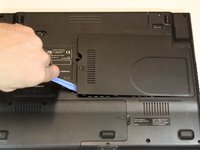
    1. Gateway W350I Heatsink Fan Replacement, Remove Bottom Cover: step 3, image 1 of 3 Gateway W350I Heatsink Fan Replacement, Remove Bottom Cover: step 3, image 2 of 3 Gateway W350I Heatsink Fan Replacement, Remove Bottom Cover: step 3, image 3 of 3
      • Remove the single 3mm Phillips #0 screw holding on the plastic cover.

      • Use a plastic opening tool to gently pry off the plastic cover.

      Ask FixBot

      Add Comment

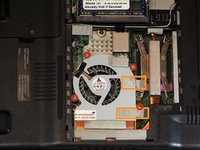
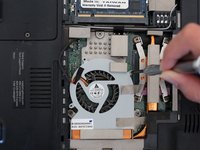
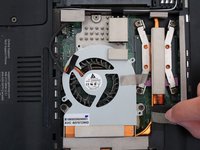
    2. Gateway W350I Heatsink Fan Replacement, Remove Srews & Tape: step 4, image 1 of 3 Gateway W350I Heatsink Fan Replacement, Remove Srews & Tape: step 4, image 2 of 3 Gateway W350I Heatsink Fan Replacement, Remove Srews & Tape: step 4, image 3 of 3
      • Remove all four 3mm Phillips #0 screws holding in the fan.

      • Remove the tape from the top of the fan

      Ask FixBot

      Add Comment

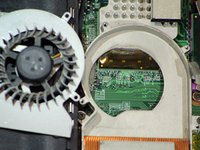
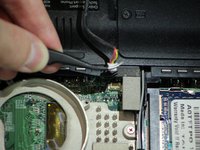
    3. Gateway W350I Heatsink Fan Replacement, Removing Heat-Sink Fan: step 5, image 1 of 3 Gateway W350I Heatsink Fan Replacement, Removing Heat-Sink Fan: step 5, image 2 of 3 Gateway W350I Heatsink Fan Replacement, Removing Heat-Sink Fan: step 5, image 3 of 3
      Tool used on this step:
      Tweezers
      $4.99
      Buy
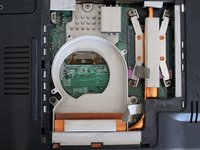
      • Gently remove the fan from the metal housing.

      • Disconnect the cable with tweezers.

      Ask FixBot

      Add Comment

Conclusion

To reassemble your device, follow these instructions in reverse order.

Cancel: I did not complete this guide.

One other person completed this guide.

Aaron Austin

Member since: 09/22/14

252 Reputation

2 Guides authored

Team

USF Tampa, Team 4-1, Brown Fall 2014 Member of USF Tampa, Team 4-1, Brown Fall 2014

USFT-BROWN-F14S4G1

3 Members

60 Guides authored

0 Guide Comments

Add Comment

View Statistics:

Past 24 Hours: 0

Past 7 Days: 5

Past 30 Days: 32

All Time: 1,453