Introduction
This repair will be needed in circumstances where the screen on your laptop stops working properly. If software adjustments do not fix the issue, replacing the display with a new screen should correct the display issue.
What you need
-
-
-
Turn the laptop upside down and position it as shown in the image.
 Ask FixBot
-
-
-
Slide the locking switch towards the open lock picture.
-
Hold the release switch in the unlocked position while simultaneously pushing the battery away from the laptop.
-
Once the laptop is disengaged, completely remove the battery from the laptop.
-
-
-
-
-
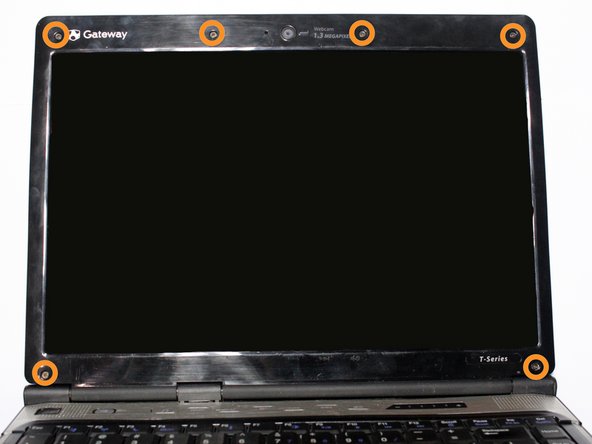
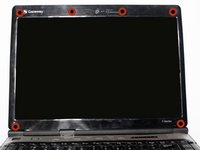
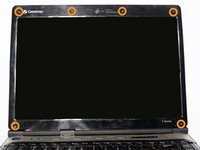
Pry the six black rubber protectors out of the screw holes.
-
Remove all six of the 4mm Phillips #0 screws that were covered by the rubber protectors.
-
-
-
-
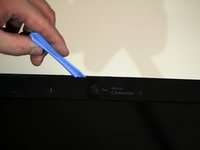
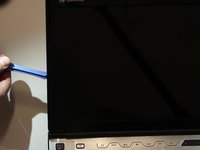
Separate the plastic screen casing from the laptop lid by inserting a plastic opening tool. Complete this step around the top and along both sides of the screen.
-
-
-
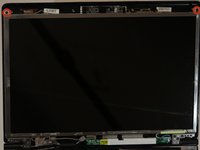
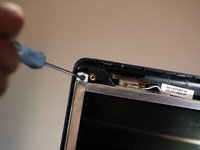
Remove the two 4mm Phillips #0 screws located at the top that fasten the screen bracket to the laptop.
-
-
-
Separate the bracket and the screen from its original position within the lid of the laptop.
-
Remove the four 4mm Phillips #0 screws on the sides of the bracket that hold the LCD screen.
-
-
-
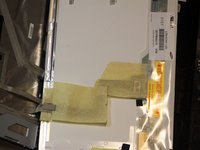
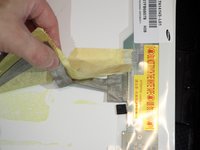
Detach the video cable that is attached to the laptop from the back of the screen.
-
-
-
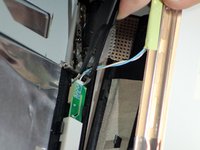
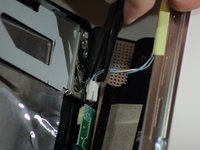
Disconnect the camera connector from the circuit board to completely free the screen.
-
-










To reassemble your device, follow these instructions in reverse order.
Cancel: I did not complete this guide.
3 other people completed this guide.

Team

USF Tampa, Team 4-1, Brown Fall 2014 Member of USF Tampa, Team 4-1, Brown Fall 2014
USFT-BROWN-F14S4G1
3 Members
60 Guides authored
