Introduction
Follow this replacement guide to replace a faulty keyboard and damaged frame.
Your Gateway Solo 1200’s fan is an integral part of the cooling system. If your laptop feels unusually warm or powers off suddenly, the fan might not be providing enough cool air to the system. Without a clean or working fan, your laptop can overheat and cause permanent damage to the internal components.
What you need
-
-
-
Locate the battery latch on the bottom of the laptop.
-
Release the latch by pressing it with your thumb and sliding it to the right.
-
Slide the battery out of its compartment.
 Ask FixBot
-
-
-
-
-
Turn the device so the back is facing you.
-
Unscrew the 2 mm screws with a Phillips #0 screwdriver.
-
-
-
Open up the device so the keyboard is visible.
-
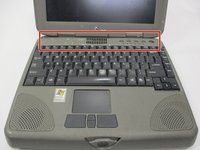
Locate the front panel with the power button above the keyboard.
-
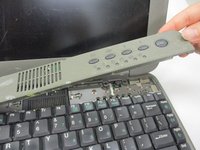
Remove the panel by gently pulling on it.
-
-
-
-
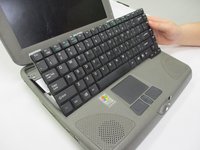
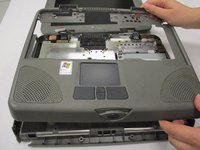
Gently lift the keyboard panel up.
-
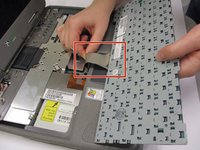
Flip the keyboard panel over to reveal the underside.
-
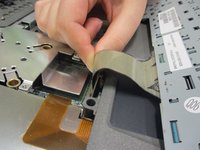
Gently tug on the ribbon cable at the bottom of the keyboard panel to release the keyboard.
-
-
-
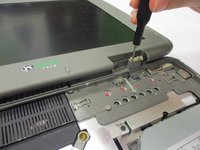
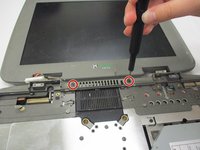
Remove both monitor hinge covers at the base of the screen by unscrewing the 2 mm screws with a Phillips #0 screwdriver.
-
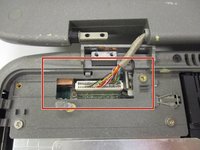
Locate the visual output cord on the exposed left hinge connecting the monitor to the laptop.
-
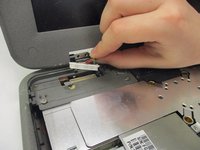
Gently tug on the visual output cord to remove the screen.
-
-
-
Once the screen is removed, locate the keyboard frame screws.
-
Unscrew the outer frame and gently pull it away from the device.
-
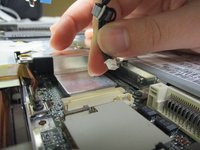
Gently tug on the trackpad connector underneath the keyboard frame to completely remove it.
-
-
-
-
-
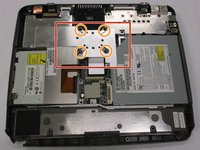
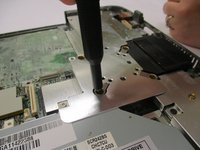
Locate the heatsink next to the fan.
-
Unscrew the four 2mm screws attaching the heatsink to the device.
-
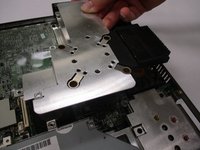
Lift the heatsink upwards, careful not to disturb other internal components.
-
-
-
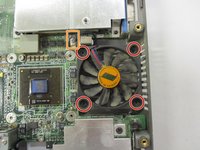
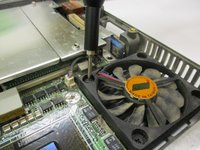
Unscrew the four screws attaching the fan to the device.
-
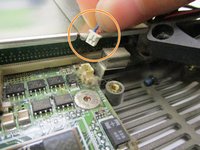
Carefully tug the fan's connector from the heat system.
-
-












To reassemble your device, follow these instructions in reverse order.

Team

University of North Texas, Team S1-G3, Friess Fall 2019 Member of University of North Texas, Team S1-G3, Friess Fall 2019
UNT-FRIESS-F19S1G3
3 Members
240 Guides authored
