Free Shipping on Domestic Orders $75+

Gateway SA1 Outer Casing Replacement

What you need

    1. Gateway SA1 Outer Casing Replacement, Battery: step 1, image 1 of 1
      • Move the latch to the right of the battery to unlock.

      Ask FixBot

      Add Comment

    2. Gateway SA1 Outer Casing Replacement: step 2, image 1 of 1
      • Slide the latch on the left directly below the battery to unlock and pull out the battery as shown.

      • The latch must be held in position to remove the battery.

      Ask FixBot
      Add Comment

    1. Gateway SA1 Outer Casing Replacement, Disk Drive: step 3, image 1 of 1
      • Unscrew the marked 5.9 mm Philips screw.

      Ask FixBot
      Add Comment

    2. Gateway SA1 Outer Casing Replacement: step 4, image 1 of 1
      • Use the spudger to pry out the Disk dive.

      Ask FixBot
      Add Comment

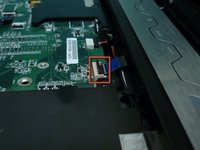
    3. Gateway SA1 Outer Casing Replacement: step 5, image 1 of 1
      • The disk drive should easily detach and can now be replaced.

      Ask FixBot
      Add Comment

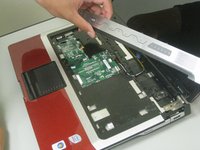
    1. Gateway SA1 Outer Casing Replacement, Outer Casing: step 6, image 1 of 1
      • Remove the twelve 5.9 mm Philips screws from the back cover.

      • Remove one 8.8 mm Philips screw from the back cover.

      Ask FixBot
      Add Comment

    2. Gateway SA1 Outer Casing Replacement: step 7, image 1 of 3 Gateway SA1 Outer Casing Replacement: step 7, image 2 of 3 Gateway SA1 Outer Casing Replacement: step 7, image 3 of 3
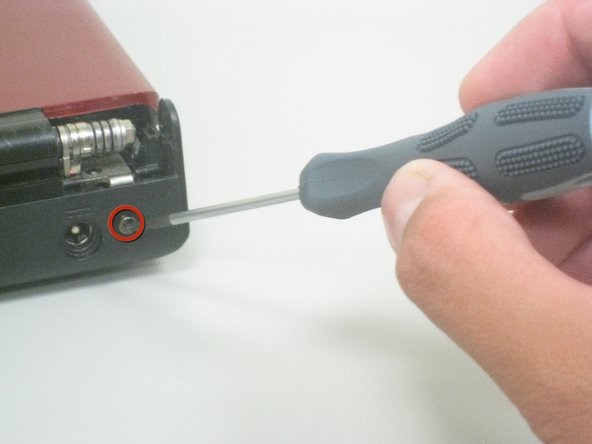
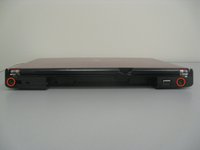
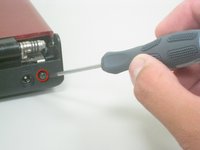
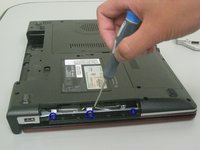
      • Unscrew the two 5.9 mm Philips screws located on the the side closest to the battery.

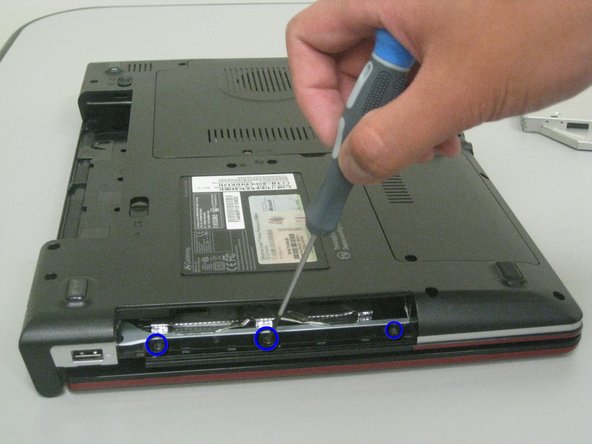
      • Unscrew the three 3.6 mm Philips screws that are within the Disk drive port.

      Ask FixBot

      Add Comment

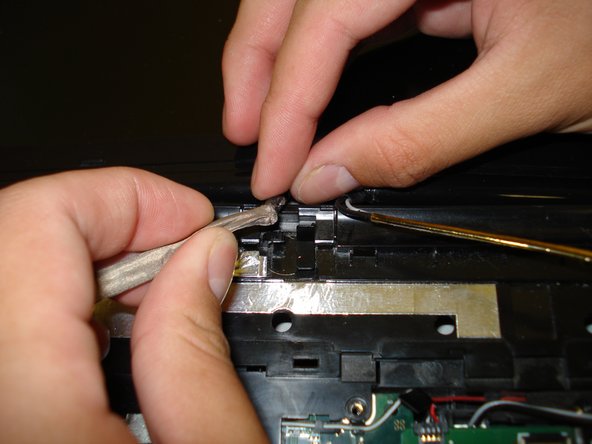
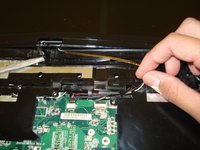
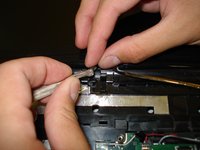
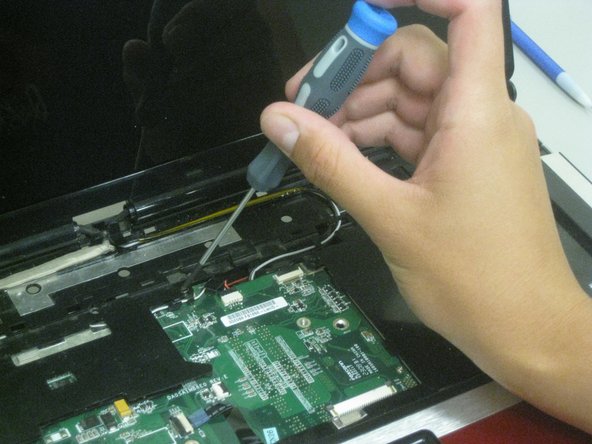
    3. Gateway SA1 Outer Casing Replacement: step 8, image 1 of 2 Gateway SA1 Outer Casing Replacement: step 8, image 2 of 2
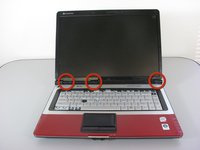
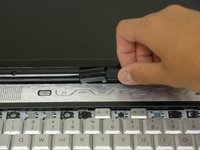
      • Remove the hinge covers by lifting each with the sharp point of the spudger.

      • Notice that the middle cover has a different shape and is more difficult to remove.

      Ask FixBot
      Add Comment

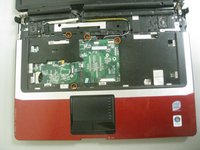
    4. Gateway SA1 Outer Casing Replacement: step 9, image 1 of 3 Gateway SA1 Outer Casing Replacement: step 9, image 2 of 3 Gateway SA1 Outer Casing Replacement: step 9, image 3 of 3
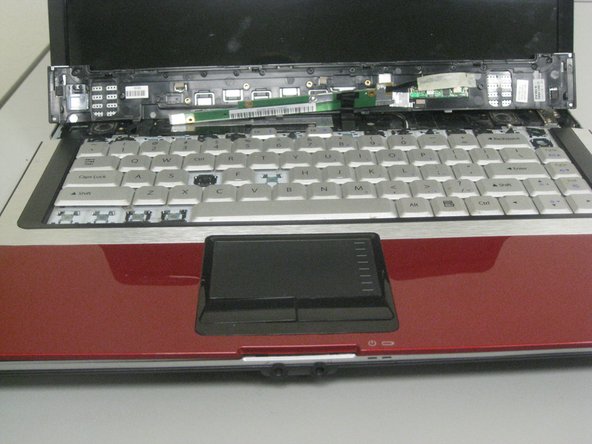
      • There will be a connection underneath the speaker cover.

      • Remove the speaker cover using the spudger.

      Ask FixBot
      Add Comment

    5. Gateway SA1 Outer Casing Replacement: step 10, image 1 of 1
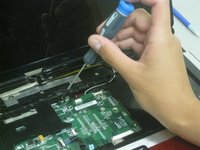
      • Unscrew the two 3.9 mm Philips screws and remove the keyboard.

      Ask FixBot
      Add Comment

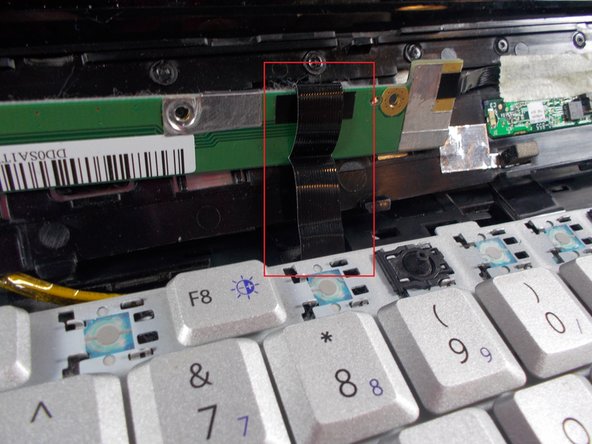
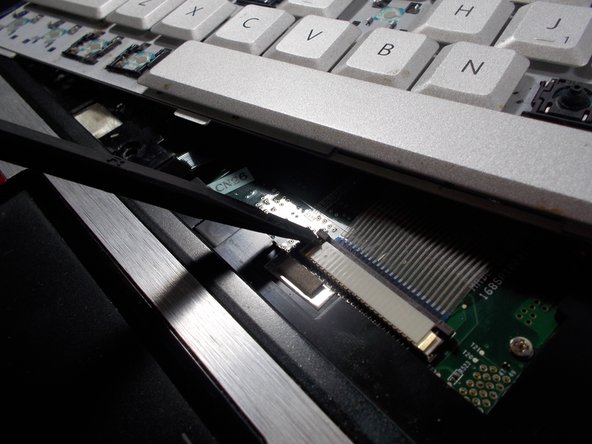
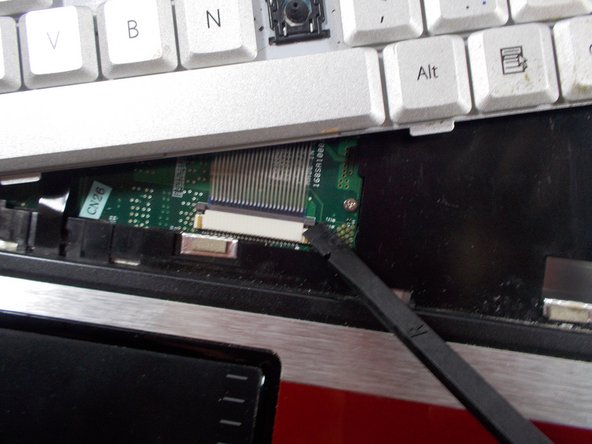
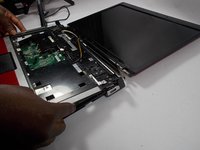
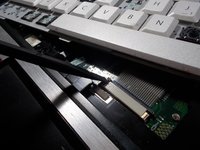
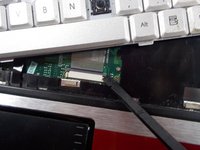
    6. Gateway SA1 Outer Casing Replacement: step 11, image 1 of 3 Gateway SA1 Outer Casing Replacement: step 11, image 2 of 3 Gateway SA1 Outer Casing Replacement: step 11, image 3 of 3
      • Carefully lift the keyboard off from the laptop. It is still attached as shown.

      • Using the spudger, detach the connector by pushing two tabs away from the white connector and then gently pulling the connector away.

      • The brown colored component with the tabs does not come out with the connector.

      Ask FixBot

      Add Comment

    7. Gateway SA1 Outer Casing Replacement: step 12, image 1 of 3 Gateway SA1 Outer Casing Replacement: step 12, image 2 of 3 Gateway SA1 Outer Casing Replacement: step 12, image 3 of 3
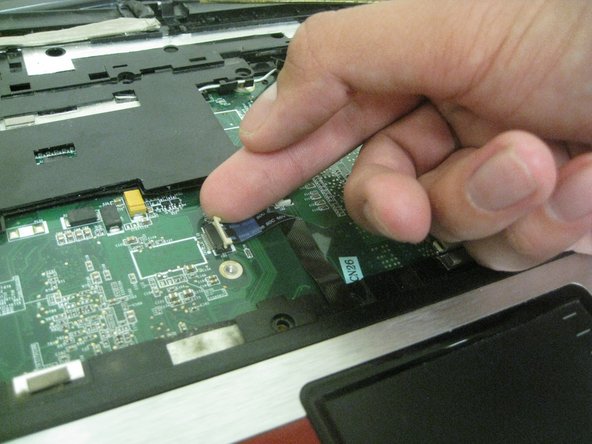
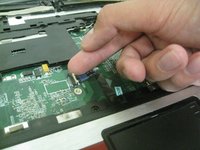
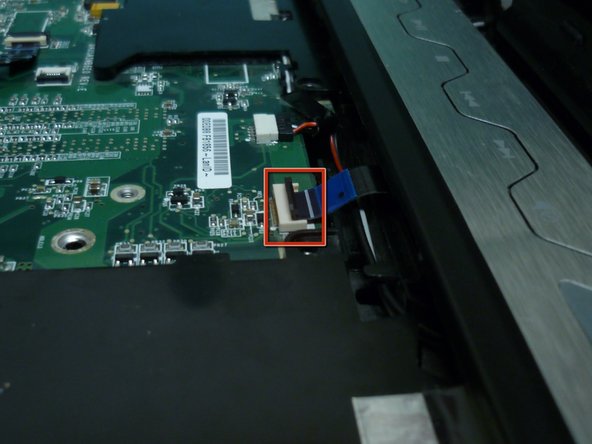
      • Lift up the black tab and gently pull out the connector.

      Ask FixBot

      Add Comment

    8. Gateway SA1 Outer Casing Replacement: step 13, image 1 of 2 Gateway SA1 Outer Casing Replacement: step 13, image 2 of 2
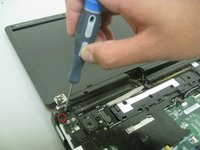
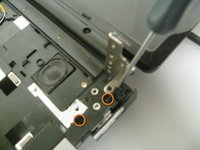
      • Unscrew the four marked 5.9 mm Philips screws.

      Ask FixBot

      Add Comment

    9. Gateway SA1 Outer Casing Replacement: step 14, image 1 of 2 Gateway SA1 Outer Casing Replacement: step 14, image 2 of 2
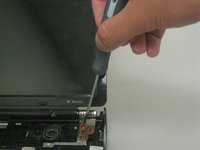
      • Move the wires out of the fixed space as shown.

      Ask FixBot

      Add Comment

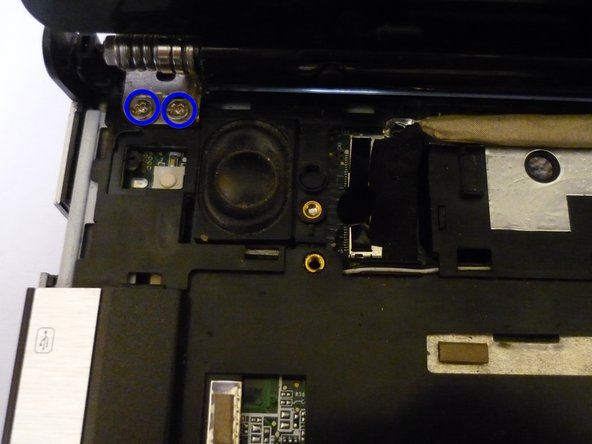
    10. Gateway SA1 Outer Casing Replacement: step 15, image 1 of 2 Gateway SA1 Outer Casing Replacement: step 15, image 2 of 2
      • Unscrew the five marked 3.8 mm Philips screws.

      • Three screws are located on the right side of the screen.

      • Two screws are located on the left side of the screen.

      Ask FixBot

      Add Comment

    11. Gateway SA1 Outer Casing Replacement: step 16, image 1 of 1
      • Remove the screen brackets from the computer's base.

      Ask FixBot

      Add Comment

    12. Gateway SA1 Outer Casing Replacement: step 17, image 1 of 3 Gateway SA1 Outer Casing Replacement: step 17, image 2 of 3 Gateway SA1 Outer Casing Replacement: step 17, image 3 of 3
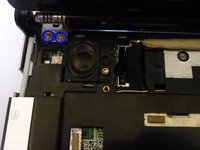
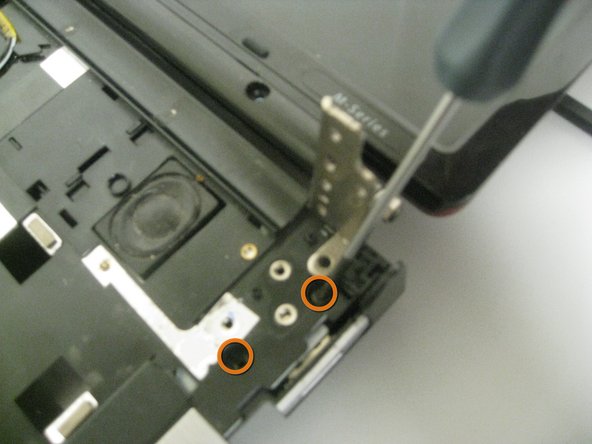
      • Remove the four 5.9 mm Philips screws as indicated:

      • There is one somewhat hidden screw on the left side under the screen hinge, and one to the right of the (left)speaker, right/top side of the video port on mobo.

      • There are two similarly positioned screws on the right side.

      Ask FixBot

      Add Comment

    13. Gateway SA1 Outer Casing Replacement: step 18, image 1 of 2 Gateway SA1 Outer Casing Replacement: step 18, image 2 of 2
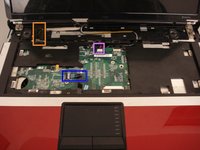
      • The following steps (18 - 20) explain how to remove the three indicated connections.

      • The order is Blue, Violet, Orange.

      • Lift the white tab up and gently take out the connector.

      Ask FixBot

      Add Comment

    14. Gateway SA1 Outer Casing Replacement: step 19, image 1 of 1
      • Use the spudger to pull off the black attachment.

      Ask FixBot

      Add Comment

    15. Gateway SA1 Outer Casing Replacement: step 20, image 1 of 1
      • Lift and pull the black tab upward until it becomes unattached.

      • Some force may be required.

      Ask FixBot

      Add Comment

    16. Gateway SA1 Outer Casing Replacement: step 21, image 1 of 1
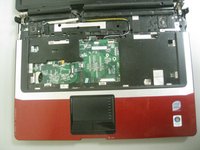
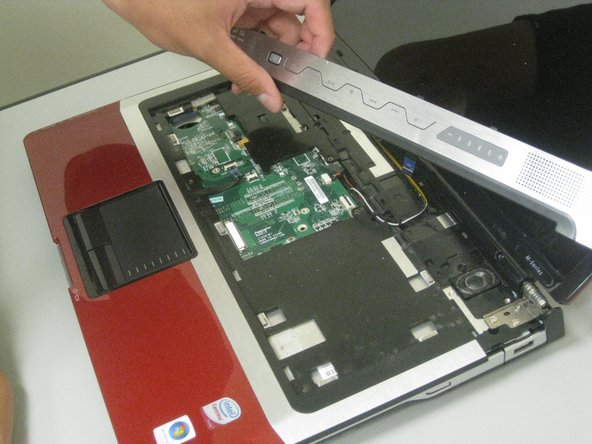
      • Use the spudger to remove the casing as seen in the picture.

      • Some force may be required.

      Ask FixBot

      Add Comment

    17. Gateway SA1 Outer Casing Replacement: step 22, image 1 of 1
      • Remove the casing.

      Ask FixBot

      Add Comment

Conclusion

To reassemble your device, follow these instructions in reverse order.

Cancel: I did not complete this guide.

6 other people completed this guide.

Diego Carteno

Member since: 04/15/10

273 Reputation

7 Guides authored

Team

Cal Poly, Team 24-20, Regan Spring 2010 Member of Cal Poly, Team 24-20, Regan Spring 2010

CPSU-REGAN-S10S24G20

4 Members

84 Guides authored

0 Guide Comments

Add Comment

View Statistics:

Past 24 Hours: 2

Past 7 Days: 10

Past 30 Days: 40

All Time: 16,524