Introduction
As your laptop ages, drops, spills, and time can cause damage to your laptop screen. If the image is often distorted, the LD light is corrupt, or just a blatant crack in the screen, you can follow these steps to easily replace your screen. Replacing the screen will allow for a better image as well as an easier use of your device, without the frustration of looking at an unsatisfactory display.
What you need
-
-
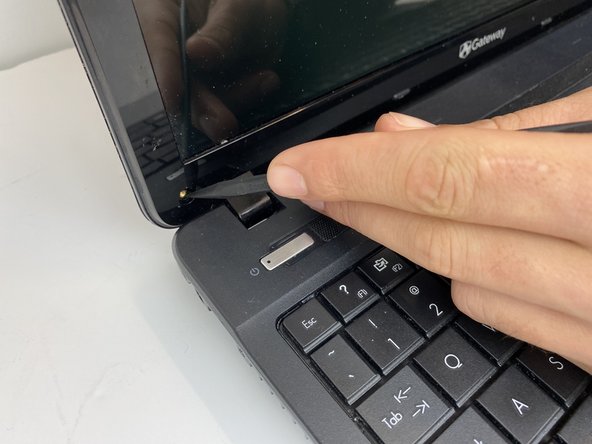
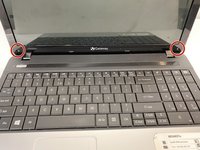
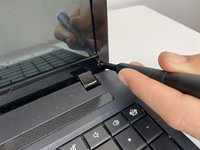
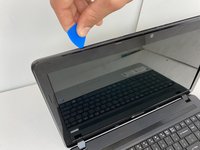
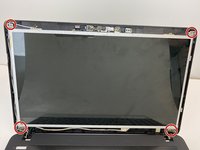
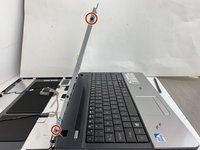
Using the spudger, remove the protective caps for the screen to expose the screws.
-
Using the Phillips #000 screwdriver, unscrew the bottom two 1mm screws.
-
-
-
-
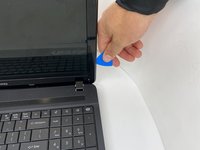
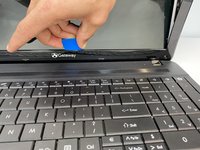
Using the opening pick in between the front cover and bezel, gently loosen and lift the plastic bezel from the screen and backing.
-
-
-
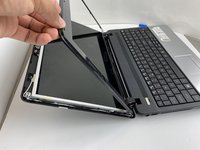
Gently lift the frame of the screen from the top to unhook the frame from the base.
-
-
-
Using the Phillips #000 screwdriver, unscrew the four 1 mm screws in the front corners of the metal frame.
-
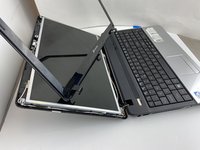
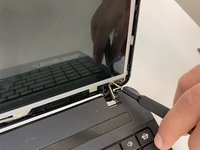
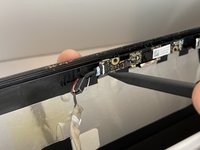
Lift the screen slightly to expose the connector board.
-
-
-
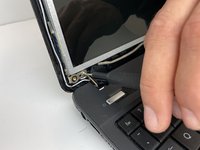
Using the spudger, carefully remove the webcam connector from the metal frame.
-
-
-
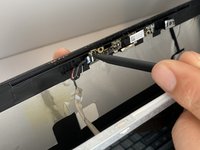
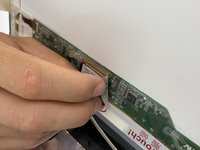
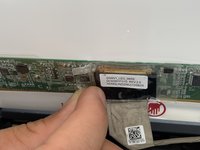
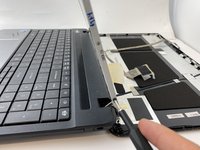
Peel the tape covering the display cable, releasing the wire from the metal frame.
-
Unplug the display cable from the image processing board on the screen.
-
-
-
Using the Phillips #000 screwdriver, unscrew the four 1 mm screws from the sides of the metal frame.
-
Remove the screen from the metal frame.
-


To reassemble your device, follow these instructions in reverse order.
Cancel: I did not complete this guide.
One other person completed this guide.

Team

Embry-Riddle Aeronautical University, Team S6-G2, Watkins Spring 2020 Member of Embry-Riddle Aeronautical University, Team S6-G2, Watkins Spring 2020
ERAU-WATKINS-S20S6G2
4 Members
10 Guides authored