
Gateway NE56R27u Hard Drive Replacement

Piper Moeller and 3 other contributors
Last updated on May 5, 2020
Views: 641
View statistics:
- Past 24 Hours:
- 1
- Past 7 Days:
- 17
- Past 30 Days:
- 53
- All Time:
- 641
Comments: 8
8 comments on steps.
Completed: 0 1
No one has marked this guide "completed." Will you be the first?
1 person has marked this guide "completed." It's you — great job!
Favorites: 0 1
No one has favorited (and subscribed to) this guide. Will you be the first?
1 person has favorited (and subscribed to) this guide — and that's you!
Introduction
Go to step 1 ↓The hard drive is how you store data in your device. If you have experienced a hardware failure or you simply want to upgrade your Gateway NE56R27u’s hard drive, this guide will allow you to replace your laptop’s hard drive. Upgrading your hard drive can allow your device to run with increased speed and capacity and with more space to store files.
What you need
Tools
-
Spudger4.9


-
-
-
-
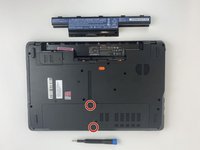
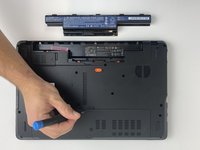
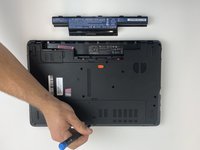
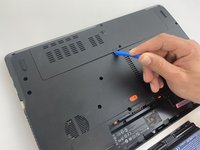
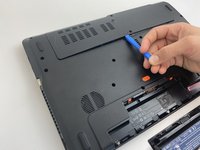
Unscrew the two 7.9mm Phillips #0 screws that secure the service cover.
-
-
-
-
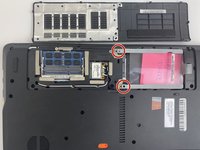
Unscrew the two 0.5mm screws from the hard drive brackets using the Phillips #0 screwdriver.
-
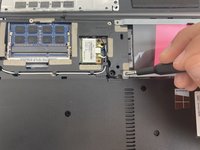
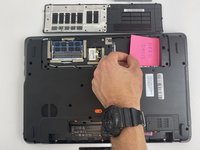
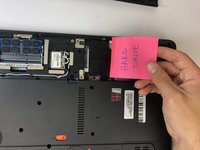
Pull the plastic tab attached to the hard drive to the right to remove the hard drive.
-
-
-
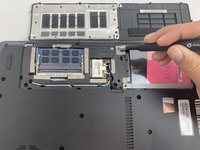
Remove the hard drive by lifting up the right side, releasing the hard drive from the compartment clips on the left.
-
-


 Ask FixBot








To reassemble your device, follow these instructions in reverse order.

Team

Embry-Riddle Aeronautical University, Team S6-G2, Watkins Spring 2020 Member of Embry-Riddle Aeronautical University, Team S6-G2, Watkins Spring 2020
ERAU-WATKINS-S20S6G2
4 Members
60 Guides authored
