Introduction
Removal of the CD/DVD drive. Use this guide to replace a defective CD/DVD drive, in the case that your disk drive is not working. If it's a problem with the drive itself, you will need a new one, otherwise there may be an issue with the device itself.
What you need
-
-
-
Push the locking tab over to the right away from the battery to unlock it from the laptop.
-
Hold the additional locking tab to the left while puling out the battery.
 Ask FixBot
-
-
-
Remove the following screws securing the plastic panel from the bottom of the laptop:
-
Remove the seven 6 mm screws with a Phillips #0 screwdriver
-
-
-
-
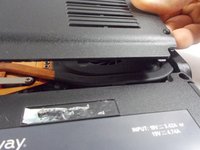
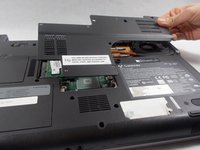
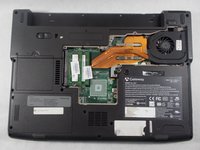
Pull upwards on the top of the plastic panel to remove it.
-
With the exception of the screw marked "K", all of the screws will remain connected to the plastic piece.
-
-
-
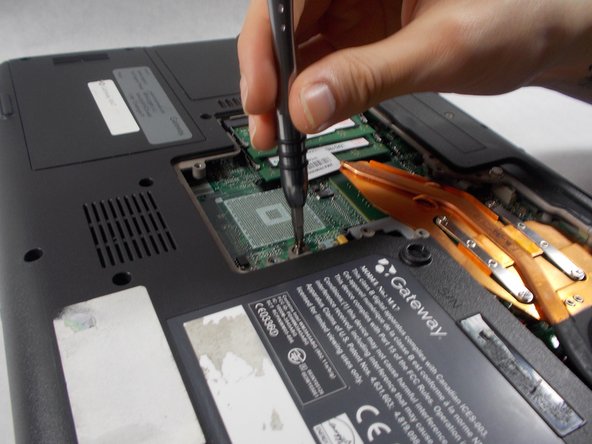
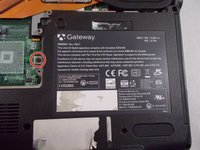
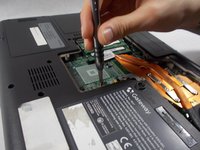
Remove the following screws holding the DVD/CD drive in place:
-
One 6 mm Phillips #0
-
-
-
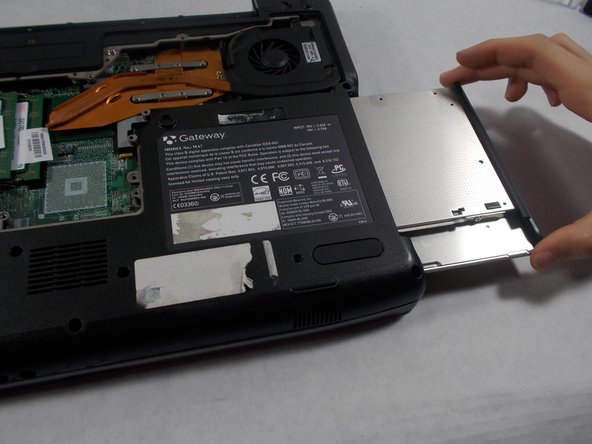
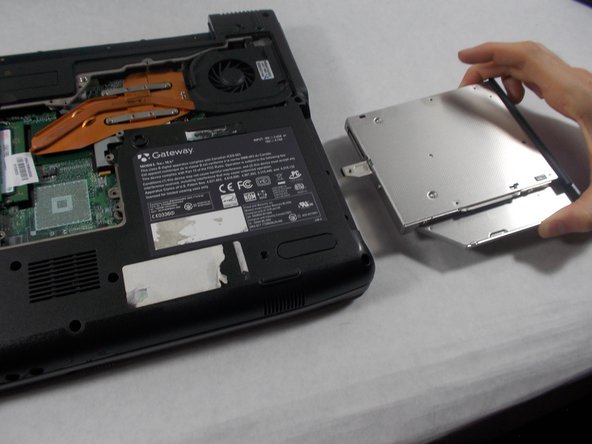
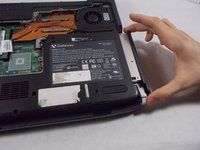
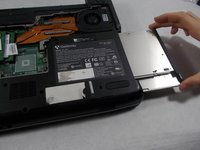
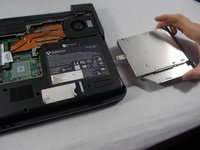
Use the edge of a plastic opening tool to push down on the metal latch preventing the drive from being pushed out.
-
While pressing down, push the metal latch out away from the laptop.
-
-





To reassemble your device, follow these instructions in reverse order.

Team

UMass Dartmouth, Team S6-G2, Bernier Spring 2018 Member of UMass Dartmouth, Team S6-G2, Bernier Spring 2018
UMASSD-BERNIER-S18S6G2
3 Members
48 Guides authored
