Free Shipping on Domestic Orders $75+

Gateway M-2626u CPU Replacement

What you need

    1. Gateway M-2626u CPU Replacement, Back Panel: step 1, image 1 of 2 Gateway M-2626u CPU Replacement, Back Panel: step 1, image 2 of 2
      • Using the Phillips #1 screwdriver, remove the four 6mm screws on the back of the laptop.

      Ask FixBot

      Add Comment

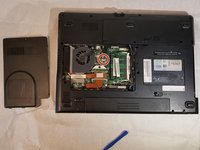
    2. Gateway M-2626u CPU Replacement: step 2, image 1 of 2 Gateway M-2626u CPU Replacement: step 2, image 2 of 2
      • Insert the plastic prying tool and pry the back panel off starting at an edge and moving your way around it.

      Ask FixBot

      Add Comment

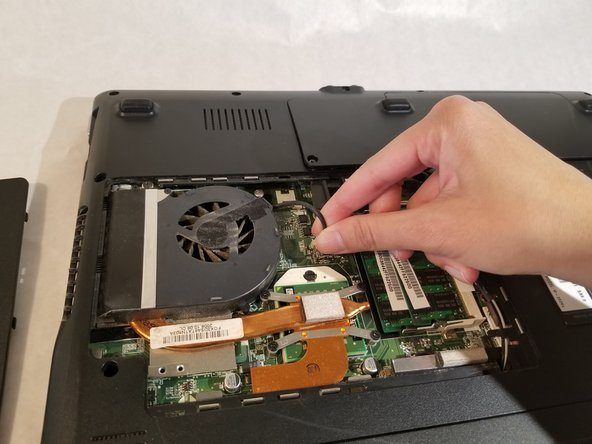
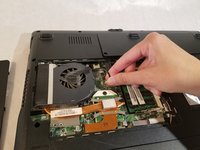
    1. Gateway M-2626u CPU Replacement, CPU Fan: step 3, image 1 of 2 Gateway M-2626u CPU Replacement, CPU Fan: step 3, image 2 of 2
      • Remove the header by pulling on it with two fingers.

      Ask FixBot

      Add Comment

    2. Gateway M-2626u CPU Replacement: step 4, image 1 of 1
      • Remove the six 2.5mm screws using a Phillips #1 screwdriver.

      Ask FixBot

      Add Comment

    3. Gateway M-2626u CPU Replacement: step 5, image 1 of 1
      • Remove the fan by moving it to the side and lifting it out of the computer.

      Ask FixBot

      Add Comment

    1. Gateway M-2626u CPU Replacement, CPU: step 6, image 1 of 1
      • Once the fan is removed, locate the CPU.

      • Rotate the plastic knob using a flat head screw driver as depicted in this image

      Ask FixBot

      Add Comment

    2. Gateway M-2626u CPU Replacement: step 7, image 1 of 1
      • Lift and remove the CPU from the mother board socket.

      Ask FixBot

      Add Comment

Conclusion

To reassemble your device, follow these instructions in reverse order.

Cancel: I did not complete this guide.

Armani Tayeh

Member since: 03/19/18

447 Reputation

4 Guides authored

Team

0 Guide Comments

Add Comment

View Statistics:

Past 24 Hours: 0

Past 7 Days: 3

Past 30 Days: 20

All Time: 573