Free Shipping on Domestic Orders $75+

Gateway KAV60 LT2016U RAM Replacement

What you need

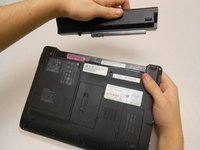
    1. Gateway KAV60 LT2016U RAM Replacement, Battery: step 1, image 1 of 3 Gateway KAV60 LT2016U RAM Replacement, Battery: step 1, image 2 of 3 Gateway KAV60 LT2016U RAM Replacement, Battery: step 1, image 3 of 3
      • Unlock the tab located in the top left corner of the netbook.

      • The red tab indicated that the battery has been properly unlocked.

      • Remove the battery.

      • When working with electronics, it is always wise to remove the power source before taking the device apart.

      Ask FixBot

      Add Comment

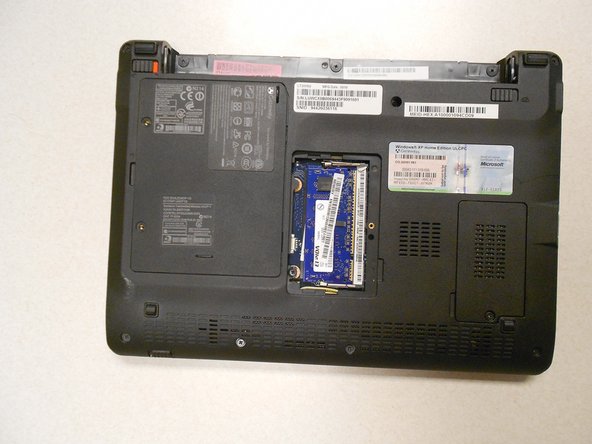
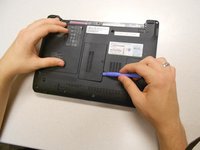
    1. Gateway KAV60 LT2016U RAM Replacement, RAM: step 2, image 1 of 1
      • The RAM is located under this cover.

      Ask FixBot

      Add Comment

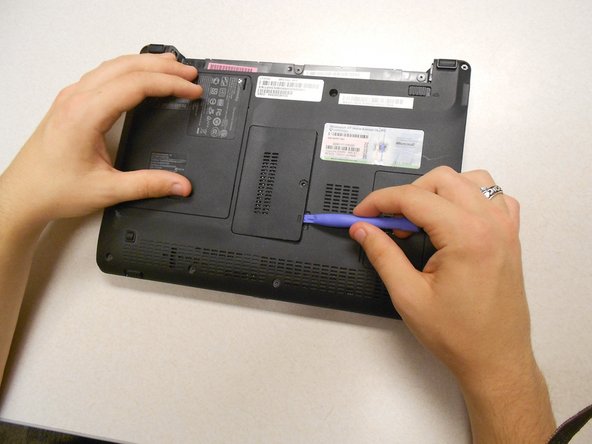
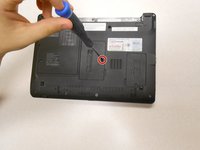
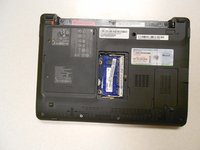
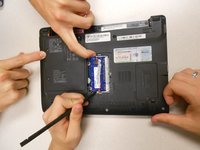
    2. Gateway KAV60 LT2016U RAM Replacement: step 3, image 1 of 3 Gateway KAV60 LT2016U RAM Replacement: step 3, image 2 of 3 Gateway KAV60 LT2016U RAM Replacement: step 3, image 3 of 3
      • Using a Phillips #0 screwdriver, remove one (1) 5mm screw holding the cover in place.

      • Use a plastic opening tool to remove the cover.

      Ask FixBot

      Add Comment

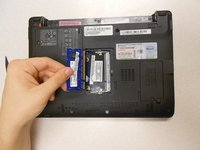
    3. Gateway KAV60 LT2016U RAM Replacement: step 4, image 1 of 2 Gateway KAV60 LT2016U RAM Replacement: step 4, image 2 of 2
      • Unlock the RAM by pinching the metal clamps that keep the RAM in place.

      • Remove the RAM while the metal clamps are disengaged.

      Ask FixBot

      Add Comment

Conclusion

To reassemble your device, follow these instructions in reverse order.

Cancel: I did not complete this guide.

Lydia Benjock

Member since: 10/18/13

1,240 Reputation

10 Guides authored

Team

Clemson, Team 14-3, Benson Fall 2013 Member of Clemson, Team 14-3, Benson Fall 2013

CLEM-BENSON-F13S14G3

3 Members

132 Guides authored

0 Guide Comments

Add Comment

View Statistics:

Past 24 Hours: 2

Past 7 Days: 3

Past 30 Days: 33

All Time: 2,550