Free Shipping on Domestic Orders $75+

Gateway ID49C07U Screen Replacement

What you need

    1. Gateway ID49C07U Screen Replacement, Battery: step 1, image 1 of 1
      • Turn the laptop over so the bottom of the device is facing upwards with the hinge facing away from you.

      Ask FixBot

      Add Comment

    2. Gateway ID49C07U Screen Replacement: step 2, image 1 of 2 Gateway ID49C07U Screen Replacement: step 2, image 2 of 2
      • Locate the switch on the top left of the laptop labeled with a padlock symbol.

      • Flip the switch in the direction of the unlocked padlock symbol.

      Ask FixBot

      Add Comment

    3. Gateway ID49C07U Screen Replacement: step 3, image 1 of 1
      • Locate the switch that releases the battery and slide it to the right.

      Ask FixBot

      Add Comment

    4. Gateway ID49C07U Screen Replacement: step 4, image 1 of 1
      • While holding the release switch to the right, pull the battery away from you.

      Ask FixBot

      Add Comment

    1. Gateway ID49C07U Screen Replacement, Screen: step 5, image 1 of 1
      • Turn the laptop over and open.

      Ask FixBot

      Add Comment

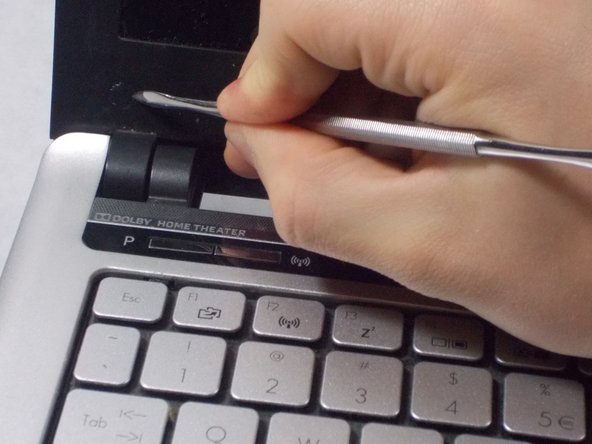
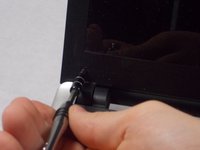
    2. Gateway ID49C07U Screen Replacement: step 6, image 1 of 2 Gateway ID49C07U Screen Replacement: step 6, image 2 of 2
      • Use the Small metal spudger to remove the small black screw covers in the bottom corners of the screen

      Ask FixBot

      Add Comment

    3. Gateway ID49C07U Screen Replacement: step 7, image 1 of 2 Gateway ID49C07U Screen Replacement: step 7, image 2 of 2
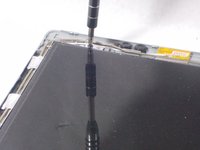
      • Use the PH1 Screwdriver to remove the screws

      Ask FixBot

      Add Comment

    4. Gateway ID49C07U Screen Replacement: step 8, image 1 of 1
      • Use the small metal spudger to start separating the front plastic cover from the back plastic cover

      Ask FixBot

      Add Comment

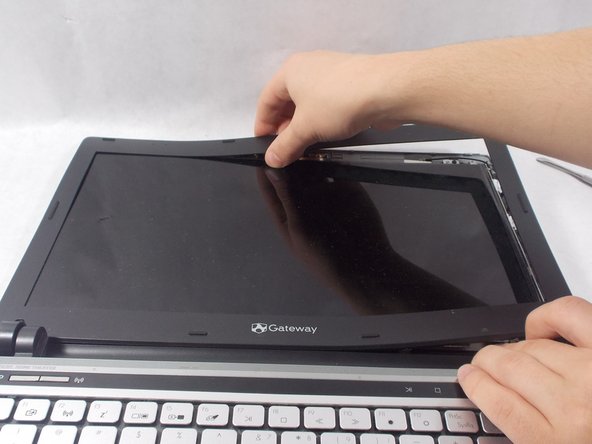
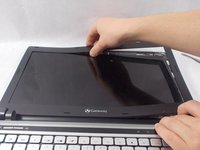
    5. Gateway ID49C07U Screen Replacement: step 9, image 1 of 3 Gateway ID49C07U Screen Replacement: step 9, image 2 of 3 Gateway ID49C07U Screen Replacement: step 9, image 3 of 3
      • Once there is enough room for you to fit your hand underneath the top plastic cover you can start pealing it back. It will make a lot of popping noises as it unclips when you separate it.

      Ask FixBot

      Add Comment

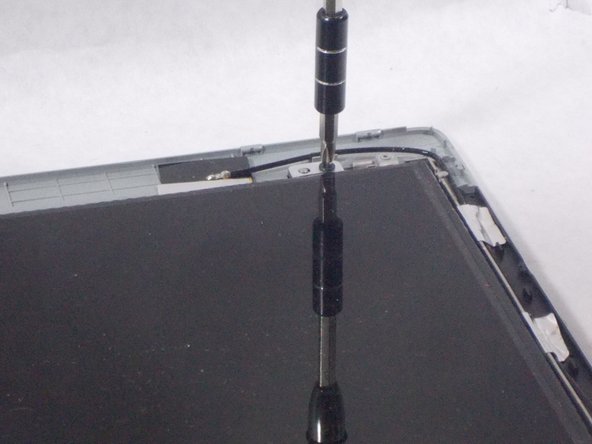
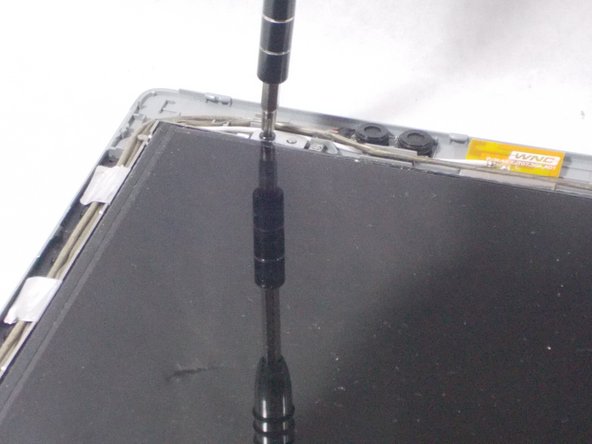
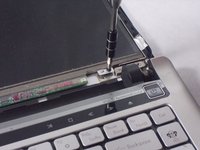
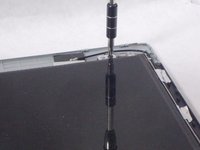
    6. Gateway ID49C07U Screen Replacement: step 10, image 1 of 3 Gateway ID49C07U Screen Replacement: step 10, image 2 of 3 Gateway ID49C07U Screen Replacement: step 10, image 3 of 3
      • Once the plastic cover is off locate the 4 screws in the corners of the screen and unscrew them

      Ask FixBot

      Add Comment

    7. Gateway ID49C07U Screen Replacement: step 11, image 1 of 2 Gateway ID49C07U Screen Replacement: step 11, image 2 of 2
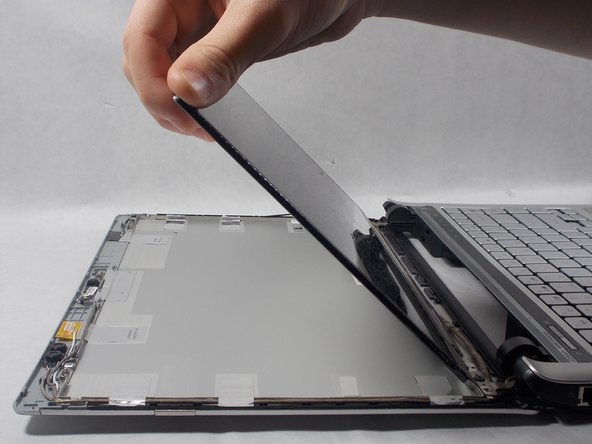
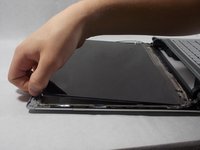
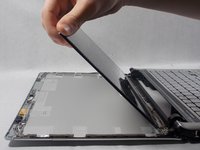
      • After the screws are out gently flip the screen over onto the keyboard

      Ask FixBot

      Add Comment

    8. Gateway ID49C07U Screen Replacement: step 12, image 1 of 1
      Tool used on this step:
      Tweezers
      $4.99
      Buy
      • Use the tweezers to peal back the tape over the wire connector on the bottom of the screen

      Ask FixBot

      Add Comment

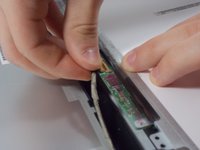
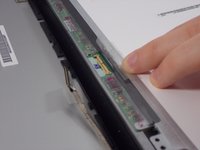
    9. Gateway ID49C07U Screen Replacement: step 13, image 1 of 2 Gateway ID49C07U Screen Replacement: step 13, image 2 of 2
      • Hold the tape back with one hand and pull the connector out

      Ask FixBot

      Add Comment

Conclusion

To reassemble your device, follow these instructions in reverse order.

Cancel: I did not complete this guide.

2 other people completed this guide.

Ryan Howlett

Member since: 03/06/17

273 Reputation

2 Guides authored

Team

0 Guide Comments

Add Comment

View Statistics:

Past 24 Hours: 4

Past 7 Days: 10

Past 30 Days: 21

All Time: 605