Free Shipping on Domestic Orders $75+

Gateway GWTC116-2BL Touchpad Replacement

Views: 653

View statistics:

Past 24 Hours:
1
Past 7 Days:
15
Past 30 Days:
82
All Time:
653
Comments: 0

No one has left comments on this guide. Will you be first?

Go to guide comments
Completed: 0

No one has marked this guide "completed." Will you be the first?

Favorites: 0

No one has favorited (and subscribed to) this guide. Will you be the first?

Time Required: 10 minutes
Difficulty: Moderate
Gateway GWTC116-2BL Touchpad Replacement

Introduction

Go to step 1 ↓

If your touchpad on the Gateway GWTC116-2BL is not working, there may be a problem with it. There could be a possibility it has been damaged, and you need to replace it. In this guide, there is a step-by-step of how to replace a faulty touchpad. Be sure to have a new touchpad that is compatible with the Gateway GWTC116-2BL handy in order to replace the faulty one.

What you need

Tools

    1. Gateway GWTC116-2BL Touchpad Replacement, Back Panel: step 1, image 1 of 1
      • Ground yourself before disassembling and handling the computer.

      • Remove the ten 3.0 mm Phillips #00 screws from the back panel of the laptop.

      Ask FixBot

      Add Comment

    2. Gateway GWTC116-2BL Touchpad Replacement: step 2, image 1 of 2 Gateway GWTC116-2BL Touchpad Replacement: step 2, image 2 of 2
      • Use the spudger to pry the back panel away from the body of the laptop.

      Ask FixBot

      Add Comment

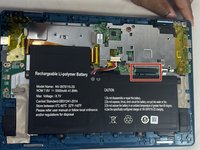
    1. Gateway GWTC116-2BL Touchpad Replacement, Battery: step 3, image 1 of 1
      • Remove the five 3.0 mm Phillips #00 screws.

      Ask FixBot

      Add Comment

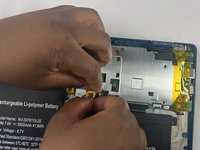
    2. Gateway GWTC116-2BL Touchpad Replacement: step 4, image 1 of 2 Gateway GWTC116-2BL Touchpad Replacement: step 4, image 2 of 2
      • Using your fingers, flick open the battery connector bracket.

      • Remove the connector from bracket.

      Ask FixBot

      Add Comment

    3. Gateway GWTC116-2BL Touchpad Replacement: step 5, image 1 of 1
      • Pull up the battery to remove from the base.

      Ask FixBot

      Add Comment

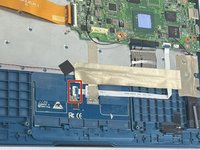
    1. Gateway GWTC116-2BL Touchpad Replacement, Touchpad: step 6, image 1 of 2 Gateway GWTC116-2BL Touchpad Replacement, Touchpad: step 6, image 2 of 2
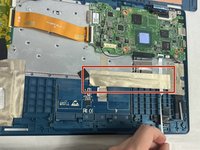
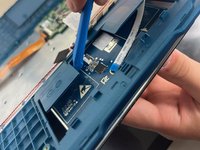
      • Flick open the bracket and peel back the white cable.

      Ask FixBot

      Add Comment

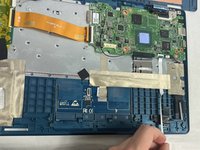
    2. Gateway GWTC116-2BL Touchpad Replacement: step 7, image 1 of 2 Gateway GWTC116-2BL Touchpad Replacement: step 7, image 2 of 2
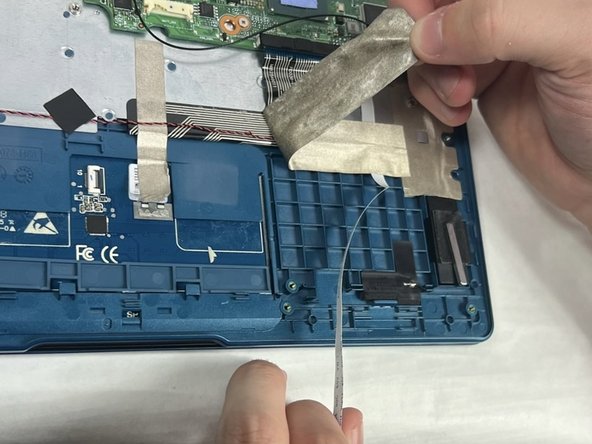
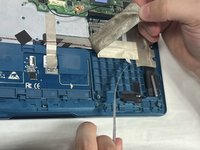
      • Peel the metallic tape off of the casing.

      Ask FixBot

      Add Comment

    3. Gateway GWTC116-2BL Touchpad Replacement: step 8, image 1 of 1
      • Peel off the smaller piece of metallic tape that was underneath the other tape.

      Ask FixBot

      Add Comment

    4. Gateway GWTC116-2BL Touchpad Replacement: step 9, image 1 of 2 Gateway GWTC116-2BL Touchpad Replacement: step 9, image 2 of 2
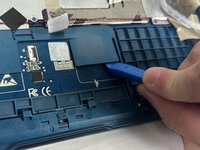
      • Using an opening tool, dislocate the touchpad from the adhesive part of the base.

      • Repeat on the other side.

      Ask FixBot

      Add Comment

    5. Gateway GWTC116-2BL Touchpad Replacement: step 10, image 1 of 1
      • Pull away the touchpad from the base of the computer.

      Ask FixBot

      Add Comment

Conclusion

To reassemble your device, follow these instructions in reverse order.

Cancel: I did not complete this guide.

Kailey Sousa

Member since: 03/22/24

522 Reputation

4 Guides authored

Team

0 Guide Comments

Add Comment

View Statistics:

Past 24 Hours: 1

Past 7 Days: 15

Past 30 Days: 82

All Time: 653