Free Shipping on Domestic Orders $75+

Gateway GWTC116-2BL Motherboard Replacement

What you need

    1. Gateway GWTC116-2BL Motherboard Replacement, Back Panel: step 1, image 1 of 1
      • Ground yourself before disassembling and handling the computer.

      • Remove the ten 3.0 mm Phillips #00 screws from the back panel of the laptop.

      Ask FixBot

      Add Comment

    2. Gateway GWTC116-2BL Motherboard Replacement: step 2, image 1 of 2 Gateway GWTC116-2BL Motherboard Replacement: step 2, image 2 of 2
      • Use the spudger to pry the back panel away from the body of the laptop.

      Ask FixBot

      Add Comment

    1. Gateway GWTC116-2BL Motherboard Replacement, Battery: step 3, image 1 of 1
      • Remove the five 3.0 mm Phillips #00 screws.

      Ask FixBot

      Add Comment

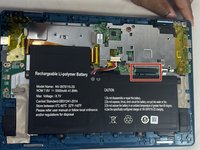
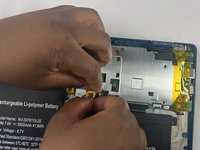
    2. Gateway GWTC116-2BL Motherboard Replacement: step 4, image 1 of 2 Gateway GWTC116-2BL Motherboard Replacement: step 4, image 2 of 2
      • Using your fingers, flick open the battery connector bracket.

      • Remove the connector from bracket.

      Ask FixBot

      Add Comment

    3. Gateway GWTC116-2BL Motherboard Replacement: step 5, image 1 of 1
      • Pull up the battery to remove from the base.

      Ask FixBot

      Add Comment

    1. Gateway GWTC116-2BL Motherboard Replacement, Motherboard: step 6, image 1 of 1
      • Using your fingers, flick the cable connector bracket open.

      • Remove the cable from the connector.

      Ask FixBot

      Add Comment

    2. Gateway GWTC116-2BL Motherboard Replacement: step 7, image 1 of 2 Gateway GWTC116-2BL Motherboard Replacement: step 7, image 2 of 2
      • Using your fingers, disconnect the black and white connector brackets underneath the gray cable.

      Ask FixBot

      Add Comment

    3. Gateway GWTC116-2BL Motherboard Replacement: step 8, image 1 of 2 Gateway GWTC116-2BL Motherboard Replacement: step 8, image 2 of 2
      • Remove the four 3.0 mm Phillips #00 screws located on the motherboard casing.

      Ask FixBot

      Add Comment

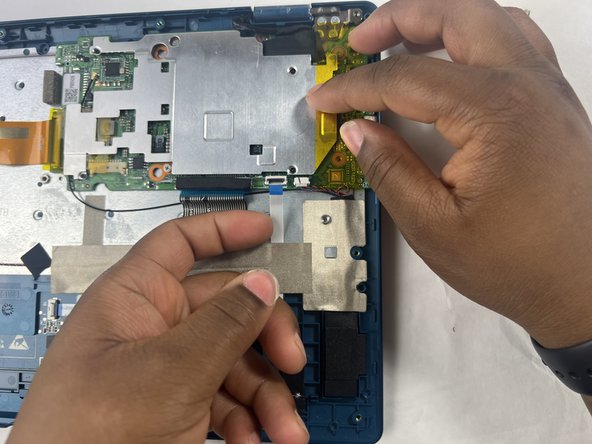
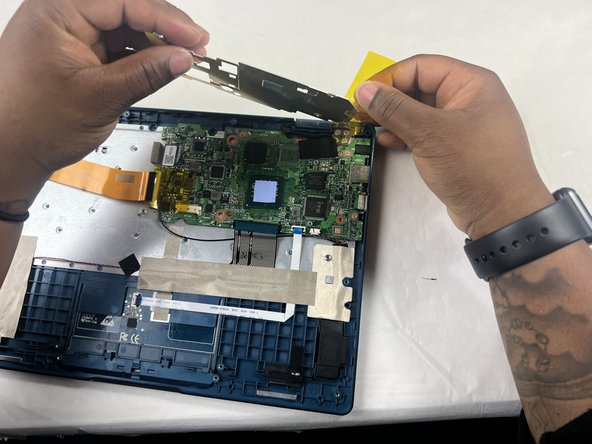
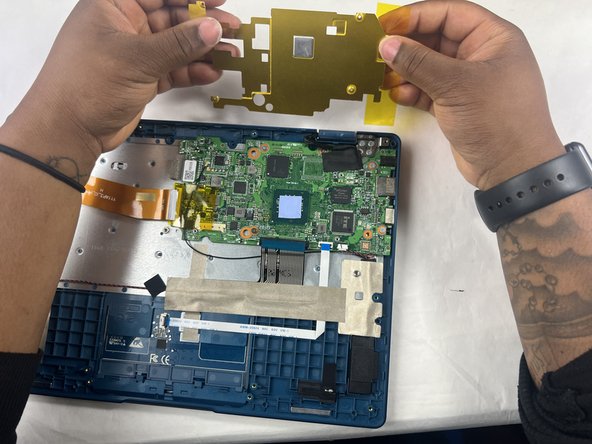
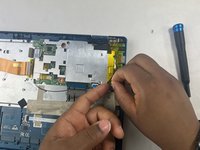
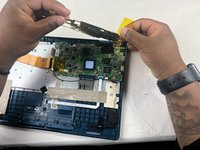
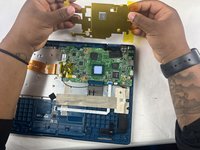
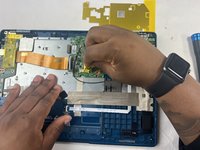
    4. Gateway GWTC116-2BL Motherboard Replacement: step 9, image 1 of 3 Gateway GWTC116-2BL Motherboard Replacement: step 9, image 2 of 3 Gateway GWTC116-2BL Motherboard Replacement: step 9, image 3 of 3
      • Peel the yellow tape off of the casing.

      • Lift the casing off of the motherboard.

      Ask FixBot

      Add Comment

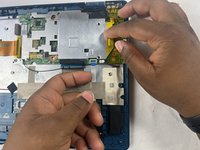
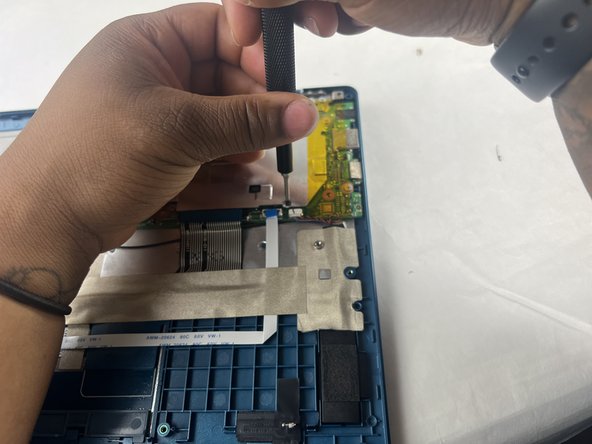
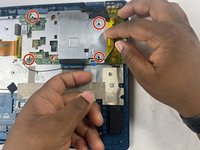
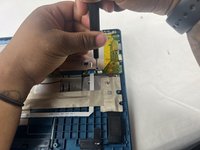
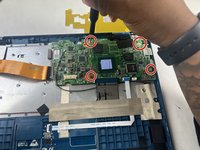
    5. Gateway GWTC116-2BL Motherboard Replacement: step 10, image 1 of 2 Gateway GWTC116-2BL Motherboard Replacement: step 10, image 2 of 2
      • Peel off the yellow tape.

      • Remove four 3.0 mm Phillips #00 screws.

      Ask FixBot

      Add Comment

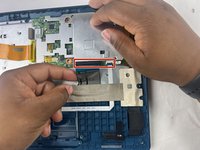
    6. Gateway GWTC116-2BL Motherboard Replacement: step 11, image 1 of 2 Gateway GWTC116-2BL Motherboard Replacement: step 11, image 2 of 2
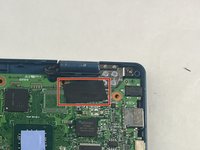
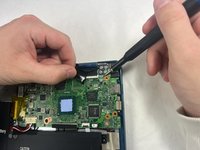
      • Peel off the black piece of tape covering the display cable.

      Ask FixBot

      Add Comment

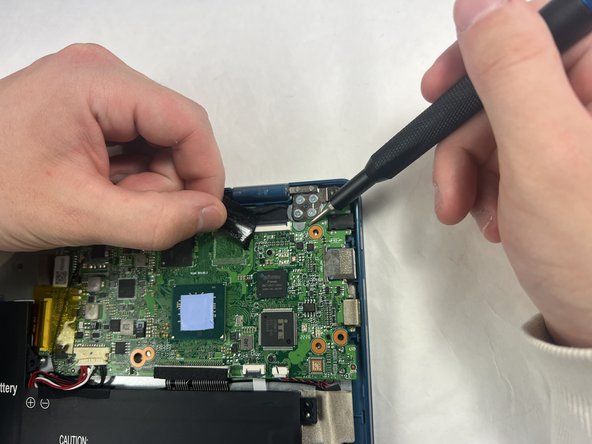
    7. Gateway GWTC116-2BL Motherboard Replacement: step 12, image 1 of 2 Gateway GWTC116-2BL Motherboard Replacement: step 12, image 2 of 2
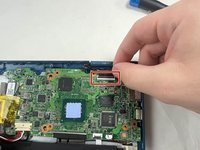
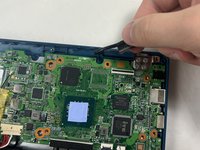
      • Flick open the bracket securing the display cable and disconnect the cable from the motherboard.

      Ask FixBot

      Add Comment

    8. Gateway GWTC116-2BL Motherboard Replacement: step 13, image 1 of 1
      • Remove the motherboard from the device.

      Ask FixBot

      Add Comment

Conclusion

To reassemble your device, follow these instructions in reverse order.

Cancel: I did not complete this guide.

Christian Chapman

Member since: 03/25/24

192 Reputation

1 Guide authored

Team

0 Guide Comments

Add Comment

View Statistics:

Past 24 Hours: 0

Past 7 Days: 12

Past 30 Days: 72

All Time: 1,323