
Gateway GWTC116-2BL Daughterboard Replacement

Kailey Sousa and 3 other contributors
Last updated on May 28, 2024
Views: 801
View statistics:
- Past 24 Hours:
- 6
- Past 7 Days:
- 18
- Past 30 Days:
- 86
- All Time:
- 801
Comments: 0
No one has left comments on this guide. Will you be first?
Go to guide commentsCompleted: 0 1
No one has marked this guide "completed." Will you be the first?
1 person has marked this guide "completed." It's you — great job!
Favorites: 0 1
No one has favorited (and subscribed to) this guide. Will you be the first?
1 person has favorited (and subscribed to) this guide — and that's you!
Introduction
Go to step 1 ↓If your Gateway GWTC116-2BL laptop is experiencing issues with its daughterboard, replacing it might be necessary. The daughterboard is an essential component that connects the motherboard to other peripherals, such as the keyboard, touchpad, and USB ports. Faulty daughterboards can cause several problems, including malfunctioning laptop peripherals. Replacing a Gateway GWTC116-2BL daughterboard is a simple process that involves a few steps. In this guide, we'll outline the steps you need to take to replace the daughterboard and get your laptop functioning normally again.
What you need
Tools


-
-
-
Remove the ten 3.0 mm Phillips #00 screws from the back panel of the laptop.
 Ask FixBot
-
-
-
-
-
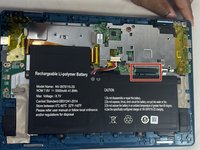
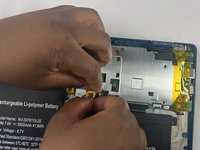
Using your fingers, flick open the battery connector bracket.
-
Remove the connector from bracket.
-
-
-
-
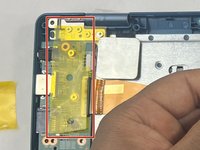
Peel off the yellow piece of tape that is placed over the daughterboard.
-
-
-
-
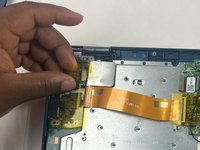
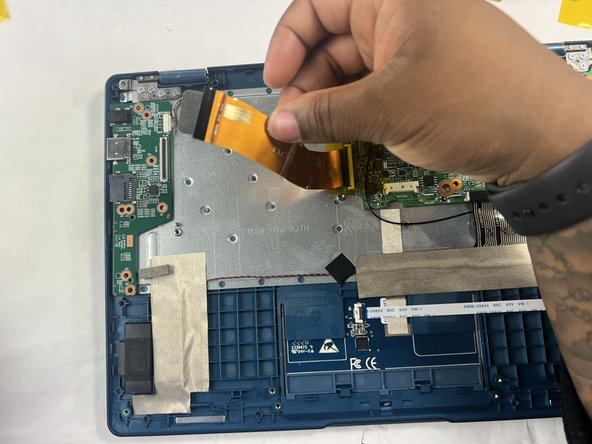
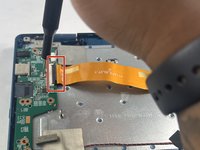
Flick open the bracket that connects the motherboard and daughterboard.
-
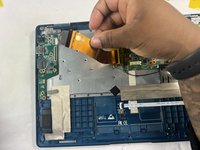
Remove the connector strip.
-
-







To reassemble your device, follow these instructions in reverse order.

Team

UMass Dartmouth, Team 6-2, Botvin Spring 2024 Member of UMass Dartmouth, Team 6-2, Botvin Spring 2024
UMASSD-BOTVIN-S24S6G2
3 Members
60 Guides authored
