
Gas Grill Ceramic Briquettes Replacement

Last updated on Jun 26, 2024
Views: 4.9K
View statistics:
- Past 24 Hours:
- 2
- Past 7 Days:
- 34
- Past 30 Days:
- 123
- All Time:
- 4,897
Comments: 0
No one has left comments on this guide. Will you be first?
Go to guide commentsCompleted: 3 4
3 people have marked this guide "completed." Will you be next?
4 people have marked this guide "completed." Including you — great job!
Favorites: 3 4
3 people have favorited (and subscribed to) this guide. Will you be next?
4 people have favorited (and subscribed to) this guide — including you!
Introduction
Go to step 1 ↓This step-by-step guide will show you how to replace gas grill ceramic briquettes. In this guide, we'll walk you through each stage of the replacement process, from preparing your grill for maintenance to safely installing the new ceramic briquettes.
During this guide make sure you read through carefully and complete the steps with caution. Make sure grill is not on and if it was recently used wait for it to cool down before proceeding with this guide.
This step-by-step guide is necessary if your ceramic briquettes are unusable.
The only tool you will need is in step 5, it will require you to use a Phillips head screwdriver.
What you need
Parts
Tools

-
-
-
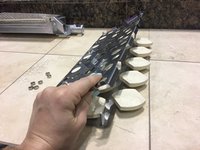
Carefully remove entire ceramic briquette casing from above the stainless steel burner.
-
-
-
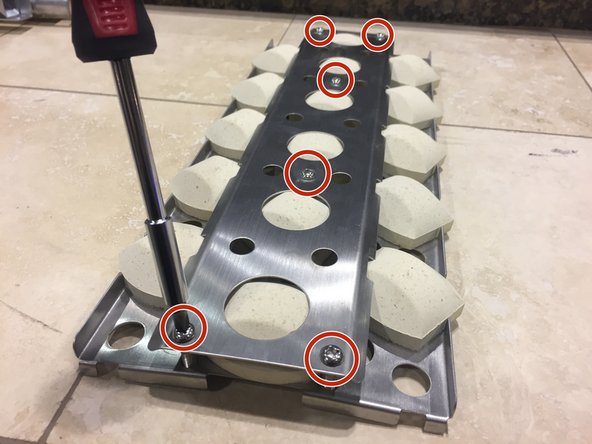
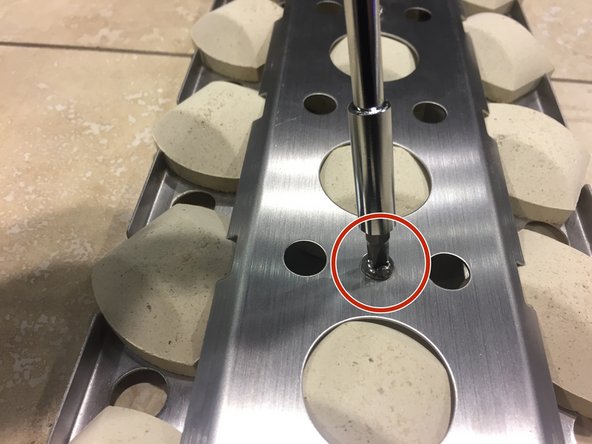
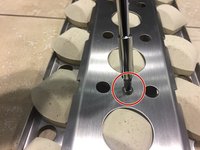
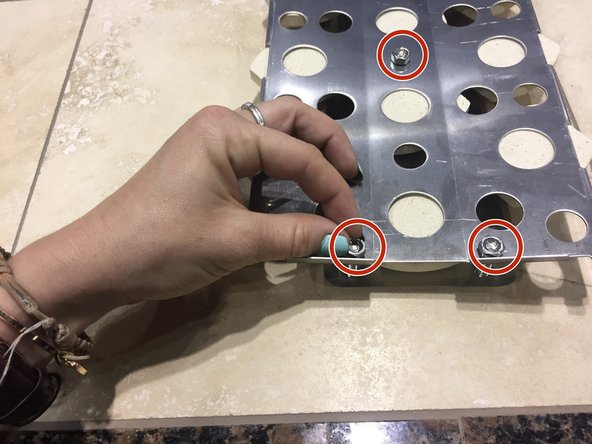
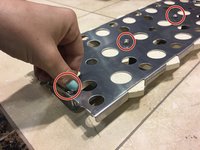
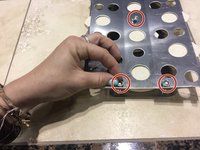
Locate the six screws located on top of the ceramic briquette casing and unscrew them using your phillips head screwdriver.
-
-
-
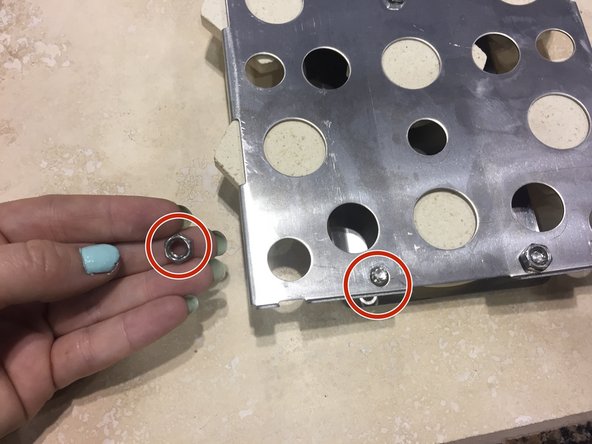
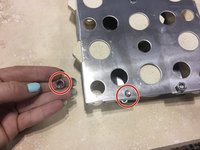
Using your hands, gently unscrew washers from the back of the casing.
-
-
-
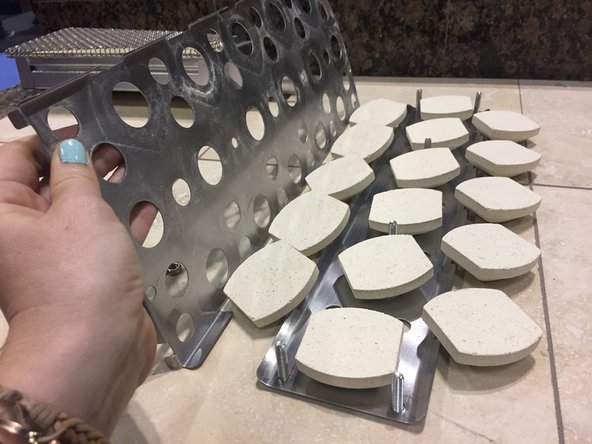
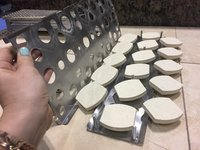
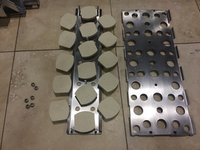
Separate the front and back metal casings surrounding the briquettes.
-
-
-
-
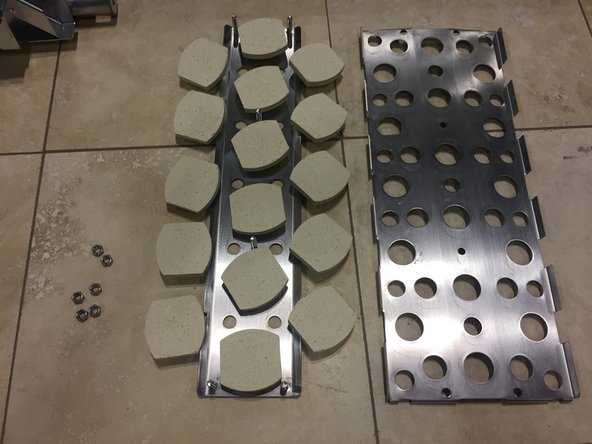
Take out old and used briquettes and dispose of them. (They will probably be black and tarnished)
-
-
-
Take 16 new ceramic briquettes out and carefully align them inside the casing.
-


 Ask FixBot






To reassemble your device, follow these instructions in reverse order.
Cancel: I did not complete this guide.
3 other people completed this guide.

Team

USF Sarasota-Manatee, Team 1-3, Stewart Spring 2016 Member of USF Sarasota-Manatee, Team 1-3, Stewart Spring 2016
USFSM-STEWART-S16S1G3
5 Members
72 Guides authored
