
Garmin inReach Mini Back Case Replacement

Ellie Taube and 5 other contributors
Last updated on May 7, 2024
Views: 1.5K
View statistics:
- Past 24 Hours:
- 3
- Past 7 Days:
- 11
- Past 30 Days:
- 65
- All Time:
- 1,487
Comments: 2
2 comments on steps.
Completed: 0 1
No one has marked this guide "completed." Will you be the first?
1 person has marked this guide "completed." It's you — great job!
Favorites: 0 1
No one has favorited (and subscribed to) this guide. Will you be the first?
1 person has favorited (and subscribed to) this guide — and that's you!
Introduction
Go to step 1 ↓This guide demonstrates how to replace the back case of the Garmin inReach Mini (model number 5HT094452). This guide is a prerequisite for users who are attempting to replace the battery or motherboard of the device. The battery of the device is located inside the back case. Removing the back hard case involves removing a number of small screws, and it is crucial to keep careful track of these pieces so that the case can be replaced properly.
What you need
Tools


-
-
-
Place the device on a level surface with the back hard case facing up.
 Ask FixBot
-
-
-
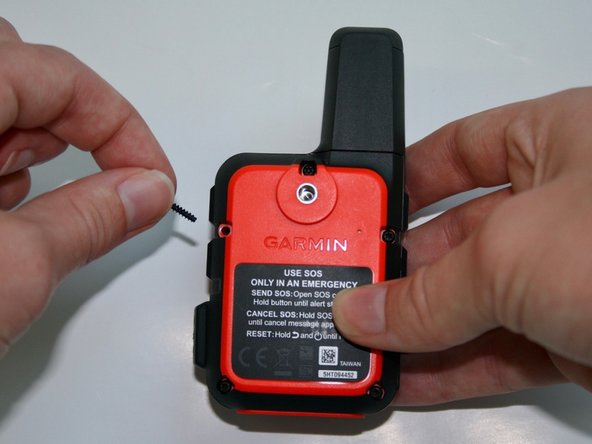
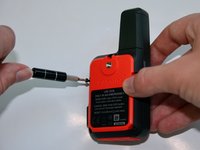
Use the T5 to remove the 1.9mm screw attached to the nylon strap.
-
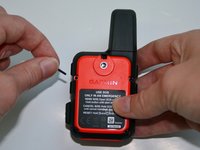
Remove the nylon strap.
-
-
-
-
-
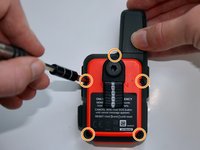
Remove the five 1.8 mm screws located on the top, sides, and bottom corners of the backside of the device.
-
-
-
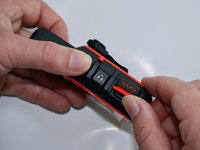
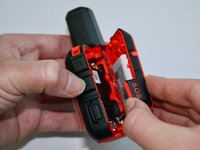
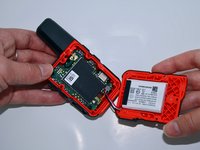
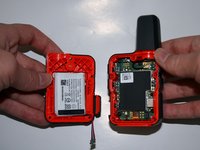
Lastly, lift the protective cap on the side of the device that states "SOS". Slowly pull it to the right in order to remove the back hard case.
-
-
-
Tool used on this step:Tweezers$4.99
-
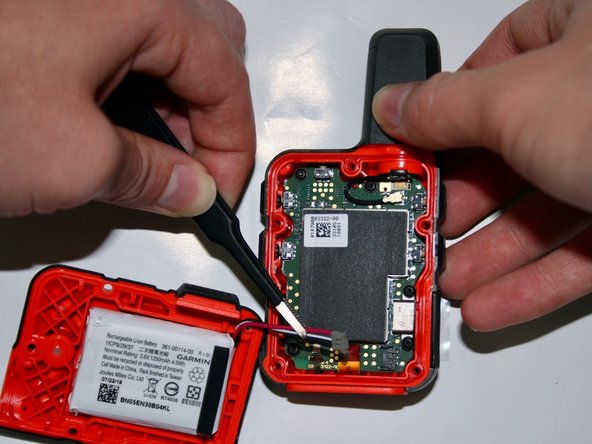
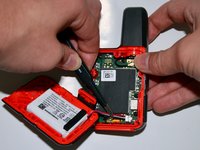
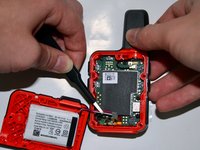
Using the precision tweezers with the round tips, detach the battery connector from the motherboard.
-
-







To reassemble your device, follow these instructions in reverse order.

Team

University of Alabama, Team 2-2, Bedsole Fall 2021 Member of University of Alabama, Team 2-2, Bedsole Fall 2021
UA-BEDSOLE-F21S2G2
4 Members
48 Guides authored
