
Garmin inReach Explorer Plus LCD Screen Replacement

Sean Kelley and 2 other contributors
Last updated on Dec 28, 2021
Views: 1.9K
View statistics:
- Past 24 Hours:
- 2
- Past 7 Days:
- 16
- Past 30 Days:
- 77
- All Time:
- 1,914
Comments: 3
3 guide comments.
Go to guide commentsCompleted: 0 1
No one has marked this guide "completed." Will you be the first?
1 person has marked this guide "completed." It's you — great job!
Favorites: 0 1
No one has favorited (and subscribed to) this guide. Will you be the first?
1 person has favorited (and subscribed to) this guide — and that's you!
Needs Better Images
Better photos will improve this guide. Help out by taking, editing, or uploading new ones!
Needs More Images
A few more images would make this guide's procedures crystal clear.
Introduction
Go to step 1 ↓This guide will be used if your Garmin inReach Explorer+ has screen issues. The guide will go over the process to replace the LCD screen. The LCD screen is a key component of the GPS, showing the visuals of the GPS and any selections that are made with the buttons.
As mentioned in our troubleshooting guide, the screen issues could be a frozen or damaged screen. The troubleshooting guide has several solutions that should be attempted prior to replacing the screen such as performing updating the device and resetting the device.
Before you begin replacing the screen, make sure it is powered off and it is not connected to any other form of power.
What you need
Tools
-
Spudger4.9
-


-
-
-
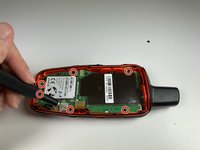
Using the TR6 Torx Security screwdriver, remove six 10 mm screws from the back cover of the device.
 Ask FixBot
-
-
-
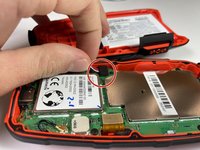
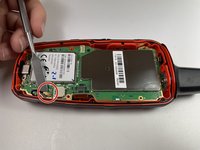
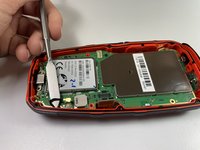
Gently grasp the battery wire and disconnect it from the device.
-
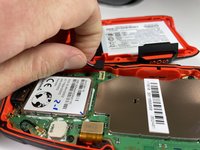
Remove the battery from the device.
-
-
-
-
-
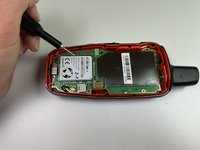
Using the T5 Torx screwdriver, remove the six 6 mm screws from the motherboard.
-
-
-
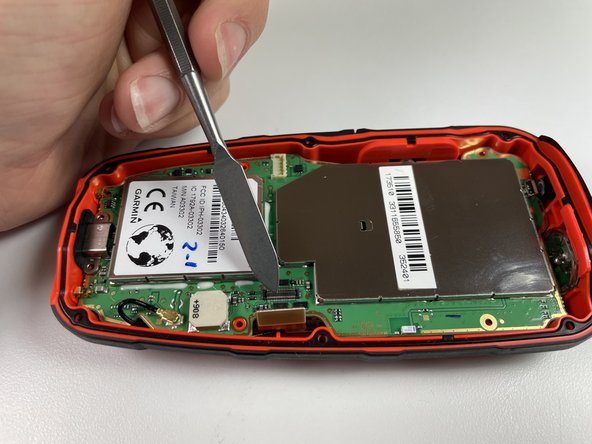
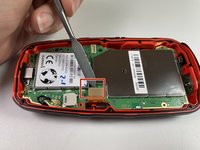
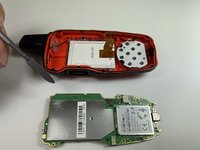
Disconnect the LCD screen from the motherboard by lifting on the flap with the nylon spudger.
-
-
-
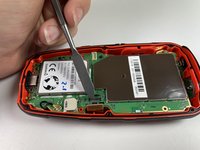
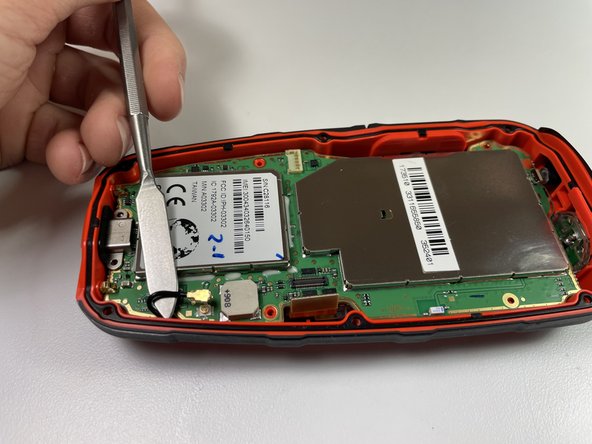
Disconnect the antenna from the motherboard by lifting the wire with a nylon spudger.
-
-
-
-
-
-
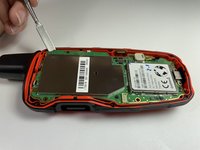
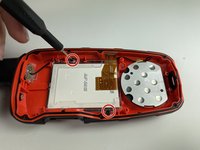
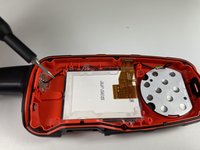
Using the T5 Torx screwdriver, remove the two 6 mm screws from the LCD screen.
-
-
-
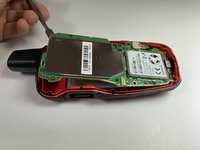
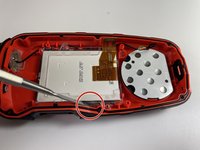
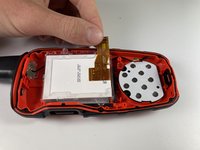
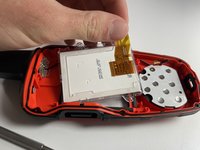
Use a nylon spudger to separate the LCD screen from the main body and remove the LCD screen.
-
-












To reassemble your device, follow these instructions in reverse order.

Team

Clemson, Team 5-4, Hunter Fall 2021 Member of Clemson, Team 5-4, Hunter Fall 2021
CLEM-HUNTER-F21S5G4
4 Members
60 Guides authored
3 Guide Comments
Where do I purchase the replacement LCD screen?
Ditto - where can we get a screen??
Yes where can LCD SCREEN BE BOUGHT
