
Garmin Nuvi 42LM USB Replacement

Elina Zhukov and 3 other contributors
Last updated on May 2, 2017
Views: 1K
View statistics:
- Past 24 Hours:
- 3
- Past 7 Days:
- 17
- Past 30 Days:
- 77
- All Time:
- 1,044
Comments: 0
No one has left comments on this guide. Will you be first?
Go to guide commentsCompleted: 1 2
1 person has marked this guide "completed." Will you be next?
2 people have marked this guide "completed." Including you — great job!
Favorites: 0 1
No one has favorited (and subscribed to) this guide. Will you be the first?
1 person has favorited (and subscribed to) this guide — and that's you!
Introduction
Go to step 1 ↓Here you will be removing several parts of the device to get to the USB port.
What you need
Tools


-
-
-
Remove the four screws on the back of the GPS using the T5 Torx screwdriver.
 Ask FixBot
-
-
-
-
-
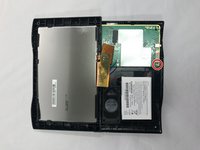
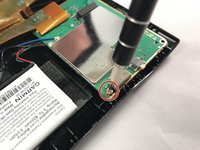
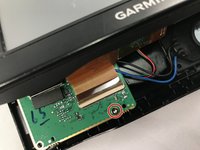
Using the T5 Torx screwdriver, remove the two screws located on the motherboard.
-
-
-
-
Using a soldering iron, desolder the USB port connected to the motherboard.
-
Check out this awesome guide on how to solder and desolder connections.
-
-


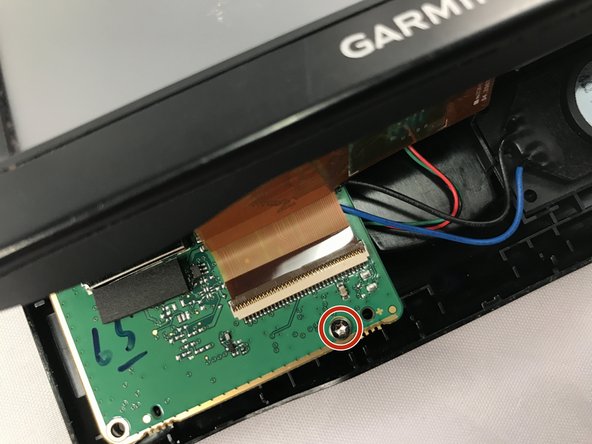


To reassemble your device, follow these instructions in reverse order.
Cancel: I did not complete this guide.
One other person completed this guide.

Team

Eastern Washington University, Team 2-1, Crane Winter 2017 Member of Eastern Washington University, Team 2-1, Crane Winter 2017
EWU-CRANE-W17S2G1
4 Members
72 Guides authored
