Free Shipping on Domestic Orders $75+

Garmin Nuvi 42LM Screen Replacement

Views: 879

View statistics:

Past 24 Hours:
1
Past 7 Days:
19
Past 30 Days:
77
All Time:
879
Comments: 1

1 guide comment.

Go to guide comments
Completed: 2

2 people have marked this guide "completed." Will you be next?

Favorites: 0

No one has favorited (and subscribed to) this guide. Will you be the first?

Time Required: 30 seconds
Difficulty: Moderate
Missing Details

Some of this guide's details are missing. Help users by adding tools, difficulty, or time.

Garmin Nuvi 42LM Screen Replacement

Introduction

Go to step 1 ↓

You will be removing several screws to get to the screen. Eventually, you will pop out the screen to replace it.

What you need

Tools

    1. Garmin Nuvi 42LM Screen Replacement, Back Cover: step 1, image 1 of 3 Garmin Nuvi 42LM Screen Replacement, Back Cover: step 1, image 2 of 3 Garmin Nuvi 42LM Screen Replacement, Back Cover: step 1, image 3 of 3
      • Remove the four screws on the back of the GPS using the T5 Torx screwdriver.

      Ask FixBot

      Add Comment

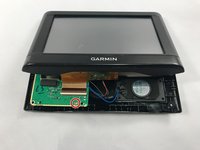
    2. Garmin Nuvi 42LM Screen Replacement: step 2, image 1 of 3 Garmin Nuvi 42LM Screen Replacement: step 2, image 2 of 3 Garmin Nuvi 42LM Screen Replacement: step 2, image 3 of 3
      • Pry the GPS open using a plastic opening tool.

      • When prying open the device, use caution to avoid damaging the motherboard.

      Ask FixBot

      Add Comment

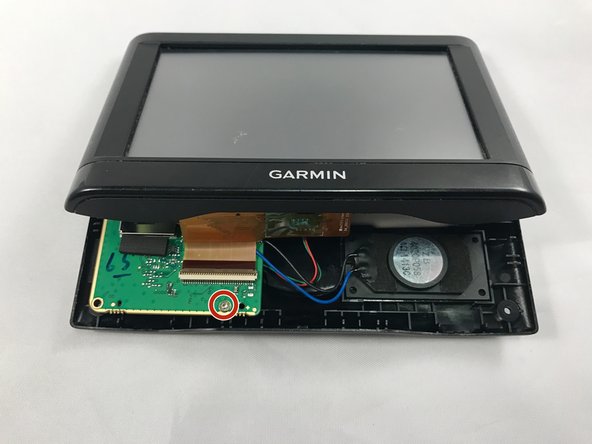
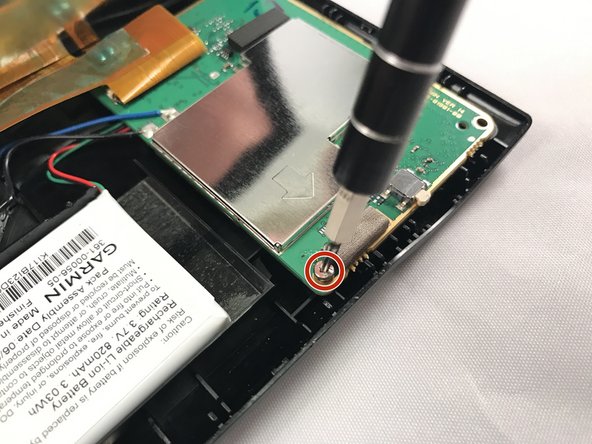
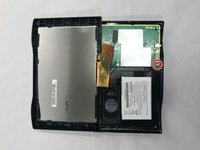
    1. Garmin Nuvi 42LM Screen Replacement, Motherboard: step 3, image 1 of 3 Garmin Nuvi 42LM Screen Replacement, Motherboard: step 3, image 2 of 3 Garmin Nuvi 42LM Screen Replacement, Motherboard: step 3, image 3 of 3
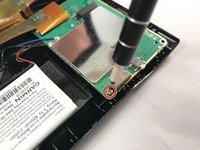
      • Using the T5 Torx screwdriver, remove the two screws located on the motherboard.

      • There are two screws - one in the back and one in the front.

      Ask FixBot

      Add Comment

    2. Garmin Nuvi 42LM Screen Replacement: step 4, image 1 of 1
      • Move the motherboard from from its designated location on the GPS.

      • Do not pull on red, green, and black cables when repositioning the motherboard.

      Ask FixBot

      Add Comment

    3. Garmin Nuvi 42LM Screen Replacement: step 5, image 1 of 2 Garmin Nuvi 42LM Screen Replacement: step 5, image 2 of 2
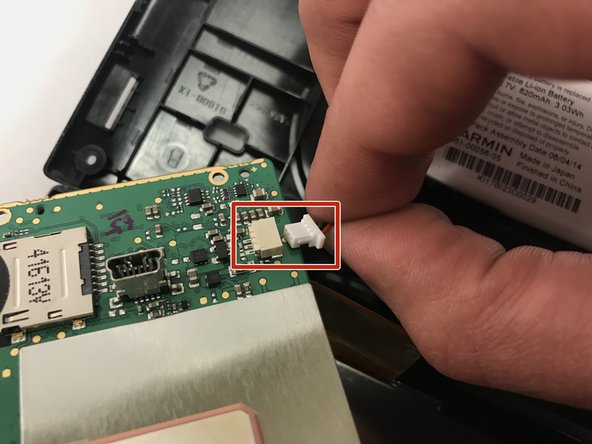
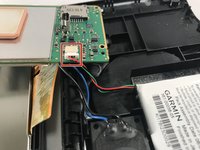
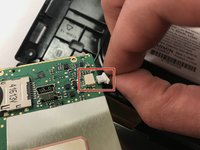
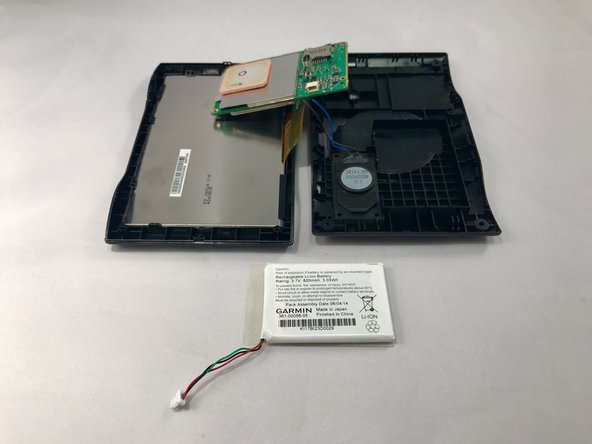
      • Gently unplug the red, green, and black bundled cable to remove the battery.

      Ask FixBot

      Add Comment

    4. Garmin Nuvi 42LM Screen Replacement: step 6, image 1 of 2 Garmin Nuvi 42LM Screen Replacement: step 6, image 2 of 2
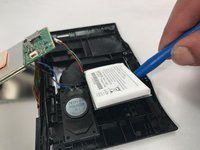
      • Use blue plastic opening tool to carefully pry the battery from the GPS.

      • You might need to use additional force when prying because there is adhesive glue on the back of the battery.

      Ask FixBot

      Add Comment

    5. Garmin Nuvi 42LM Screen Replacement: step 7, image 1 of 1
      • Using a soldering iron, desolder the black and blue wires connected to the motherboard.

      • Once the black and blue wires are desoldered, llift the motherboard out and away from the device.

      • Check out this awesome guide on how to solder and desolder connections.

      Ask FixBot

      Add Comment

    1. Garmin Nuvi 42LM Screen Replacement, Screen: step 8, image 1 of 2 Garmin Nuvi 42LM Screen Replacement, Screen: step 8, image 2 of 2
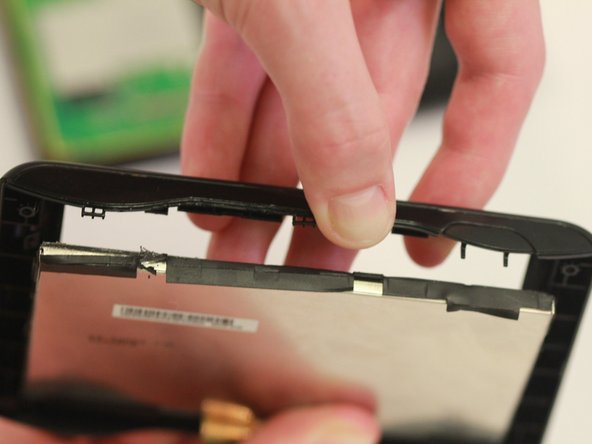
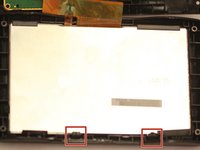
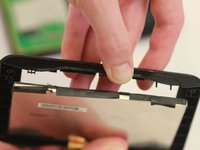
      • Push out the screen by pulling back the black clips.

      • The screen is attached to the motherboard and needs to be replaced with it.

      Ask FixBot

      Add Comment

Conclusion

To reassemble your device, follow these instructions in reverse order.

Cancel: I did not complete this guide.

2 other people completed this guide.

1 Guide Comment

Where do I purchase the screen for the Nuvi 42LM?

DR ROGER BROWNE - Reply Share

Add Comment

View Statistics:

Past 24 Hours: 1

Past 7 Days: 19

Past 30 Days: 77

All Time: 879