Introduction
Is your touch screen unresponsive? It might be time to replace the digitizer.
What you need
-
-
Place the device on the workspace so the screen is facing downward.
 Ask FixBot
-
-
-
Using the t5 screwdriver from the iFixit Pro Tool Kit, remove all four 5.6mm screws placing them safely on the table.
-
-
-
-
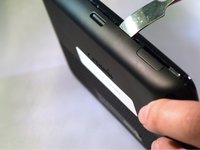
Grab a spudger from tool kit.
-
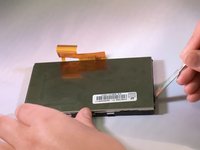
Pry open sides of Nuvi gently with spudger (do not rip apart).
-
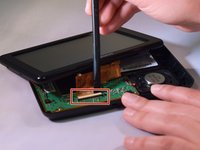
Use plastic opening tool to pry ribbon slowly from white plastic bar.
-
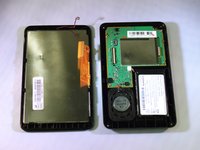
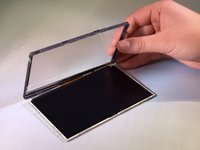
Separate the two pieces and place them on the table
-
-
-
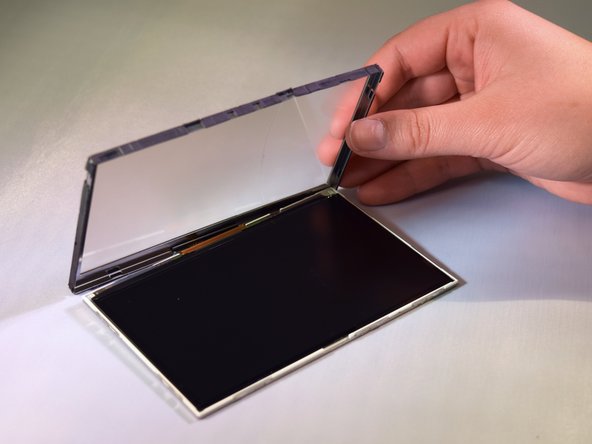
Using the spudger, gently pry the sides of digitizer open until it lifts open and remove the digitizer from the LCD screen.
-
-
-
Heat the connection between the digitizer ribbon’s and LCD Screen's ribbon with a hot soldering to separate the two.
-
After the connection is seperated, place the digitizer screen on your work surface.
-
Take the replacement digitizer and place it over the top of the LCD screen.
-
Align the ribbon of the digitizer and lay it over the LCD ribbon.
-
Place the solder underneath the digitizer ribbon and above the LCD ribbon; the area you need to solder is silver and at the bottom of the LCD ribbon.
-
Using the soldering iron, heat up the solder and attach the two ribbons.
-
Let the solder cool for an hour.
-




To reassemble your device, follow these instructions in reverse order.
Cancel: I did not complete this guide.
One other person completed this guide.

Team

Eastern Washington University, Team 2-2, Andersen Winter 2016 Member of Eastern Washington University, Team 2-2, Andersen Winter 2016
EWU-ANDERSEN-W16S2G2
5 Members
6 Guides authored
