Introduction
The Garmin Nuvi 2455LMT is an easy device to open and access. The only small parts to be aware of are the four 2.5mm Torx #04 screws on the back panel assembly. Opening up the GPS will only take 5-10 minutes and requires a plastic opening tool and the Torx 4 screwdriver.
What you need
-
-
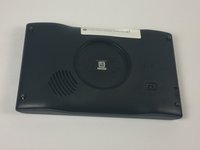
Remove the four 2.5mm screws from the back assembly with a Torx #04 Screwdriver.
-
Holding the GPS with a free hand while unscrewing the small screws will help stabilize the device.
 Ask FixBot
-
-
-
-
Use the plastic opening tool on all four sides of the device to open the Garmin Nuvi LMT2455 Back Panel.
-
To properly remove the back cover assembly pry open both the back and sides of the assembly.
-
-
-
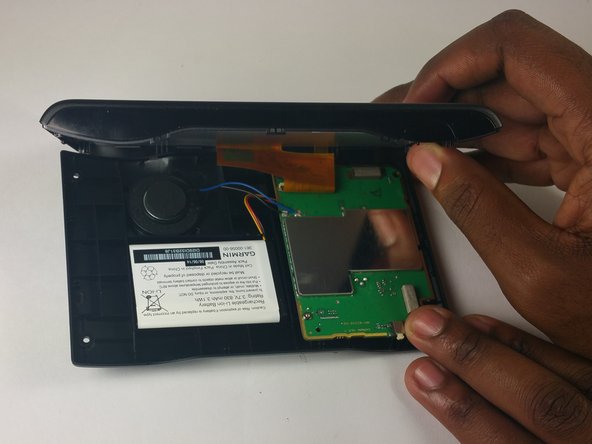
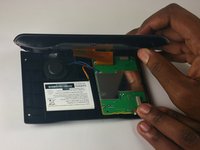
Open the device carefully being wary of the orange band that is going from the screen to the motherboard.
-
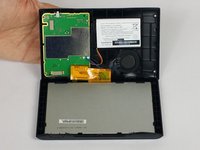
Remove the orange band by carefully lifting the lip that connects it to the motherboard.
-



To reassemble your device, follow these instructions in reverse order.
Cancel: I did not complete this guide.
2 other people completed this guide.

Team

USF Tampa, Team 2-3, Blackwell Fall 2016 Member of USF Tampa, Team 2-3, Blackwell Fall 2016
USFT-BLACKWELL-F16S2G3
4 Members
5 Guides authored
