Introduction
The screen on the Garmin Nuvi 200W is a capacitive touch screen, that responds to users input exclusively via touch. The screen on the Garmin Nuvi 200W is particularly fragile because of the widescreen nature of the device. Should the screen become damaged or fail, the entire Nuvi 200W unit will be inoperable.
This repair is best done in a clean, dust-free environment. The sensitive electronics inside the Nuvi 200W will not respond will to sand and other small particles. It is also important to leave yourself ample time to effectively navigate the screen removal process. It is extremely easy while doing this process to break one of the plastic retaining tabs. This will prevent your next screen from fitting properly.
What you need
-
-
-
-
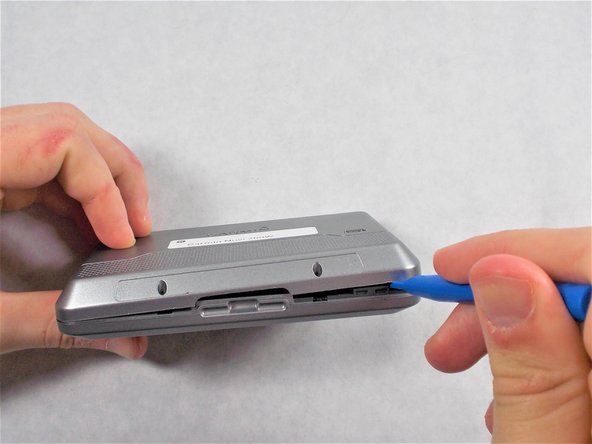
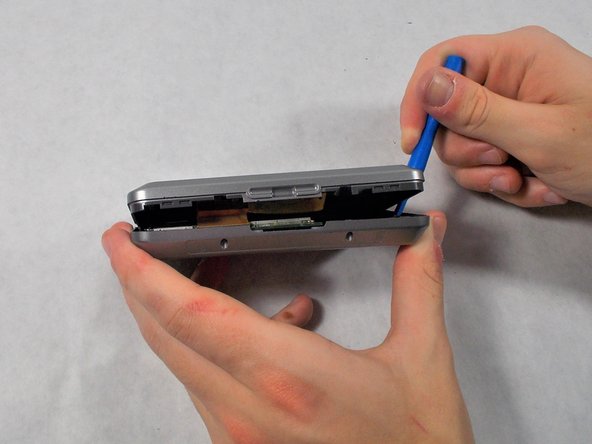
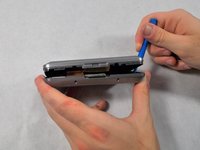
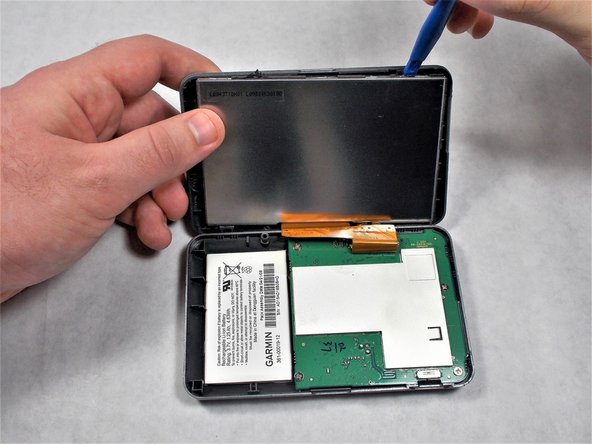
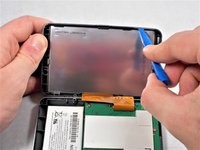
Carefully, using your plastic opening tools find the crease which separates the front and rear covers.
-
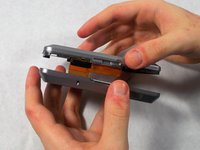
Once you have a little gap, work it around the whole device with the tool to get separation.
-
-
-
-
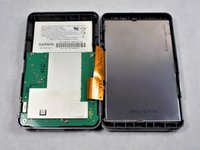
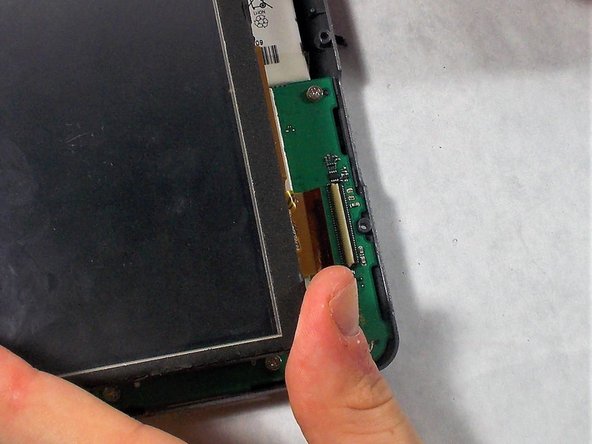
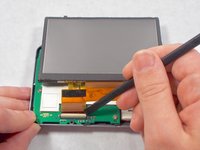
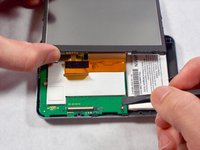
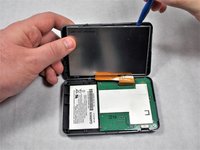
Carefully use the black spudger to lift the white retaining clamp on the display cable ZIF connector.
-
Slide the orange ribbon cable away from the ZIF connector.
-
-
-
-
-
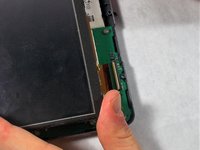
Using your plastic opening tool, apply pressure on the top right of the screen in order to remove some of the tabs.
-
Work the plastic opening tool around the whole screen to remove the tabs from the screen.
-
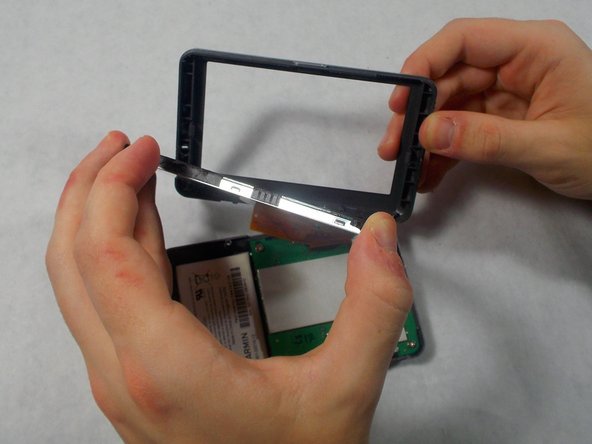
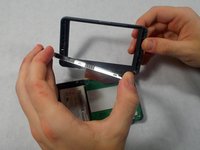
Carefully separate the screen from the front cover.
-
-


 Ask FixBot







To reassemble your device, follow these instructions in reverse order.

Team

UMass Dartmouth, Team S5-G4, Botvin Spring 2017 Member of UMass Dartmouth, Team S5-G4, Botvin Spring 2017
UMASSD-BOTVIN-S17S5G4
3 Members
72 Guides authored
