Introduction
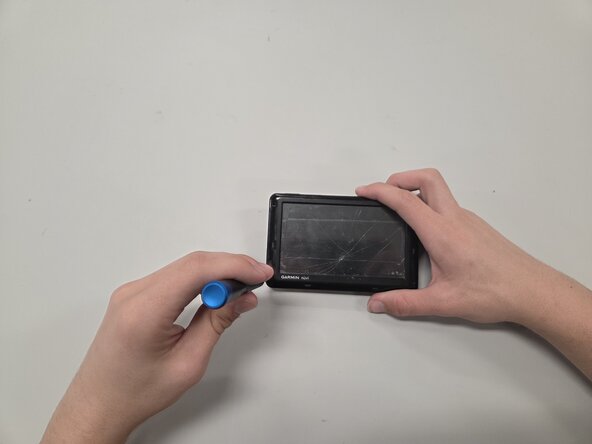
If the motherboard on your Garmin Nuvi 1450 needs to be replaced, use this helpful guide. You may be experiencing unexplained shutdowns, error messages, and/or power failures. Before using this guide, be sure to check your device for any visible signs of damage and try powering on the system.
The motherboard of the Garmin Nuvi 1450 is the main circuit board in the device. It is the foundation of the device, serving as communication and a power source to these other components.
Before beginning, make sure to make sure there is no power connected to the device and it is completely powered off.
What you need
-
-
-
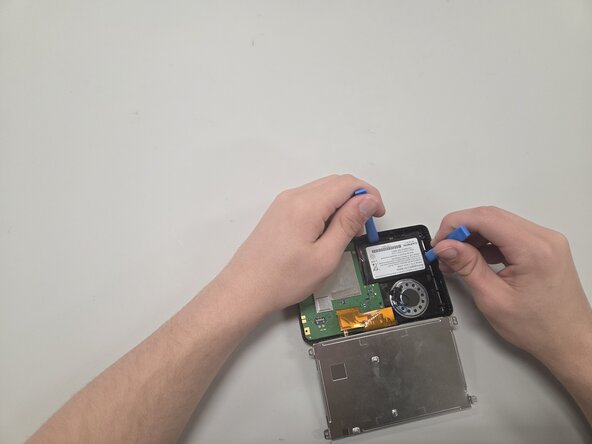
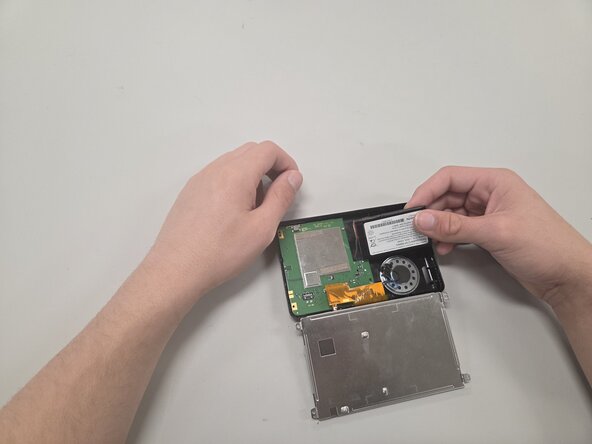
Remove the battery slowly by using an opening tool to pry the underside of the battery, and use another opening tool as leverage to lift the battery slowly. After some time, you should have the battery free from the frame.
-
-
-
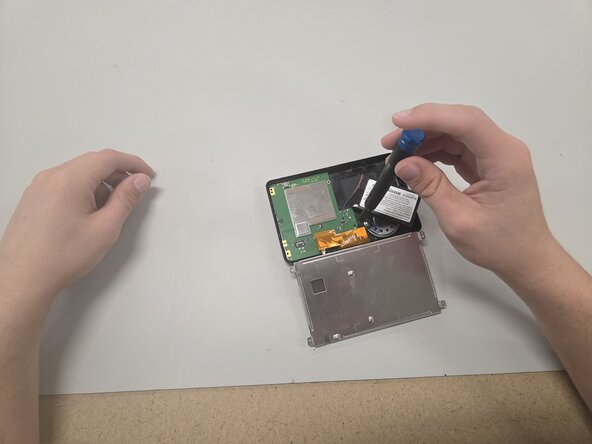
Remove the tape covering the two 3.25 mm-long screws on the motherboard using your hands or Tweezers.
-
Remove the two 3.2 mm-long screws with a T4 Torx screwdriver.
-
-
-
Use a Bit Driver and a 2.5mm Flat Bit to remove the speaker wire connecting to the motherboard, and then remove the motherboard you plan to replace.
-


To reassemble your device, follow the above steps in reverse order.
Take your e-waste to an R2 or e-Stewards certified recycler.
Repair didn’t go as planned? Try some basic troubleshooting or ask our Answers community for help.

Team

Texas Tech, Team 45-48, Weston Fall 2025 Member of Texas Tech, Team 45-48, Weston Fall 2025
TTU-WESTON-F25S45G48
4 Members
3 Guides authored