
Garmin GPSmap 60CSx Screen Replacement

Thomas Humphrey and 6 other contributors
Last updated on May 7, 2024
Views: 5.9K
View statistics:
- Past 24 Hours:
- 4
- Past 7 Days:
- 24
- Past 30 Days:
- 105
- All Time:
- 5,948
Comments: 2
2 guide comments.
Go to guide commentsCompleted: 5 6
5 people have marked this guide "completed." Will you be next?
6 people have marked this guide "completed." Including you — great job!
Favorites: 1 2
1 person has favorited (and subscribed to) this guide. Will you be next?
2 people have favorited (and subscribed to) this guide — including you!
Introduction
Go to step 1 ↓If the screen remains blank while the device is turned on, is cracked and unable to be used, or remains unresponsive, the screen may be broken and need to be replaced. The following are steps on how to replace the screen of the Garmin GPSmap 60CSx.
What you need
Tools
-
Spudger4.9
-


-
-
-
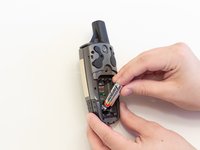
Lift and twist the battery cover release 90 degrees counterclockwise on the back of the device.
 Ask FixBot
-
-
-
-
-
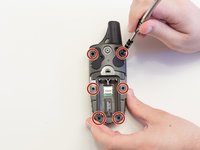
Remove the six 10 mm screws on the back of the device with a Phillips #0 Screwdriver.
-
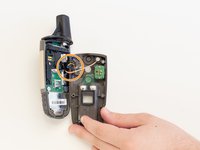
Flip the back panel over to view the green electronics board (the PCB) and the PCB cover.
-
Remove the black, yellow, blue, and red wires connected to the PCB with light force.
-
-
-
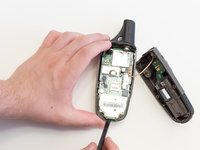
Take the spudger and place it in the bottom right corner of the black PCB cover.
-
Use the spudger to pry the corner out. This will need to be done to all four corners of the PCB cover.
-
Pull the PCB cover out of the GPSMap 60CSx.
-
-
-
Carefully use the spudger to lift the PCB a few centimeters.
-
Pull the PCB towards the bottom of the GPSMap 60CSx.
-
-
-
Apply light pressure to the four white tabs that are holding the screen in place.
-
The screen will now come off the PCB.
-
-
-
-
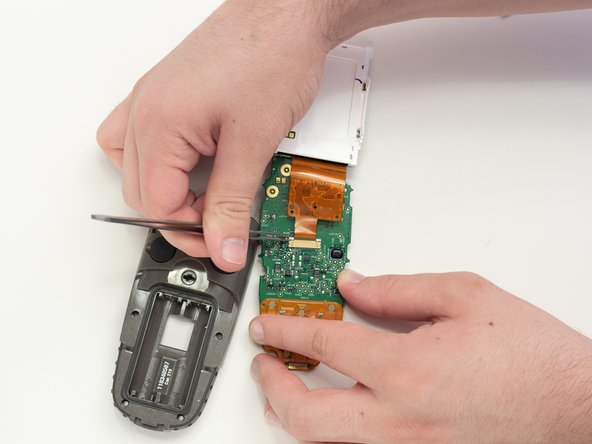
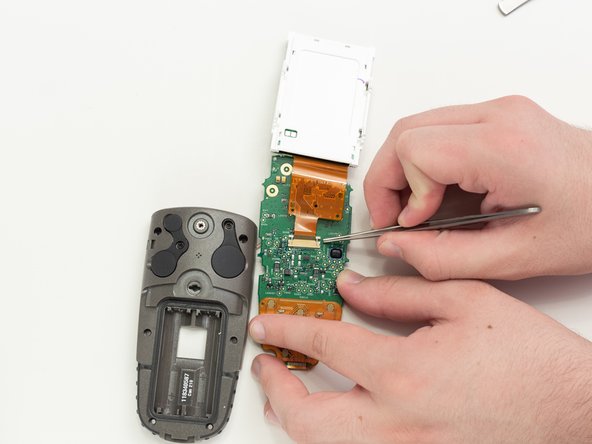
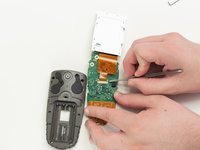
Turn the PCB over so the screen connector is facing you.
-
Move the screen out of the way for access to the screen connector.
-
-
Tool used on this step:Tweezers$4.99
-
Use tweezers to pull the two white pins on the connector forward.
-
-






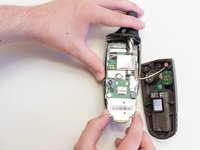


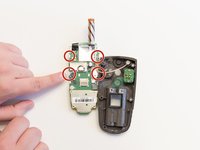
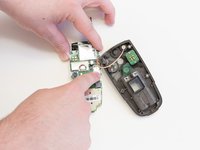
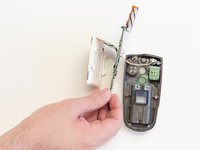



To reassemble your device, follow these instructions in reverse order.
Cancel: I did not complete this guide.
5 other people completed this guide.

Team

Linn Benton Community College, Team S2-G5, Johnson Spring 2018 Member of Linn Benton Community College, Team S2-G5, Johnson Spring 2018
LBCC-JOHNSON-S18S2G5
5 Members
60 Guides authored
