
Garmin Fenix 2 Display Replacement

Brandon Barger and one other contributor
Last updated on May 16, 2016
Views: 3.5K
View statistics:
- Past 24 Hours:
- 2
- Past 7 Days:
- 16
- Past 30 Days:
- 107
- All Time:
- 3,507
Comments: 6
4 comments on steps, 2 guide comments.
Go to guide commentsCompleted: 1 2
1 person has marked this guide "completed." Will you be next?
2 people have marked this guide "completed." Including you — great job!
Favorites: 0 1
No one has favorited (and subscribed to) this guide. Will you be the first?
1 person has favorited (and subscribed to) this guide — and that's you!
Introduction
Go to step 1 ↓We will remove the display from the Garmin watch so it can be replaced. Tools that you will need include nylon spudger and Torx T9 screwdriver.
What you need
Tools
-
Spudger4.9
-


-
-
-
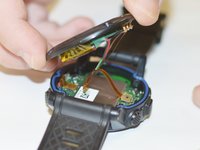
Use a Torx T9 screwdriver to remove these four .8mm screws and seperate the housing.
 Ask FixBot
-
-
-
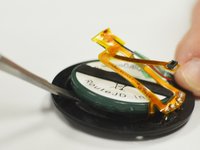
Use a spudger tool to disengage the power ribbon from the main board. Once the ribbon is disconnected you can separate the bottom piece of the housing that holds the battery.
-
-
-
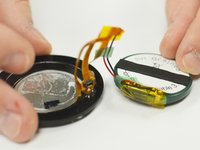
Use the spudger tool again and wedge it in between the battery and the housing, pry until the battery starts to separate from the adhesive holding it in place. Once you have the battery disconnected you are ready to replace it.
-
-
-
-
-
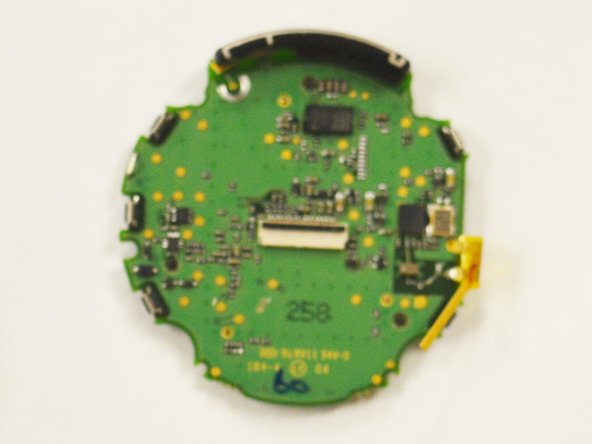
Use your Torx T9 screwdriver to remove the one .8mm screw that holds the main board to the watch housing.
-
-
-
-
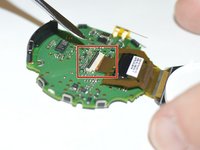
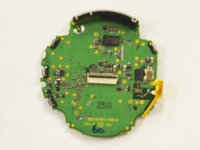
Lastly use your spudger tool to pry the data ribbon open from the motherboard. Once the ribbon is removed the board will be free and you can replace the board.
-
-







To reassemble your device, follow these instructions in reverse order.
Cancel: I did not complete this guide.
One other person completed this guide.

Team

IUPUI, Team 54-4, Wilson Spring 2016 Member of IUPUI, Team 54-4, Wilson Spring 2016
IUPUI-WILSON-S16S54G4
3 Members
60 Guides authored
2 Guide Comments
Do you know where I can buy a new screen?
θέλω να πάρω καινούρια οθονη. ξέρετε απο που μπορώ να παραγγείλω?
