
Garmin DriveSmart 71 EX Power Button Replacement

Brooke Wood and 2 other contributors
Last updated on Jun 3, 2026
Views: 148
View statistics:
- Past 24 Hours:
- 1
- Past 7 Days:
- 8
- Past 30 Days:
- 53
- All Time:
- 148
Comments: 0
No one has left comments on this guide. Will you be first?
Go to guide commentsCompleted: 0 1
No one has marked this guide "completed." Will you be the first?
1 person has marked this guide "completed." It's you — great job!
Favorites: 0 1
No one has favorited (and subscribed to) this guide. Will you be the first?
1 person has favorited (and subscribed to) this guide — and that's you!
Introduction
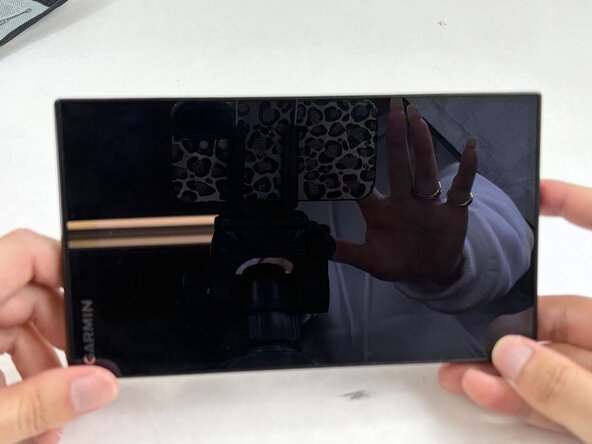
Go to step 1 ↓Over time, sediment and residue may build up inside the power button, preventing you from being able to turn on the device. If you replaced your battery and know that the battery is not damaged, and the device is still not turning on, you may need to replace your power button. This repair guide will teach you how to replace your power button.
What you need
Tools
-
-
Spudger4.9
-


-
-
-
Insert an opening pick into the seam between the front and back cover.
-
Carefully slide the opening pick around the perimeter of the device to release the clips securing the front and rear case.
-
Open the case with care not to strain the display ribbon cable or the microphone cable.
-
-
-
-
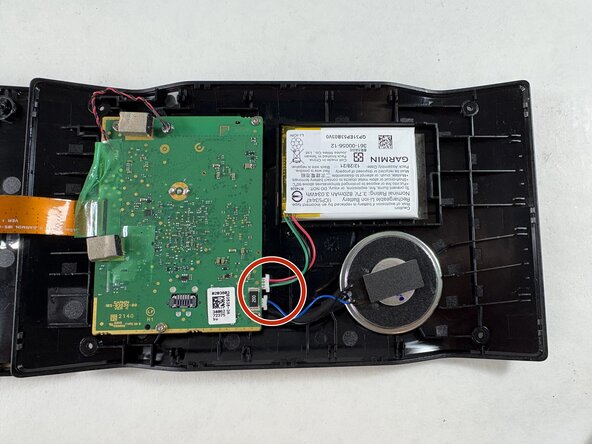
Use tweezers to disconnect the battery and speaker connectors from their motherboard sockets.
-
-
-
-
Remove the four 4 mm screws securing the motherboard with a T5 Torx screwdriver.
-
-
-
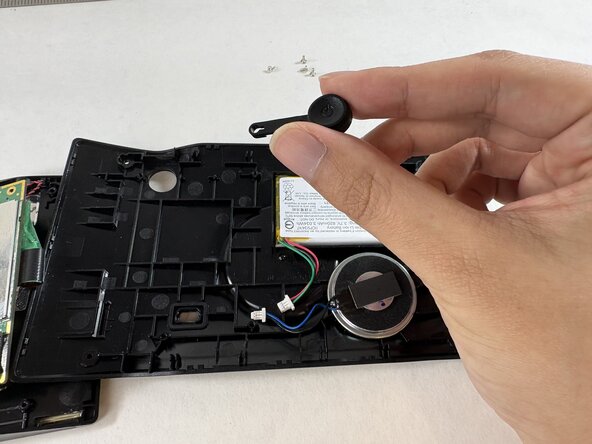
Lift up the motherboard to expose the power button. Take care not to strain the connected ribbon cable.
-
Remove the power button.
-
-
 Ask FixBot







To reassemble your device, follow these instructions in reverse order.

Team

UMass Dartmouth, Team 2-4, Biswokarma Spring 2026 Member of UMass Dartmouth, Team 2-4, Biswokarma Spring 2026
UMASSD-BISWOKARMA-S26S2G4
4 Members
48 Guides authored
