Introduction
If you may have recently been struggling with any speaker problems on your Garmin Drive 50LM, then make sure to follow this guide all the way through to learn how to remove and change the speaker. Before you start anything, make sure to check the device itself is not muted, and that you have the necessary tools to take apart the device safely. Remember, always power off your device and make sure that it isn't connected before taking the device apart. Importantly, make sure to keep track of all the pieces removed from the device so that you're able to put the device back together properly.
By the end of this guide, you should've learned how to safely remove and switch out a faulty battery on the Garmin Drive 50LM.
What you need
-
-
Use a T5 Torx screwdriver to remove the four 9 mm-long screws securing the case.
 Ask FixBot
-
-
-
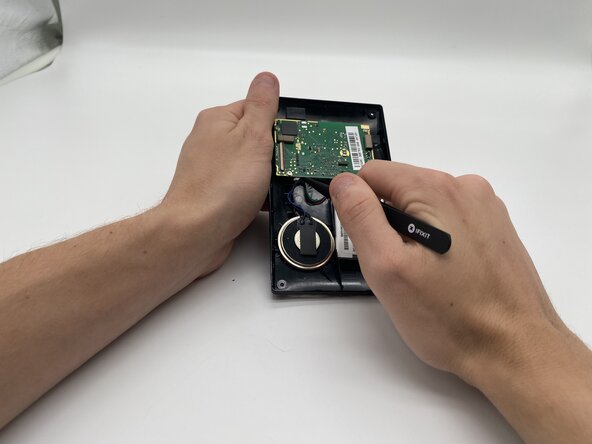
Insert an opening tool into the seam between the case and the chassis.
-
Pry around the perimeter of the device until the case releases.
-
-
-
-
Once open, set the screen down at an offset to be able to see the yellow cable.
-
-
-
With tweezers, flip up the brown locking flap to release the ribbon cable.
-
Gently disconnect the yellow ribbon cable.
-
-
-
Gently pull on the blue cord on the left of the motherboard with your tweezers until it is disconnected.
-
-
-
Once the speaker is disconnected, gently pull on the speaker until it comes out of the case.
-


To reassemble your device, follow these instructions in reverse order.

Team

University of North Texas, Team 7-7, Kilpatrick Fall 2025 Member of University of North Texas, Team 7-7, Kilpatrick Fall 2025
UNT-KILPATRICK-F25S7G7
4 Members
6 Guides authored