Free Shipping on Domestic Orders $75+

Garmin Dezl 770LMT Screen Replacement

What you need

  1. Garmin Dezl 770LMT Screen Replacement, Back Panel Removal: step 1, image 1 of 2 Garmin Dezl 770LMT Screen Replacement, Back Panel Removal: step 1, image 2 of 2
    • Turn the device screen down and using the screwdriver remove all eight screws from the back plate.

    Ask FixBot

    Add Comment

  2. Garmin Dezl 770LMT Screen Replacement: step 2, image 1 of 1
    • Place a nylon spudger in the seam between the front and back panel and carefully lift around the edge of the device.

    Ask FixBot

    Add Comment

  3. Garmin Dezl 770LMT Screen Replacement: step 3, image 1 of 1
    • Use the spudger to pry apart the screen from all around the device.

    • Gently lift the screen so not to disconnect the ribbon attaching the screen to the motherboard.

    Ask FixBot

    Add Comment

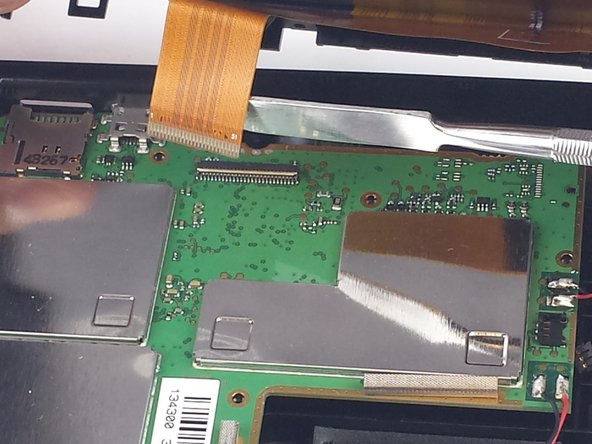
  4. Garmin Dezl 770LMT Screen Replacement, Screen: step 4, image 1 of 2 Garmin Dezl 770LMT Screen Replacement, Screen: step 4, image 2 of 2
    Tool used on this step:
    Anti-Static Wrist Strap
    $7.95
    Buy
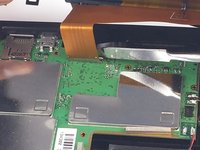
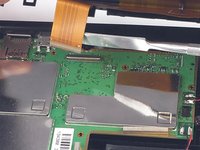
    • After you've removed the back cover, you will see a copper colored ribbon connected to a grey hinge.

    • Carefully remove the hinge from the cord using a spudger and the ribbon will come out.

    • The regular black nylon spudger should be used whenever possible, especially around sensitive internal components.

    • Make sure to wear an anti-static wrist strap when handling the motherboard.

    Ask FixBot

    Add Comment

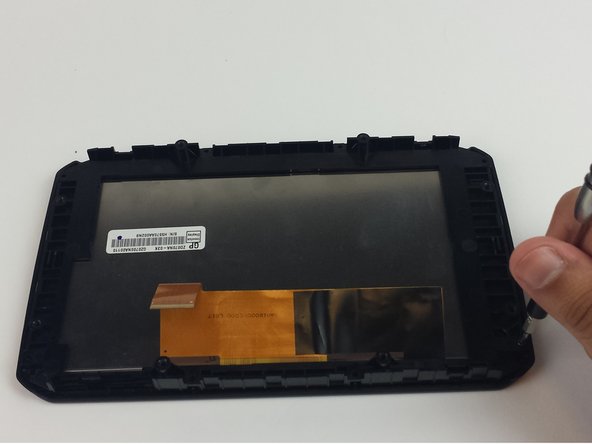
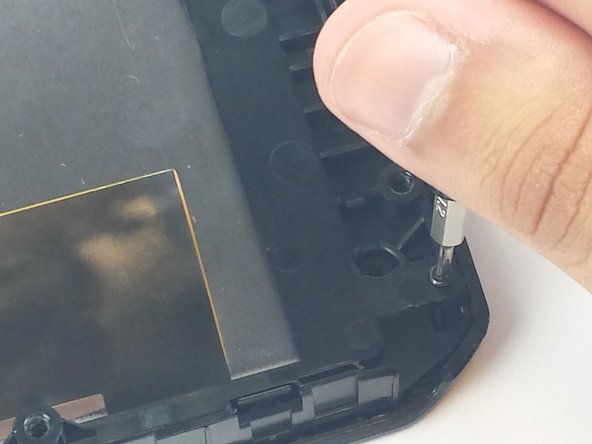
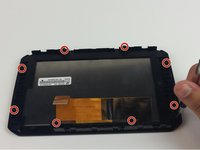
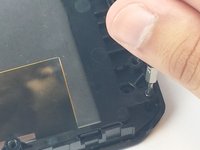
  5. Garmin Dezl 770LMT Screen Replacement: step 5, image 1 of 3 Garmin Dezl 770LMT Screen Replacement: step 5, image 2 of 3 Garmin Dezl 770LMT Screen Replacement: step 5, image 3 of 3
    • Now you have the screen, which is enclosed by another cover. Remove the eight screws that hold it in place.

    Ask FixBot

    Add Comment

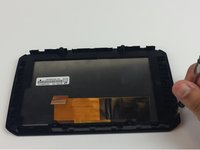
  6. Garmin Dezl 770LMT Screen Replacement: step 6, image 1 of 1
    • Once the screws have been taken out, use a spudger to carefully remove the cover. With this cover removed, the screen is now completely exposed.

    Ask FixBot

    Add Comment

Conclusion

To reassemble your device, follow these instructions in reverse order.

Cancel: I did not complete this guide.

3 other people completed this guide.

Aleem Waris

Member since: 10/10/16

146 Reputation

1 Guide authored

Team

USF Tampa, Team 1-3, Lacy Fall 2016 Member of USF Tampa, Team 1-3, Lacy Fall 2016

USFT-LACY-F16S1G3

4 Members

5 Guides authored

0 Guide Comments

Add Comment

View Statistics:

Past 24 Hours: 1

Past 7 Days: 11

Past 30 Days: 34

All Time: 3,385