Free Shipping on Domestic Orders $75+

Garmin Dash Cam 20 Camera Lens Replacement

What you need

  1. Garmin Dash Cam 20 Camera Lens Replacement, Internal Assembly: step 1, image 1 of 2 Garmin Dash Cam 20 Camera Lens Replacement, Internal Assembly: step 1, image 2 of 2
    • Be sure to turn off the Dash Cam by pressing the power button.

    Ask FixBot

    Add Comment

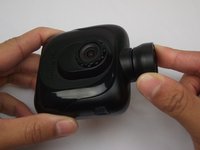
  2. Garmin Dash Cam 20 Camera Lens Replacement: step 2, image 1 of 2 Garmin Dash Cam 20 Camera Lens Replacement: step 2, image 2 of 2
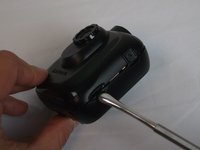
    • Rotate the Dash Cam to where the socket faces you.

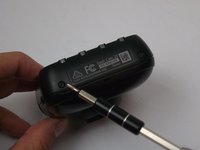
    • Remove the 9 mm screw using the Torx T6 screwdriver.

    Ask FixBot

    Add Comment

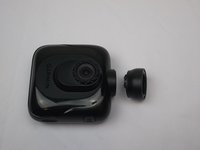
  3. Garmin Dash Cam 20 Camera Lens Replacement: step 3, image 1 of 2 Garmin Dash Cam 20 Camera Lens Replacement: step 3, image 2 of 2
    • Remove the Dash Cam socket piece.

    Ask FixBot

    Add Comment

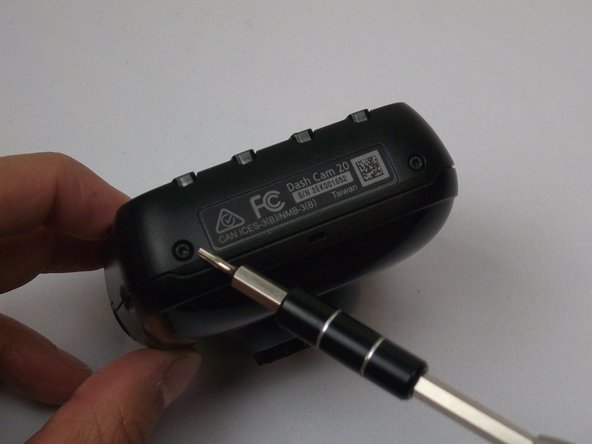
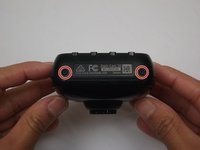
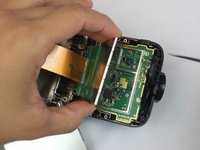
  4. Garmin Dash Cam 20 Camera Lens Replacement: step 4, image 1 of 2 Garmin Dash Cam 20 Camera Lens Replacement: step 4, image 2 of 2
    • Rotate the Dash Cam to where the product information faces you.

    • Remove the two 5 mm screws using the Torx T5 screwdriver.

    Ask FixBot
    Add Comment

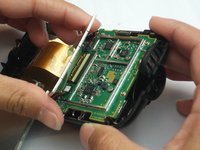
  5. Garmin Dash Cam 20 Camera Lens Replacement: step 5, image 1 of 3 Garmin Dash Cam 20 Camera Lens Replacement: step 5, image 2 of 3 Garmin Dash Cam 20 Camera Lens Replacement: step 5, image 3 of 3
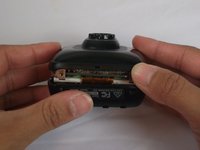
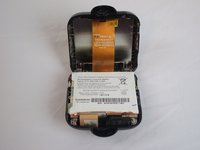
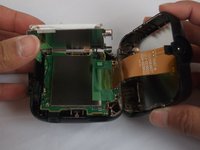
    • Remove top case from the bottom case.

    • The compact nature of the casing requires use of the metal spudger for needed leverage.

    Ask FixBot
    Add Comment

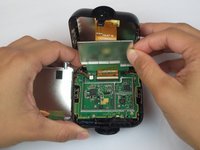
  6. Garmin Dash Cam 20 Camera Lens Replacement: step 6, image 1 of 3 Garmin Dash Cam 20 Camera Lens Replacement: step 6, image 2 of 3 Garmin Dash Cam 20 Camera Lens Replacement: step 6, image 3 of 3
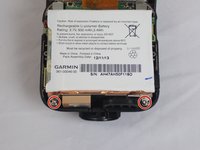
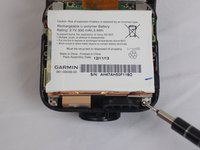
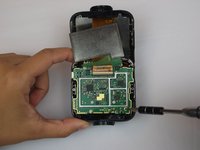
    • Remove the two 5mm screws using the Torx T5 screwdriver

    • By removing the screws, the metal battery frame will now become free from the rest of the device.

    Ask FixBot
    Add Comment

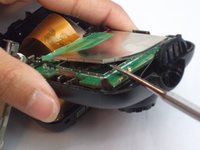
  7. Garmin Dash Cam 20 Camera Lens Replacement, Motherboard Components: step 7, image 1 of 2 Garmin Dash Cam 20 Camera Lens Replacement, Motherboard Components: step 7, image 2 of 2
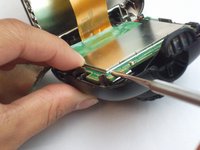
    • This step shows the use of an incorrect tool. Always use an ESD safe tool, like a nylon spudger, when working with delicate internal components.

    • Use the nylon spudger to pry the corner of the case off of the motherboard.

    Ask FixBot

    Add Comment

  8. Garmin Dash Cam 20 Camera Lens Replacement: step 8, image 1 of 3 Garmin Dash Cam 20 Camera Lens Replacement: step 8, image 2 of 3 Garmin Dash Cam 20 Camera Lens Replacement: step 8, image 3 of 3
    • Remove the metal case off of the motherboard.

    Ask FixBot

    Add Comment

  9. Garmin Dash Cam 20 Camera Lens Replacement: step 9, image 1 of 3 Garmin Dash Cam 20 Camera Lens Replacement: step 9, image 2 of 3 Garmin Dash Cam 20 Camera Lens Replacement: step 9, image 3 of 3
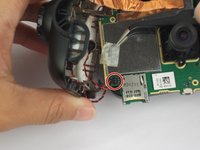
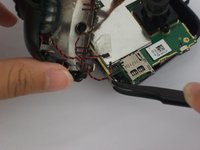
    • Remove the battery connection.

    Ask FixBot

    Add Comment

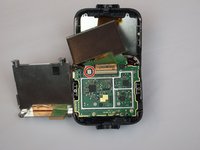
  10. Garmin Dash Cam 20 Camera Lens Replacement: step 10, image 1 of 3 Garmin Dash Cam 20 Camera Lens Replacement: step 10, image 2 of 3 Garmin Dash Cam 20 Camera Lens Replacement: step 10, image 3 of 3
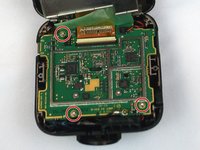
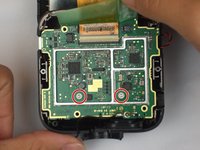
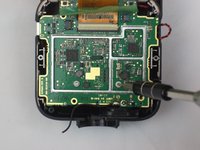
    • Remove the three 5 mm screws using the Torx T5 screwdriver.

    Ask FixBot
    Add Comment
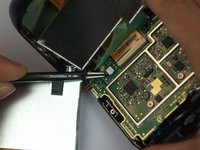
  11. Garmin Dash Cam 20 Camera Lens Replacement: step 11, image 1 of 3 Garmin Dash Cam 20 Camera Lens Replacement: step 11, image 2 of 3 Garmin Dash Cam 20 Camera Lens Replacement: step 11, image 3 of 3
    Tool used on this step:
    Tweezers
    $4.99
    Buy
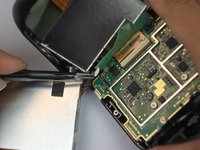
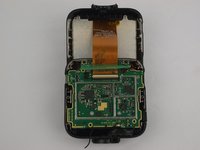
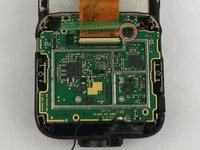
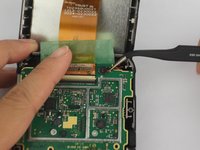
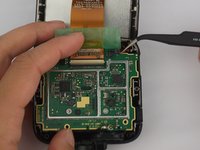
    • Use tweezers to remove the connector on the top right of the motherboard.

    Ask FixBot

    Add Comment

  12. Garmin Dash Cam 20 Camera Lens Replacement: step 12, image 1 of 3 Garmin Dash Cam 20 Camera Lens Replacement: step 12, image 2 of 3 Garmin Dash Cam 20 Camera Lens Replacement: step 12, image 3 of 3
    • Remove the motherboard from the case and flip to reveal SD connection.

    • Use tweezers to remove the connector next to the SD card slot.

    Ask FixBot

    Add Comment

  13. Garmin Dash Cam 20 Camera Lens Replacement: step 13, image 1 of 1
    • The motherboard is now removed aside from the copper strip and its connector.

    • Disconnect from the front case and the copper strip.

    Ask FixBot

    Add Comment

  14. Garmin Dash Cam 20 Camera Lens Replacement, Camera Lens: step 14, image 1 of 2 Garmin Dash Cam 20 Camera Lens Replacement, Camera Lens: step 14, image 2 of 2
    • Use the Torx T5 screwdriver to remove the two 5mm screws.

    • These screws hold the camera in place. Therefore, the lens will fall into the bottom case.

    Ask FixBot

    Add Comment

  15. Garmin Dash Cam 20 Camera Lens Replacement: step 15, image 1 of 1
    • The camera lens is now detached.

    Ask FixBot

    Add Comment

Conclusion

To reassemble your device, follow these instructions in reverse order.

Cancel: I did not complete this guide.

Jesse Hillman

Member since: 10/04/16

757 Reputation

5 Guides authored

Team

USF Tampa, Team 2-1, Cagle Fall 2016 Member of USF Tampa, Team 2-1, Cagle Fall 2016

USFT-CAGLE-F16S2G1

4 Members

5 Guides authored

0 Guide Comments

Add Comment

View Statistics:

Past 24 Hours: 0

Past 7 Days: 5

Past 30 Days: 42

All Time: 1,439